
Crochet an Adorable Plush Turtle With This Free Pattern
Some crochet projects look cute online and turn into lumpy disasters in your hands. This crochet plush turtle is the opposite: a forgiving beginner pattern that actually looks like the photos when you finish it.
You will learn every part step by step, from the head and two-piece shell to the flippers, tail, and assembly. In my experience, the structured shell is what makes this turtle special, because it holds its shape for years instead of going flat. I have also included exact yarn quantities, a no-sew option, and a baby-safe version.
Why This Crochet Turtle Is Perfect for Beginners
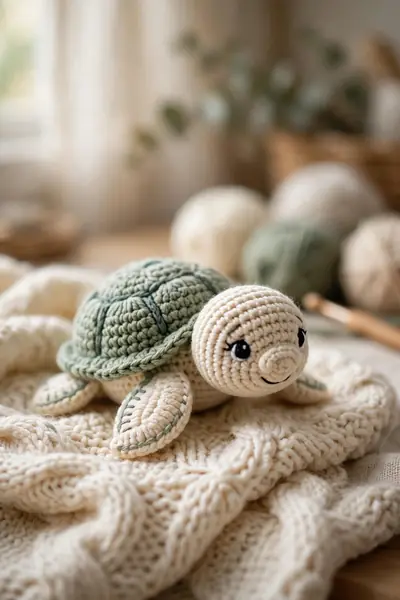
Few first plush projects reward you as fast as a turtle. The body is built from simple circles and ovals worked in continuous rounds, so you practice only three skills: single crochet, increasing, and decreasing. This crochet plush turtle hides small imperfections beautifully in its soft texture, which means your first attempt still looks gift-worthy.
It also works up quicker than you expect. Chunky yarn covers ground fast, and each finished part gives you a visible win that keeps you motivated. By the weekend you could be holding a finished turtle instead of a half-done project bag.
What Makes This Pattern Different
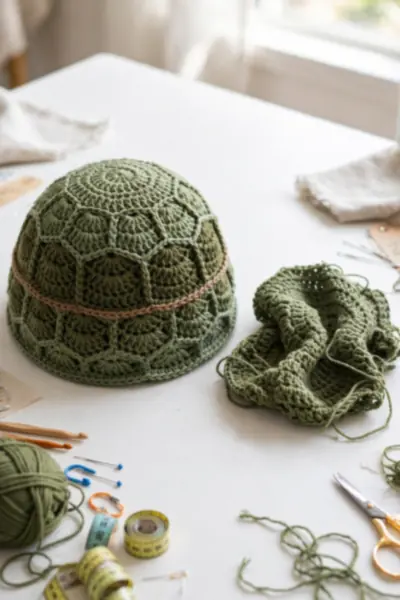
Before: Many free turtle patterns crochet the shell as one floppy piece that collapses after stuffing. The result looks deflated within weeks, and beginners assume they did something wrong when the pattern itself was the problem.
After: This pattern builds the shell from two structured pieces stitched edge to edge, creating a firm dome that holds its shape for years. The separate bottom shell also gives the turtle a clean finished underside instead of a gathered mess.
The two-piece shell takes a few extra minutes and pays you back every time someone squeezes your turtle. Structure first, cuteness follows.
Also View:Free Crochet Bandana Pattern With Easy Stitch Guide
Materials and Tools You’ll Need
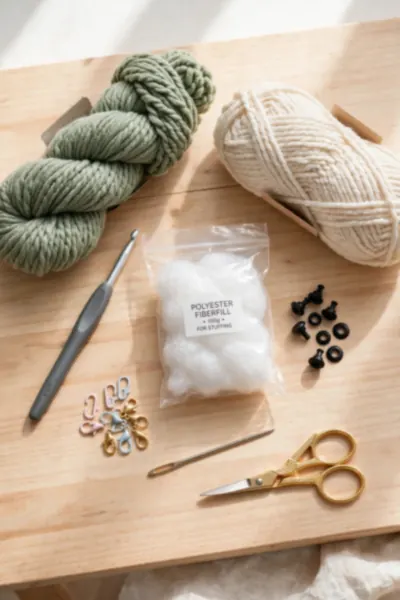
Quick Tip: Buy one extra skein of your main shell color beyond what the quantity guide says. Running out mid-shell forces a dye-lot mismatch that shows in photos, and one spare skein removes all that anxiety for a few dollars.
Choose a soft chunky-weight yarn in two colors, one for the shell and one for the body, plus a 5mm hook to match. You will also need 12mm safety eyes, polyester fiberfill, stitch markers, a yarn needle, and sharp scissors. In my experience, stitch markers matter more here than in flat projects because plush yarn swallows your stitch counts whole.
Yarn Quantities: Exactly How Much to Buy
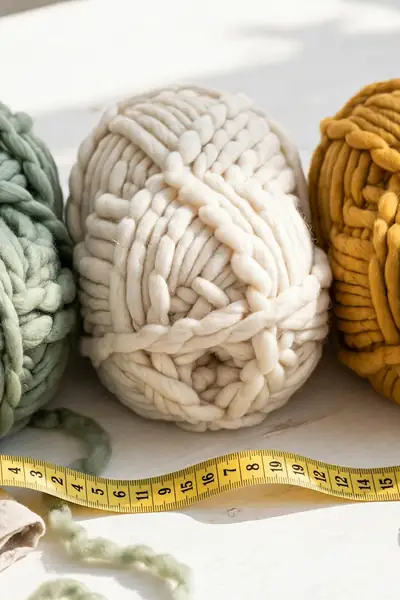
Common Mistake: Most beginners buy a single skein of each color and run out halfway through the shell. They then discover the new skein is a different dye lot, and the color shift shows in every photo of the finished turtle.
The Fix: Buy two skeins of your main shell color and one of the body color for a standard turtle. That covers the whole project with a comfortable margin, and leftovers become a matching mini turtle later.
Weigh your yarn if you are unsure mid-project: a finished standard turtle uses roughly 180 grams of shell color and 90 grams of body color. Check the skein label before you leave the store so the numbers line up.
Substitutions I’ve Actually Tried
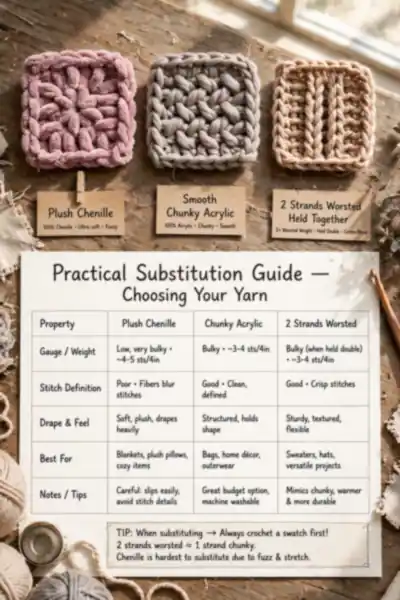
What You Need:
- No chenille yarn: use smooth chunky acrylic instead, the stitches show more but the turtle still looks adorable.
- Only worsted weight: hold two strands together throughout, the turtle finishes slightly smaller and firmer.
- No safety eyes: embroider eyes with black yarn, fully baby-safe and still full of personality.
- No stitch markers: use small scraps of contrasting yarn, they work exactly the same.
- No fiberfill: shredded yarn scraps work in a pinch, though the finish is less even.
Every substitution above has been tested on a real turtle, not guessed. The pattern math stays the same; only the texture and final size shift slightly.
Before You Begin: Skills, Stitches, and Setup
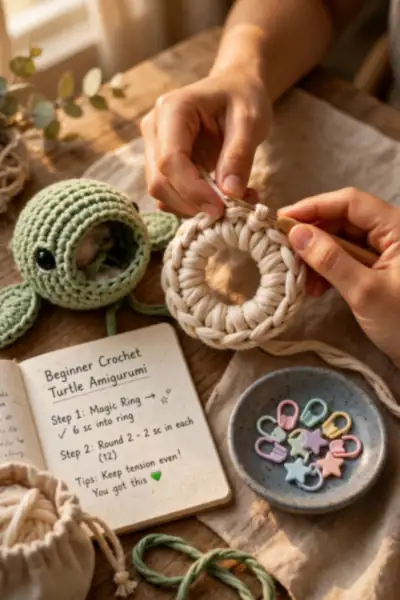
Before: Jumping straight into round one with plush yarn leads to lost stitch counts within ten minutes. The stitches blend together, the round start vanishes, and frustration sets in before the head is even half done.
After: Five minutes of setup changes everything. Place a stitch marker in the first stitch of every round, keep the abbreviation list beside you, and work under good light. Counting becomes automatic instead of stressful.
You should already know the magic ring, single crochet, increase, and decrease. If those four feel comfortable, you are ready. This pattern never asks for anything fancier, which is exactly why beginners finish it.
Finished Size
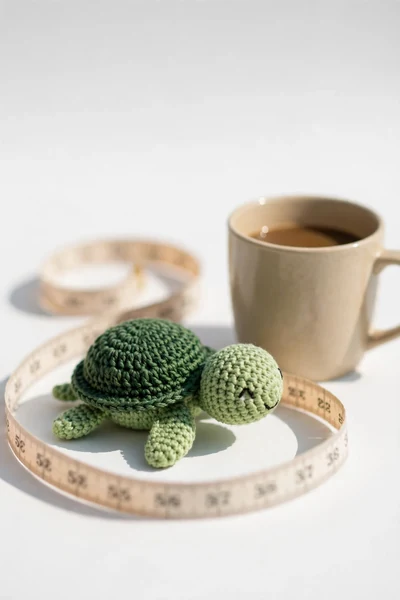
Do This: expect a finished turtle about 12 inches wide and 4 inches tall in chunky yarn, a proper cuddle size for kids and nursery shelves. Measure your shell piece after round 8 to confirm you are on track.
Avoid This: do not compare your size to jumbo patterns using super bulky yarn, yours is intentionally a standard adorable size. Do not stretch the finished turtle to measure, let it rest naturally. Do not worry if yours is half an inch off, tension varies.
Size consistency matters more than exact inches. If your head, shell, and flippers all come from the same hands and hook, the parts fit together perfectly no matter what.
How to Crochet a Plush Turtle: Pattern Overview
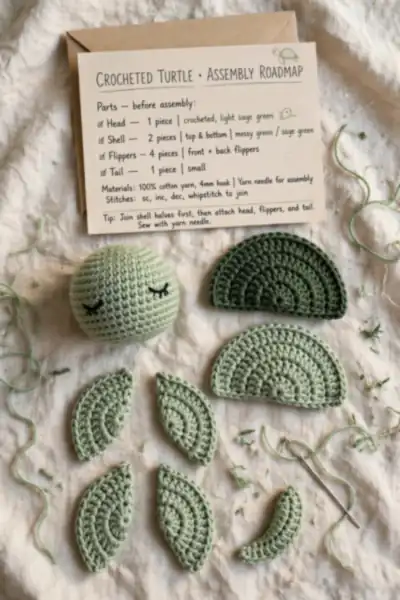
Time Needed: 6 to 8 hours total | Difficulty: Easy beginner | Cost: Low | Best For: First plush projects and gifts | Pro Tip: Finish one part fully before starting the next.
You will crochet six parts separately: the head, the top shell, the bottom shell, four flippers, and the tail. Each part is worked in continuous rounds with the same four stitches, so the difficulty never spikes. Assembly comes last, when you sew everything to the shell and stuff as you go. Follow the parts in order and the turtle practically builds itself.
Abbreviations You Will See in This Pattern
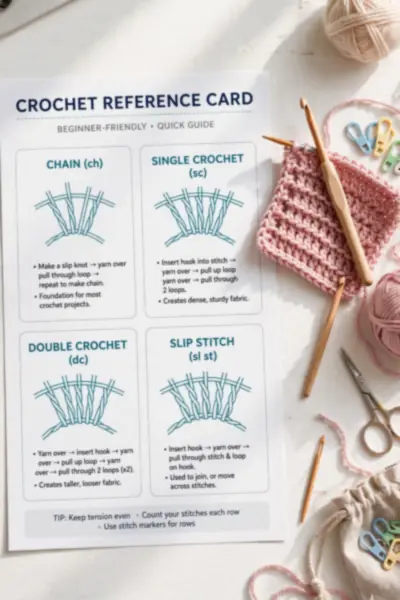
Keep this list beside you while you work. Every round in this pattern uses only these seven abbreviations, so once they feel familiar you can crochet without constantly checking back.
MR means magic ring, your adjustable starting loop. Sc is single crochet, the only stitch in the entire turtle. Inc means increase, two single crochets in one stitch. Dec means decrease, two stitches worked together. Sl st is slip stitch for joining, ch is chain, and FO means fasten off and cut the yarn.
Crocheting the Head
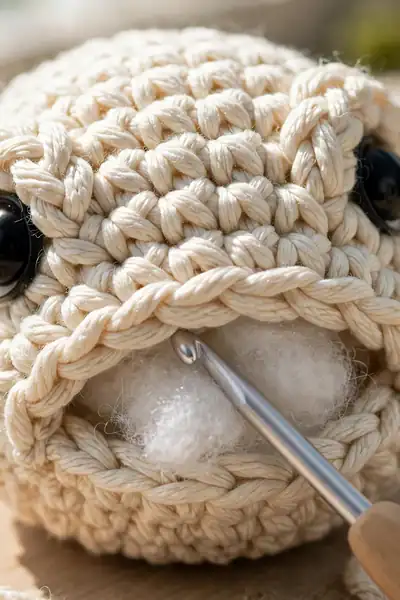
The head is the friendliest part to start with because it teaches every skill the rest of the pattern uses. Work in body-colored yarn and keep your stitch marker moving.
- Rounds 1 to 5: start with 6 sc in a magic ring, then increase each round (12, 18, 24, 30 stitches), keeping increases evenly spaced.
- Rounds 6 to 11: single crochet evenly around all 30 stitches for six rounds to form the head shape.
- Insert 12mm safety eyes between rounds 8 and 9, about 7 stitches apart, then stuff the head firmly with fiberfill.
- Rounds 12 to 15: decrease evenly (24, 18, 12, 6 stitches), fasten off, and weave the tail through the last 6 stitches to close.
Crocheting the Top Shell
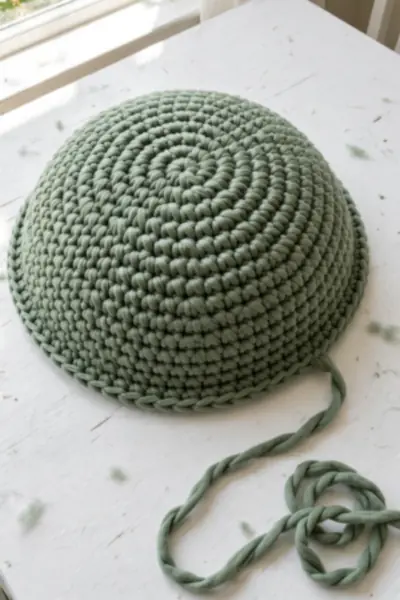
Quick Tip: Count your stitches at the end of every increase round. A missed increase in round 4 compounds into a wavy edge by round 7, and catching it early takes seconds while fixing it later means unraveling.
Switch to shell-colored yarn. Work rounds 1 to 7 as a flat circle, increasing from 6 stitches to 42, then crochet three even rounds around all 42 stitches to build the dome curve. Fasten off leaving a long tail, at least 24 inches, since you will use it to sew the shell pieces together later.
Crocheting the Bottom Shell
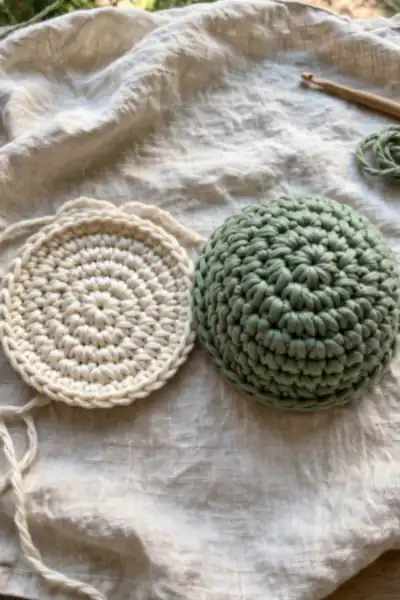
Common Mistake: Beginners crochet the bottom shell in a hurry and end up with a smaller circle than the top. When the edges do not match, sewing them together puckers and the turtle sits lopsided.
The Fix: Count to exactly 42 stitches on the final round, the same as the top shell. Lay both pieces together before fastening off to confirm the edges align all the way around.
Use body-colored or shell-colored yarn, your choice. Work rounds 1 to 7 increasing from 6 to 42 stitches, then fasten off with a normal tail. This piece stays flat, so no even rounds are needed, and it gives your turtle a clean finished underside.
Crocheting the Flippers (Make 4: 2 Front, 2 Back)
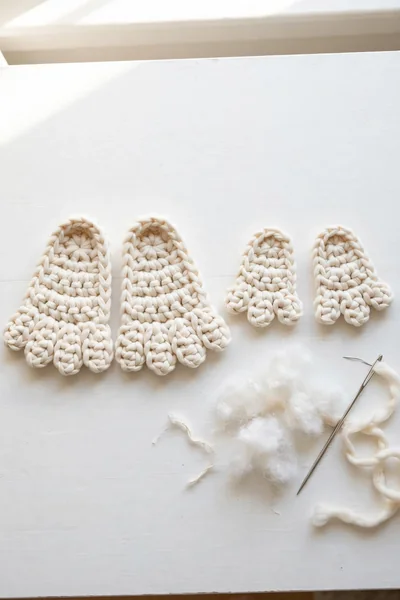
All four flippers use the same base pattern with one small difference in length. Make two of each size and keep them paired so assembly stays simple.
- Rounds 1 to 3: start with 6 sc in a magic ring, increase to 12, then to 18 stitches.
- Front flippers: single crochet evenly around all 18 stitches for rounds 4 to 7. Back flippers: work only rounds 4 to 5 evenly for a shorter flipper.
- Final round: work (sc, dec) six times to bring each flipper down to 12 stitches.
- Stuff very lightly, flatten the opening, single crochet across the top to close, and fasten off with a long tail for sewing.
Crocheting the Tail
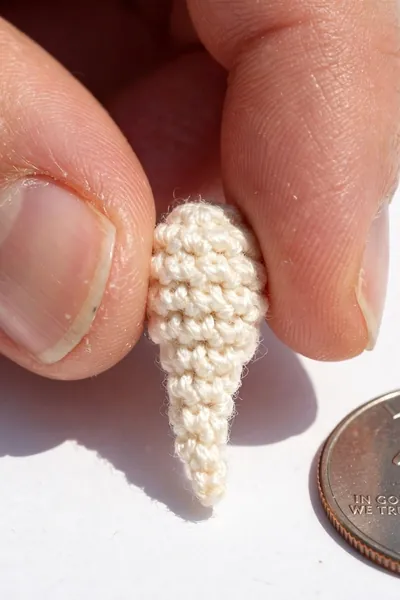
Quick Tip: Do not stuff the tail. It is too small to need it, and stuffing makes it stiff and pointy instead of soft. An unstuffed tail sews on flatter and looks more natural against the shell.
The tail takes about five minutes and uses almost no yarn. Start with 4 sc in a magic ring, work (sc, inc) twice for 6 stitches, then two even rounds around. Fasten off with a tail for sewing. This tiny piece adds surprising personality, so do not skip it thinking nobody will notice.
Assembling Your Turtle (Plus a No-Sew Alternative)
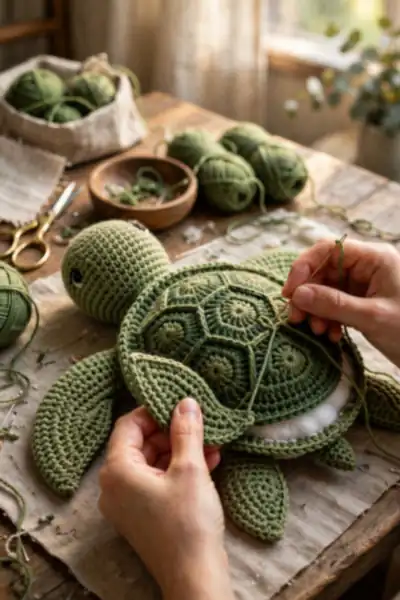
Common Mistake: Beginners sew all four flippers on first and then discover the head has no room. The turtle ends up with a crowded face and flippers pointing the wrong way, and unpicking sewn plush yarn damages the stitches.
The Fix: Pin everything in place before sewing a single stitch. Attach the head first at the front edge, then position the flippers evenly around the shell, checking symmetry from above before committing.
Sew the top and bottom shells together around the edge, stuffing the dome firmly before closing the last two inches. Then attach the head, flippers, and tail with your long tails, weaving in ends securely. Prefer no sewing? Use a strong fabric glue on the flipper bases instead, holding each for sixty seconds.
Stuffing Tips for a Squishy Finish
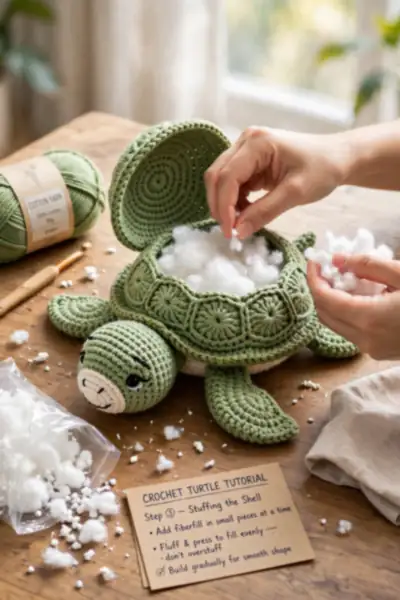
Stuffing decides whether your turtle feels like a cloud or a lumpy pillow. The secret is small pieces and patience, never big handfuls shoved in at once.
- Pull off walnut-sized pieces of fiberfill and fluff each one before inserting it.
- Fill the head and shell dome first, pressing gently to check for thin spots as you go.
- Add stuffing gradually while sewing the shell closed, so the last inches stay full.
- Squeeze the finished turtle all over: any hard lump means too much in one spot, so redistribute it.
Under-stuffing shows as wrinkles, over-stuffing stretches the stitches and shows white through the yarn. Aim for firm but squeezable, like a ripe peach.
Adding the Face and Final Touches
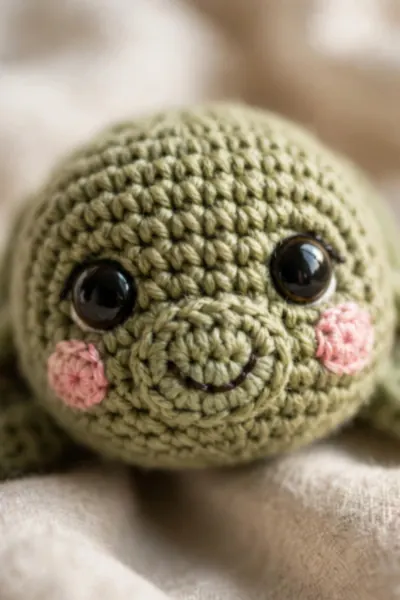
Quick Tip: Embroider the smile before attaching the head to the shell. Working on a separate head is far easier than stitching a curved mouth onto an assembled turtle, and mistakes are simpler to undo.
With the head stuffed and closed, check the eye spacing from the front, they should look friendly, not cross-eyed. Stitch a small curved smile with dark yarn, add two tiny blush circles with pink yarn if you like, then weave in every tail end securely. Give the whole turtle a gentle roll between your palms to settle the stuffing evenly.
Baby-Safe Version: No Small Parts
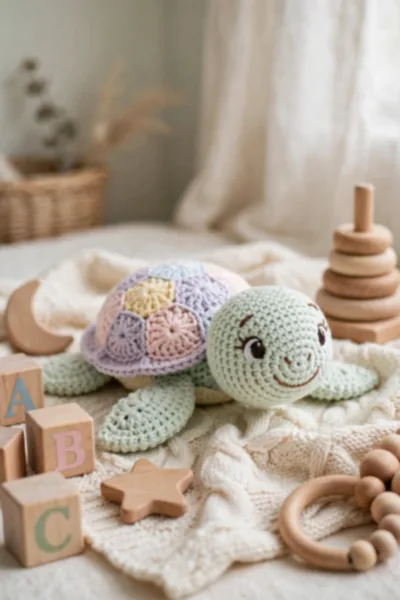
Common Mistake: People use standard safety eyes on turtles meant for babies, assuming the “safety” name means chew-proof. Safety eyes can still pull loose under determined little teeth, creating a real choking hazard.
The Fix: Skip plastic eyes entirely for babies under three. Embroider both eyes with black yarn using a French knot or satin stitch, and sew every part with extra-strong joins instead of glue.
Use the same pattern with zero changes to the rounds. The embroidered face gives the turtle a softer, vintage look that many gift-givers actually prefer, and you can hand it to a newborn with complete peace of mind.
Tips From Making Dozens of Plush Turtles

After enough turtles, you stop fighting the pattern and start flowing with it. These are the small habits that separate a frustrating evening from a relaxing one.
- Wind your chenille into a loose ball before starting; tight factory skeins snag and shed.
- Keep a small trash bowl nearby for yarn tails and fiberfill wisps so they never migrate into your work.
- Crochet the boring parts (shell rounds) while watching something; save the face and assembly for focused time.
- Make two turtles at once in different colors; the second one always turns out better and you will want a gift spare.
In my experience, the tenth turtle takes half the time of the first. Repetition is the real teacher here, so do not judge your skills on turtle number one.
Working With Chenille Yarn Without Losing Count
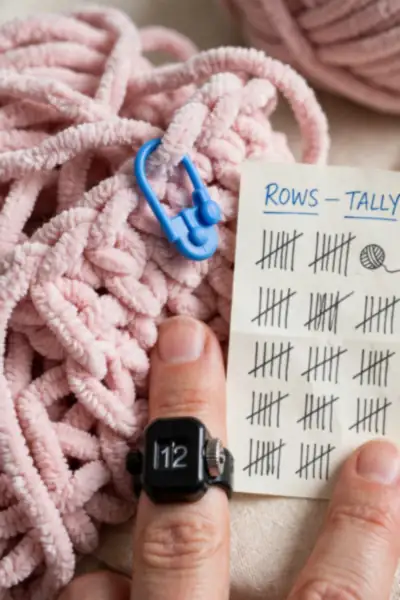
Quick Tip: Count out loud every five stitches. It feels silly for exactly one round, then becomes automatic. Audible counting catches a missed stitch the moment it happens, while silent counting lets errors hide until three rounds later.
Chenille’s fuzz swallows stitch definition, so your eyes cannot be trusted the way they are with smooth yarn. Feel for the V of each stitch with your fingertip as you work, and run a contrasting thread through the first stitch of each round as a backup marker. If a round feels wrong, count immediately rather than hoping it resolves itself.
Mistakes I’ve Made So You Don’t Have To
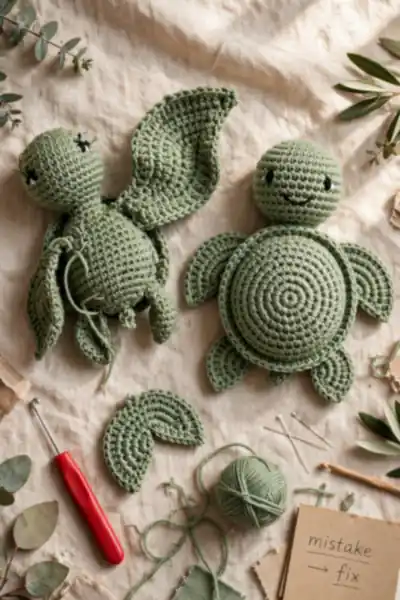
Common Mistake: I sewed the flippers on by eye without pinning, convinced I could judge symmetry. The turtle swam in circles visually, one flipper a full inch higher than its partner, and I had to unpick every stitch.
The Fix: Pin first, photograph from above with your phone, then sew. The camera catches asymmetry your eyes forgive, and repositioning a pin takes seconds versus unpicking sewn chenille.
My other classic was stuffing the shell after fully closing it, which left the dome half empty. Stuff as you sew the last inches, not after. Every mistake on this list cost me one turtle; let them cost you nothing.
Troubleshooting: When Something Looks Off
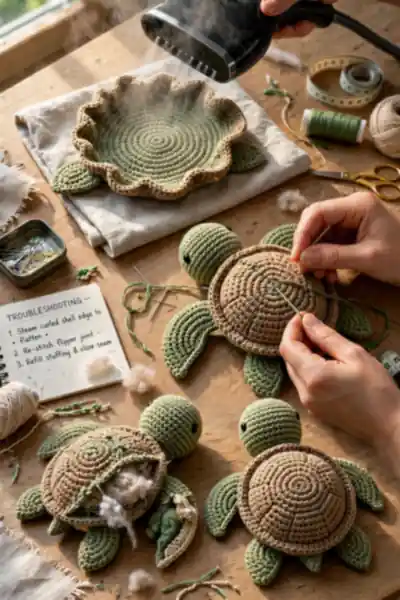
Almost every turtle problem has a simple cause and a simpler fix. Work through this checklist before unraveling anything.
- Shell edge curling up: the piece needs blocking; steam it lightly and press flat under a book overnight.
- Flipper pointing wrong: unpick just that joint, re-pin using the phone-photo trick, and re-sew.
- White fiberfill showing through: stitches are too loose; go down half a hook size on the next turtle.
- Turtle will not sit flat: the bottom shell was stuffed too firmly; remove a little fill and re-close.
Nine times out of ten the turtle is salvageable. I’ve noticed that most people skip this step and restart, when a ten-minute fix would have saved hours of rework.
Fun Ways to Customize Your Turtle
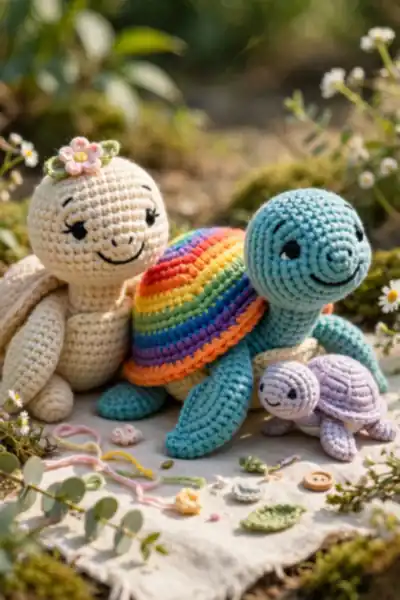
Quick Tip: Change only one thing per turtle. New makers who change the colors, size, and face all at once cannot tell which change they loved, and the next turtle becomes guesswork instead of progress.
Try a striped shell by switching colors every two rounds, or add a tiny crocheted bow between the eyes for a girl turtle. A pocket-size mini made with thinner yarn and a smaller hook takes under two hours. Seasonal versions fly on Pinterest: pastels for Easter, orange and brown for fall. Each variation teaches you something the plain version cannot.
Color Palettes for Every Nursery

Common Mistake: Choosing yarn colors under store lighting that clash horribly at home. Fluorescent lights lie about undertones, and that “perfect” green turns swampy in daylight.
The Fix: Photograph your chosen skeins together in natural light before buying. The phone photo reveals clashes instantly, and you can swap shades on the spot instead of mid-project.
Sage with cream suits calm nurseries, dusty pink with gray reads modern feminine, mustard with teal pops on shelves, and ocean blue with sand feels beachy. Pick the palette that matches the room, since this turtle will live there for years.
Also Explore:DIY Macrame Keychain Tutorial for Thoughtful Gifts
Gifting and Packaging Your Turtle
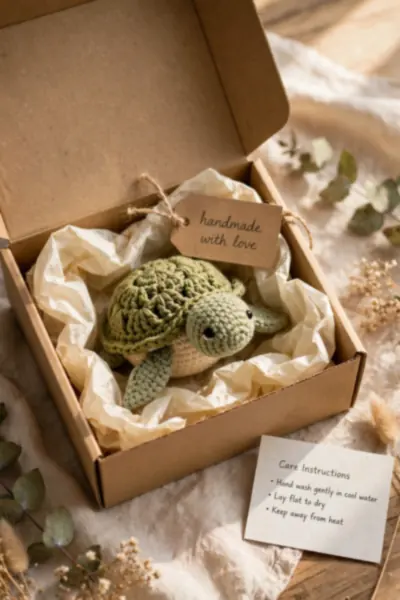
A handmade turtle deserves packaging that honors the hours inside it. Good wrapping turns your finished toy from a nice gift into an unforgettable one, and it photographs beautifully for the giver too.
- Nest the turtle in plain tissue inside a sturdy kraft box so it arrives squash-free.
- Tuck in a small handwritten card with the turtle’s “name” and washing instructions.
- Tie the box with cotton twine and a dried flower sprig for a boutique finish.
- For baby showers, add a ribbon in the nursery’s color palette around the box.
Recipients keep the box as often as the turtle. Presentation is the final stitch of the project, so give it the same care as the first.
Styling Your Turtle for Photos That Get Repinned
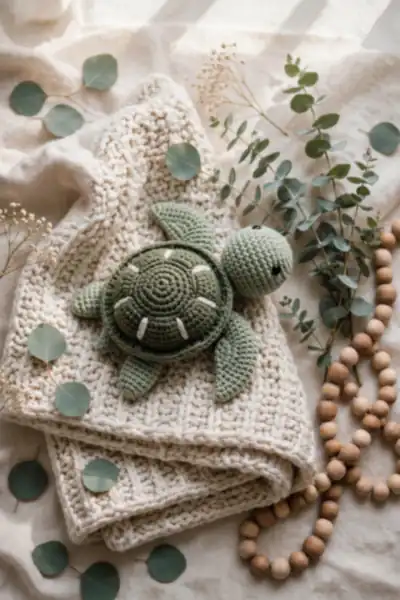
Quick Tip: Shoot in soft morning light near a window, never with flash. Harsh light flattens the plush texture that makes people stop scrolling, while gentle daylight shows every squishy stitch.
Style the turtle at a slight three-quarter angle so the face and shell both show. Add one or two props maximum, greenery or a knit blanket, since cluttered backgrounds get scrolled past. Take one close-up of the face for the pin image itself; faces outperform full-body shots on Pinterest by a wide margin.
Care Instructions
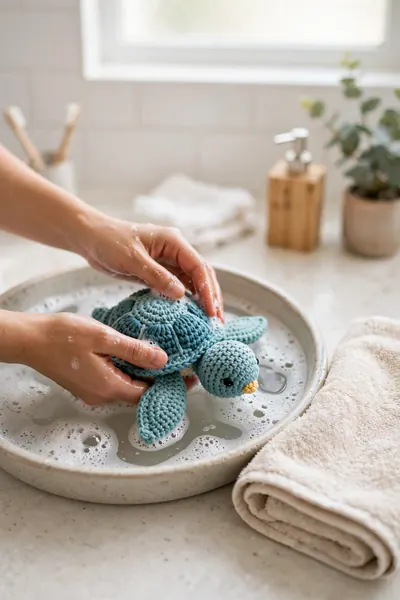
Common Mistake: Tossing the turtle in the washing machine on a normal cycle. The agitation felts chenille yarn, mats the texture permanently, and can loosen safety eyes, ruining in twenty minutes what took eight hours to make.
The Fix: Hand wash only in cool water with mild soap, squeeze gently without wringing, and reshape while damp. Air dry flat away from direct heat, never in the dryer.
For light dust between washes, a lint roller does the job in seconds. With gentle care, a well-made turtle stays soft and huggable for years, surviving countless washes and even more cuddles.
Frequently Asked Questions
1. How long does it take to crochet the turtle?
Most beginners finish in 6 to 8 hours spread over a few evenings. The shell rounds take the longest, while the tail and assembly go quickly.
2. Can I use a different yarn weight?
Yes. Thinner yarn makes a smaller turtle and thicker yarn makes a larger one, with the same stitch counts. Just match your hook to the yarn label.
3. Is this pattern safe for babies?
Yes, if you embroider the eyes instead of using safety eyes and sew all parts securely. See the baby-safe section above for details.
4. Why is my shell curling instead of lying flat?
You likely missed an increase in an early round. Count back to find where the stitch total went wrong, then unravel to that round and redo it.
5. Can I sell turtles made from this pattern?
Yes, handmade finished turtles are fine to sell. The written pattern itself should not be redistributed or republished.
Conclusion
You now have everything needed to make a turtle that stays cute for years: a structured shell, even stuffing, and a face full of personality. This crochet plush turtle makes a heartfelt handmade gift, a nursery shelf favorite, and a project you will want to repeat in every color.
Save this pattern on Pinterest so it is waiting when your next gift occasion arrives. Try one customization on your second turtle, a striped shell or a tiny bow, and share this tutorial with a friend who keeps saying they want to learn crochet. I have seen how making this one change, pinning before sewing, can completely shift the result.



2 Comments