
How to Seal Air Dry Clay for a Waterproof Pro Finish
You shaped it, dried it, and painted it beautifully. Then a single splash of water ruins everything. If that fear keeps your clay pieces off the bathroom shelf, learning how to seal air dry clay properly changes everything.
Sealing is the step most beginners skip, yet it is what makes a piece look professionally finished. It locks in your paint, adds your chosen sheen, and guards against dust, handling, and everyday splashes. In my experience, it is the difference between a craft that lasts weeks and one that lasts years.
Does Air Dry Clay Really Need a Sealer?

A piece of air dry clay can look done the moment the paint dries, but an unsealed surface stays thirsty. It picks up dust, smudges easily, and softens when it meets water. A sealer locks in your paint and gives the piece a polished look in matte, satin, or gloss.
In my experience, a common misunderstanding is what a sealer promises. It will not turn clay into ceramic or make it food safe. Think of sealing as a protective jacket, not armor. It guards against dust, light splashes, and everyday handling, and that is plenty for decorative pieces.
The Right Time to Seal: Bone-Dry Only

Learning how to seal air dry clay starts before the sealer comes out. Sealing too early is the top reason finishes fail, because moisture trapped inside the clay has nowhere to escape once the surface is coated. Give the piece the time it needs and the sealer will do its job.
- Press the thickest part of your piece with your fingertip. If it feels cool or gives even slightly, it is still holding moisture inside.
- Check the spots that dry last: the underside of trays, thick handles, and anywhere two pieces were joined together.
- When in doubt, wait one more full day. A patient extra day costs nothing, but sealing a damp piece can ruin weeks of work.
- Keep the piece in a room with steady airflow while it dries. Avoid direct sun and heaters, since fast drying causes cracks.
Also View:Easy Air Dry Clay Recipe From Simple Pantry Staples
Your Sealing Toolkit
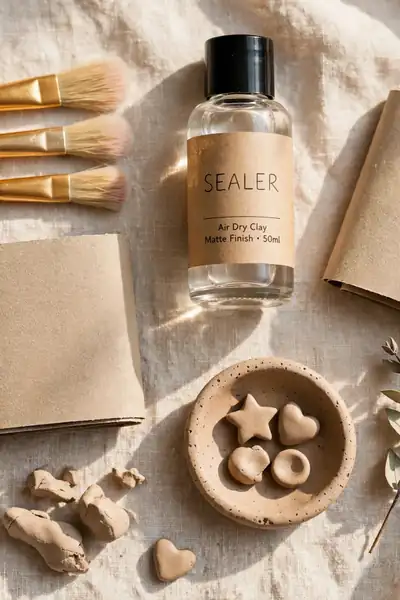
Quick Tip: You do not need professional supplies to get a pro finish. A basic brush-on sealer, one soft brush, and fine sandpaper will handle most beginner projects beautifully. Save the advanced products for later, when you know which finish you love.
Gather everything before you start so you are not hunting for a brush with wet sealer on your hands. Grab fine-grit sandpaper, a soft brush or foam brush, your chosen sealer, acrylic paint if you are adding color, disposable gloves for spray or resin, and parchment paper to protect your table. Good ventilation matters too.
Sealers That Work on Air Dry Clay
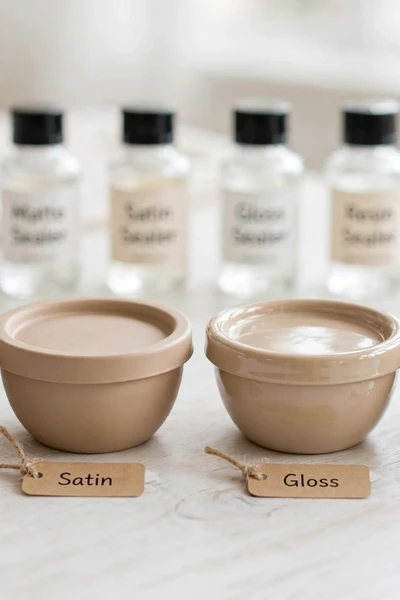
Common Mistake: Most beginners grab whatever sealer is closest, usually regular craft varnish, and assume all clear coats behave the same. A sealer that is perfect for a paperweight can turn cloudy on a painted trinket dish or stay tacky on a planter that lives near the sink.
The Fix: Match the sealer to the project, not the other way around. Brush-on craft sealer suits ornaments and light decor, spray gives small pieces an even coat, polycrylic handles pieces that get touched often, and epoxy resin is for the few projects that truly face water. Once you know how to seal air dry clay with the right product for the job, the finish almost takes care of itself.
Here is the short version of each option. Mod Podge is the friendliest start for beginners and comes in matte and gloss. Clear acrylic spray lays down an even coat with no brush marks. Polycrylic is tougher for handled pieces. Epoxy resin gives a thick glass-like coat but needs careful mixing and ventilation.
Run the Bone-Dry Test

Do This:
- Press the thickest part of the piece and hold for a few seconds, since coolness means trapped moisture.
- Flip the piece over and check the underside, because bottoms dry last.
- Test any joined areas and handles separately, since thickness hides there.
- Smell the clay up close, because a damp earthy scent means it needs more time.
Avoid This:
- Do not trust the surface alone, because the outside hardens long before the inside.
- Do not rush drying with a heater or direct sun, since that causes cracks.
- Do not seal a piece that feels even slightly cool to your touch.
This test takes less than a minute and saves you from the worst sealing failure. Moisture sealed under a finish will bubble, cloud, or peel the coat within days, and there is no way to fix it without stripping everything off. Beginners who wait the extra day almost never have finish problems.
Sand and Smooth the Surface

Before: Freshly dried clay usually carries fingerprints, tiny bumps, and rough edges from shaping. Left alone, every one of those flaws shows through the sealer, and gloss finishes make them even more obvious.
After: A few minutes of gentle sanding leaves the surface even and silky to the touch. The sealer glides on smoothly, the finish looks clean, and painted colors sit flat instead of catching on ridges.
Use fine-grit sandpaper and a light touch, since aggressive sanding can erase delicate details. Work in small circles over rough spots only, then wipe every trace of dust away with a soft dry brush or cloth. Dust trapped under sealer turns into tiny bumps that no topcoat can hide.
Also Explore:How to Make an Air Dry Clay Paint Palette So Easily
Paint Before You Seal

Best For: Painted ornaments, trinket dishes, and colorful decor | Time Needed: 30 minutes plus drying time between coats | Pro Tip: Thin coats dry faster and keep details crisp | Result: Rich color locked safely under the clear finish
Always paint on fully dry clay and let each coat dry before adding the next. Thick paint can wrinkle under sealer, while thin layers bond tightly and stay smooth. Once the final coat feels dry, wait a little longer, then check for touch-ups before the clear coat seals everything in.
Choose Matte, Satin, or Gloss
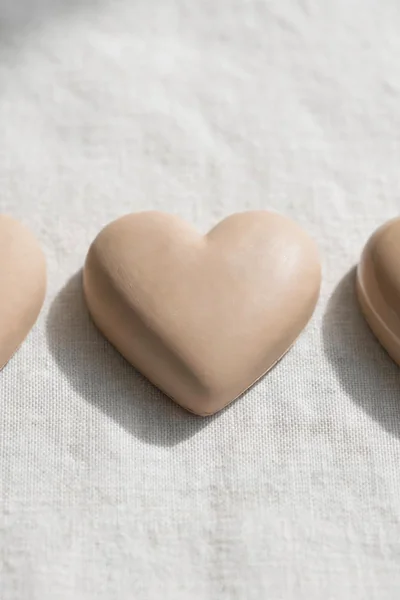
The finish you choose changes the whole personality of a piece. Matte keeps the look soft and natural, which suits minimalist and rustic decor. Satin adds a gentle sheen without shine, a safe middle ground. Gloss brings a polished reflective surface that turns up the drama.
Think about where the piece will live before you decide. A matte ornament looks right on a neutral shelf, while a glossy trinket dish pops on a vanity. In my experience, beginners love gloss because colors look richer under it, but matte forgives small flaws that gloss would highlight.
Brush On the First Thin Coat

The first coat sets the tone for the whole finish, so slow down here. A thin even layer bonds tightly and dries clear, while a heavy one brings drips, cloudiness, and brush marks. Load your brush lightly and let the product do the work.
- Dip just the tip of a clean soft brush into the sealer, then wipe off the excess on the rim.
- Brush in one direction with light even strokes, covering a small area at a time.
- Resist the urge to go back over a spot once the sealer starts to set, since re-brushing causes streaks.
- Check your work in good light for missed patches before moving on.
Let the First Coat Dry Fully
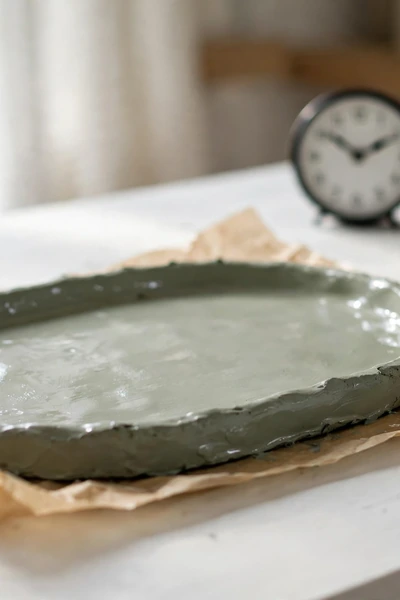
Quick Tip: Dry to the touch does not mean ready for the next coat. Most sealers need the full time printed on the label before another layer goes on, and rushing this step is how finishes turn cloudy or peel. When the label says one hour, give it the whole hour.
Different sealers dry at different speeds, so check your product instead of guessing. Brush-on craft sealers often need an hour or two, sprays can be ready in under an hour, and resin needs a full day or more. Good airflow helps, but heat does not, so keep the piece at room temperature and be patient.
Add Thin Additional Coats

Common Mistake: After one coat, many crafters decide the piece needs real protection and load on a second coat twice as thick. That heavy layer traps solvents underneath, which leads to tackiness that never fully hardens and a cloudy look that ruins the color beneath.
The Fix: Build protection the slow way, with two or three thin coats instead of one heavy one. Let each layer dry fully, then add the next with the same light touch as the first. Thin layers cure harder, stay clearer, and actually protect better than a single thick coat.
Most decorative pieces look their best with two thin coats, while handled items like trays and dishes earn a third. Inspect the surface between coats in good light and sand any tiny dust nibs gently before the next layer. Patience here is what separates a homemade look from a pro finish.
Cure the Piece Undisturbed

What You Need:
- A dust-free spot: a shelf or table away from foot traffic where nothing will brush against the wet finish.
- Parchment paper: keeps the piece from sticking to the surface while the final coat hardens.
- Good airflow: steady room air helps the sealer cure evenly without trapping fumes.
- Patience: most sealers need a full day or more after the last coat before regular handling.
- A light cover: an upturned box shields the piece from settling dust while it cures.
Drying and curing are not the same thing, and this is where many finishes quietly fail. A surface can feel dry while the coating underneath is still soft, so handling it early leaves fingerprints that never come out. Give the piece the full cure time on the label, then enjoy a finish that stays beautiful.
Seal the Underside and Edges Too

Before: Most people seal the pretty top of a piece and forget the bottom completely. Moisture sneaks in through that unsealed underside, especially on trays and dishes that sit on damp counters, and the clay softens from below while the top still looks perfect.
After: A sealed underside closes the loop so moisture has no entry point at all. The piece stays strong from every angle, lasts far longer in kitchens and bathrooms, and you never have to wonder what is happening underneath.
Flip the piece once the top is dry and give the bottom the same thin coats, including the rim and any feet. Edges deserve extra attention because sealer tends to pull thin there. This one habit adds only minutes and doubles how well the piece stands up to real life.
How to Avoid Brush Marks

Do This:
- Use a soft clean brush or foam brush, since stiff bristles leave visible lines.
- Work in one direction with smooth confident strokes instead of scrubbing back and forth.
- Check the surface in bright light while the coat is wet, so you can catch ridges early.
Avoid This:
- Do not overload the brush, because excess product pools and dries unevenly.
- Do not keep brushing a spot once the sealer starts to set, since that drags the finish.
- Do not use an old brush with dried paint in it, because those bits end up in your coat.
Brush marks bother beginners more than anything else, yet they are the easiest flaw to prevent. Thin coats, the right brush, and leaving each stroke alone will give you a surface that looks sprayed on. If a mark does appear, let the coat dry fully, sand it lightly, and recoat.
Can You Seal Painted Clay?
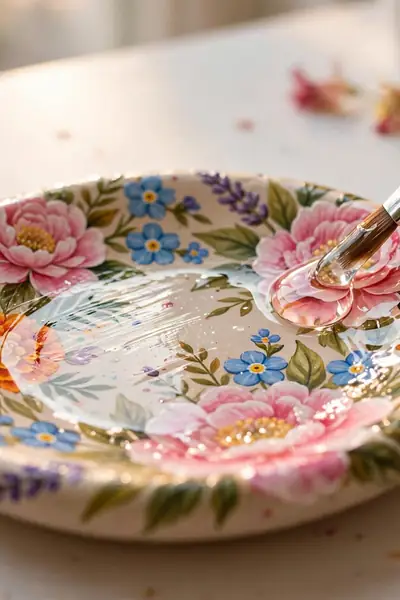
Best For: Acrylic-painted ornaments, dishes, and colorful decor pieces | Difficulty: Easy, just add drying time | Pro Tip: Test the sealer on a painted scrap first | Result: Colors stay vibrant and resist chipping
Yes, sealing painted clay is one of the best reasons to own sealer. Wait until the paint is completely dry, then apply the clear coat in thin layers as you would on bare clay. The finish locks the color in place and protects it from handling that slowly wears paint away.
How Much Water Can a Sealed Piece Handle?
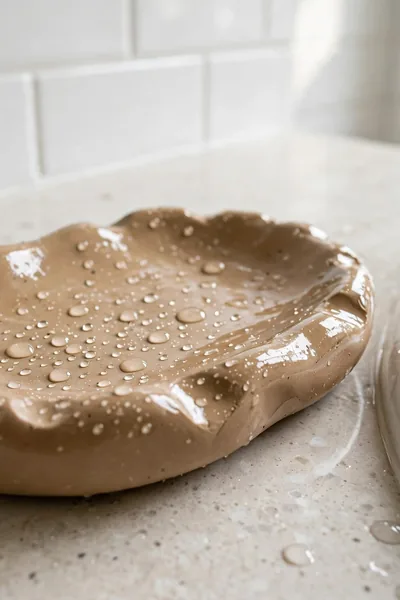
A well-sealed piece handles everyday life better than most people expect. Light splashes from the sink, humid bathroom air, and the occasional spill wipe right off a cured finish. For trinket dishes, ornaments, and decorative trays, that level of protection covers nearly everything they will ever face.
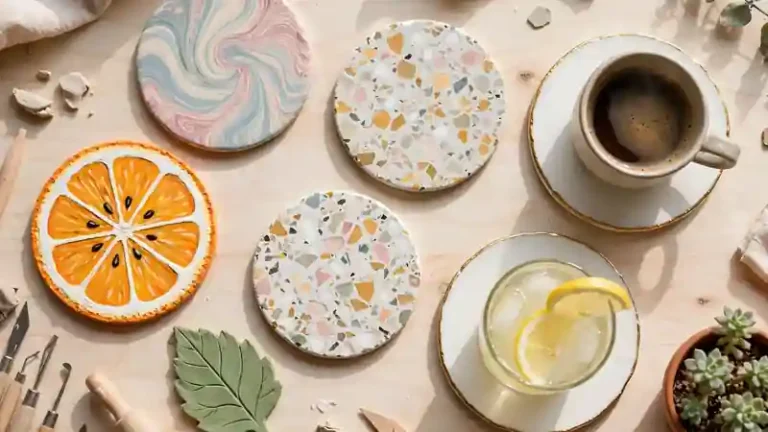
The line is drawn at soaking and standing water. A sealed coaster survives a sweaty glass, but it will not survive being left in a puddle overnight. Keep sealed pieces out of dishwashers, sinks, and constant dampness, and they will stay beautiful for years.
Water-Resistant vs Truly Waterproof
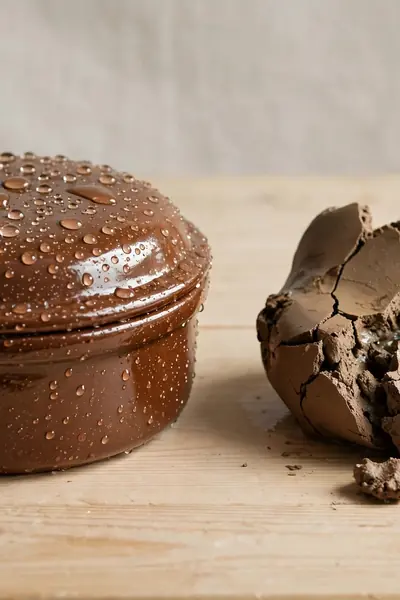
This distinction matters more than any product choice, so let us get it straight. Proper sealing builds water resistance, which means the surface shrugs off splashes and humidity. True waterproofing means surviving full submersion, and that is a different game entirely.
- Treat sealed clay as water-resistant, which covers splashes, humidity, and quick wipe-downs.
- Reserve the word waterproof for epoxy-coated pieces, and even then avoid soaking them.
- Never assume a sealed piece is food safe, because no craft sealer earns that claim.
- When a project will face real water, like a planter, choose resin and seal every surface including the inside.
Which Sealer Fits Your Project

Quick Tip: Start from the project, not the product shelf. An ornament that hangs on a tree needs far less protection than a soap dish that gets wet daily. Match the sealer to the job and you will never overpay or under-protect.
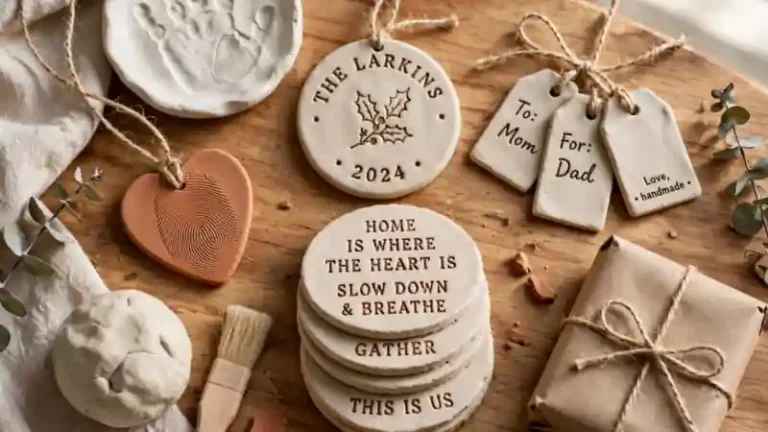
Ornaments and wall decor do beautifully with brush-on craft sealer in any finish you like. Small trinket dishes and frequently handled pieces deserve polycrylic for extra toughness. Quick craft batches and tiny pieces love the even coat of a spray. Save epoxy resin for planters, vases, and anything that will truly meet water.
Sealing Planters That Hold Real Soil

Common Mistake: Planters get sealed on the outside only, while the inside that touches damp soil stays raw. Water wicks straight through that bare interior, softens the walls, and the planter slowly slumps or cracks within a few weeks of planting.
The Fix: Seal the inside of the planter just as carefully as the outside, using a water-resistant sealer or epoxy resin for the interior. Let it cure fully, then add a plastic liner or a layer of pebbles before the soil goes in. That liner is cheap insurance no coating can replace.
Real soil stays damp for days after watering, which is far harsher than any splash. A sealed interior plus a liner keeps the clay dry from the inside out, and your planter holds its shape season after season. Skip the liner and even the best sealer will eventually lose the fight.
Can Sealed Clay Live Outdoors?

Best For: Covered porches and sheltered patios only | Durability: Weeks to months outdoors, years indoors | Pro Tip: Bring pieces inside before rain and frost | Result: Longer life, but outdoor clay always needs shelter
Honestly, air dry clay is an indoor material at heart. Sun fades paint, rain finds every weak spot, and freeze-thaw cycles crack even well-sealed pieces. A covered porch buys you extra months, and bringing pieces inside during bad weather buys you years. Treat outdoor display as a season, not a lifetime.
Sealing Mistakes and How to Fix Each One

Before: A ruined finish feels like the end of a project. Tacky sealer that never hardens, cloudy patches that dull your paint, or a coat that starts peeling at the edges can make hours of work look amateur.
After: Most finish problems are fixable without starting over. Let a tacky coat cure longer in good airflow, lightly sand cloudy spots and recoat thinly, and strip peeling areas back to clean clay before resealing. The piece you save often looks better than the first attempt.
The golden rule is simple: never pile a fix on top of a wet problem. Let everything dry completely first, then sand gently and apply one thin corrective coat. I’ve seen this rescue pieces that looked hopeless, and each rescue teaches you what to avoid next time.
What Sealing Costs Per Project
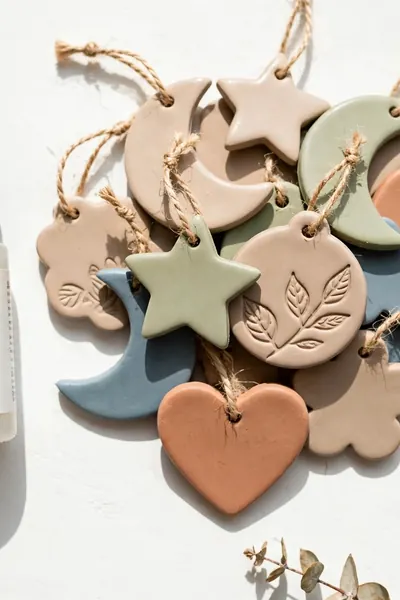
Cost: Low, a small bottle covers dozens of pieces | Best For: Budget crafters and first projects | Pro Tip: Buy small bottles until you know your favorite finish | Result: A pro look for pennies per piece
Sealing is one of the cheapest upgrades in crafting. A small bottle of brush-on sealer costs less than a takeaway coffee and covers dozens of ornaments. Spray sealers cost a little more per piece but save time on batches. Even epoxy resin stretches far when saved for pieces that truly need it.
Sealing FAQs

1. Can I use regular Mod Podge to seal air dry clay?
Yes. Regular Mod Podge works well for decorative indoor pieces. Choose the Outdoor formula if the piece will face humidity or light splashes.
2. How long should I wait between coats of sealer?
Follow the label on your product. Brush-on sealers usually need one to two hours, sprays need less, and resin needs a full day.
3. Can I speed up drying with a hair dryer?
It is not worth the risk. Forced heat can bubble the finish and crack the clay underneath. Room-temperature airflow gives the smoothest result.
4. Is sealed air dry clay safe for food?
No. No craft sealer makes air dry clay food safe, so keep sealed pieces away from anything you eat or drink.
5. Can I seal clay that I painted with markers?
Yes, but test first. Some markers bleed under a wet sealer, so try the combination on a scrap piece before coating your finished work.
Conclusion
Sealing is a small step with a big payoff. Your pieces now have locked-in color, a finish you chose on purpose, and real protection against dust, handling, and everyday splashes. Once you have this sealing routine down, every future project gets easier.
Save this guide on Pinterest for the next time a piece leaves the drying rack. Try the steps on a small ornament first, then move to the pieces you love most, and share this with a fellow crafter fighting dull finishes.




4 Comments