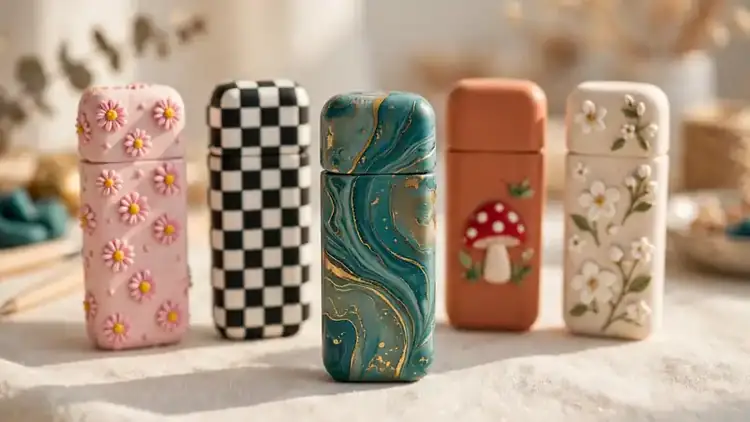
DIY Polymer Clay Lighter Case Even Beginners Can Make
That plain lighter in your drawer is begging for a makeover, and a handmade clay sleeve for it is the easiest way to give it one. This beginner friendly guide walks you through every step, from picking the right clay to baking a sleeve that fits perfectly. You do not need any experience, just a free afternoon and a little curiosity.
I have noticed that most people overthink their first clay project and never start. The truth is that wrapping a lighter is one of the most forgiving ways to learn polymer clay. If a seam looks rough, you smooth it. If a color feels wrong, you peel it off and try again.
Why a Polymer Clay Lighter Case Is Worth Making
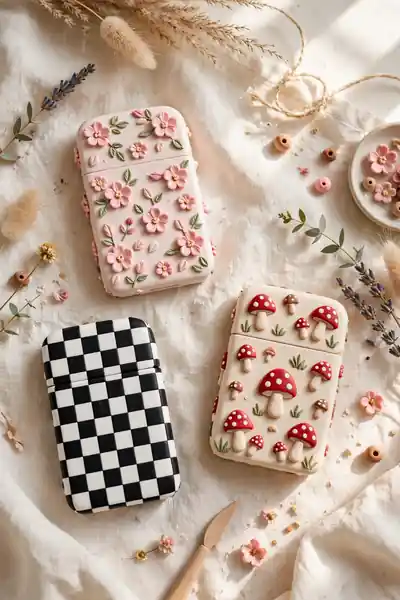
A plain lighter is boring, but a handmade clay cover turns it into a tiny piece of art you carry everywhere. You get to choose every color, pattern, and little sculpted detail, so the finished case looks exactly like you. It is a small project with a big personality payoff.
These cases also make thoughtful handmade gifts. Friends love receiving something you shaped with your own hands, and each one costs only a few dollars in materials. Once you learn the basic wrap technique, you can finish a case in one relaxed afternoon.
Safety First: The One Rule You Must Never Break
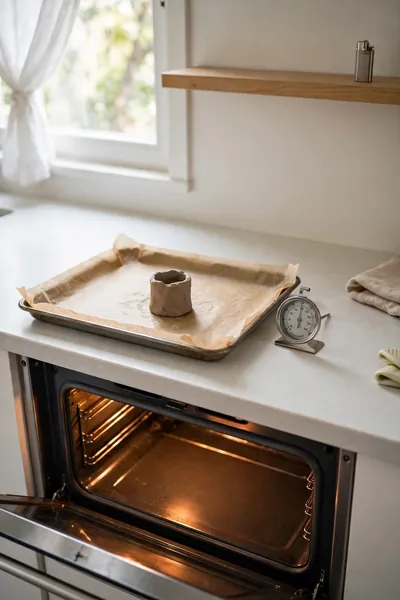
Polymer clay is safe to bake, but a lighter is not. Lighters contain flammable fuel and pressurized gas, so putting one in the oven can cause a fire or explosion. The good news is you never need to bake them together.
- Shape and bake the clay sleeve completely on its own, then slide it onto the lighter only after it has cooled down.
- Work in a ventilated room and keep the clay away from open flames while you are shaping it.
- Use an oven thermometer to confirm your oven holds the right temperature, since hot spots can scorch clay.
- Store the finished case away from heat sources, just like you would any ordinary lighter.
Also View:21 Dainty DIY Polymer Clay Bracelets to Make and Gift
Polymer Clay vs Air Dry Clay for Lighter Cases

Quick Tip: Pick polymer clay for this project, not air dry clay. Polymer clay bakes into a thin, hard, water resistant shell that grips the lighter snugly. Air dry clay dries thicker and more fragile, so sleeves crack or loosen with daily use.
The difference shows up fast once the case is in your pocket. A baked polymer sleeve stays smooth and keeps its shape through heat and handling. Air dry versions chip at the edges and swell slightly with moisture. For something you will touch every day, the baked option wins clearly.
Choosing the Right Clay Brand and Firmness
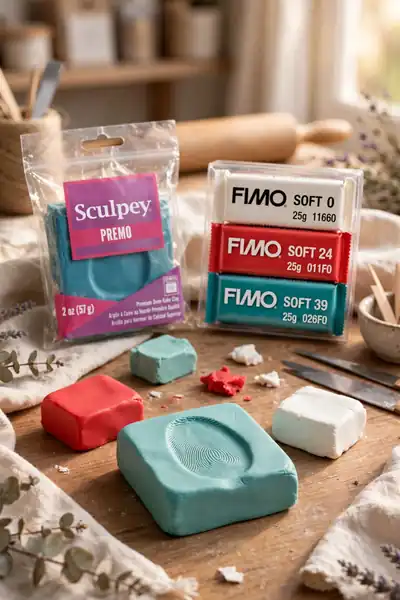
Common Mistake: Most beginners grab the softest clay on the shelf because it feels easier to knead. Soft clay stretches too thin on a lighter body, sags during baking, and leaves fingerprints that are hard to remove. The sleeve ends up wobbly instead of crisp.
The Fix: Choose a firm clay like Sculpey Premo or Fimo Professional. Firm clay holds sharp edges, resists fingerprints, and keeps thin wraps from stretching out of shape. It takes a little more conditioning, but the finished case looks far more polished.
Condition the clay until it is smooth but not sticky before you roll it out. If the clay cracks when you bend it, keep kneading a few more minutes. A well conditioned firm clay gives you clean seams and a professional surface that beginners can actually be proud of.
Supplies Checklist: Everything You Need With Exact Amounts
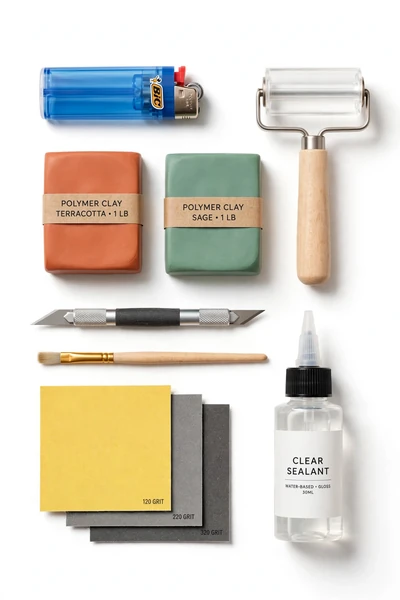
What You Need:
- One standard size lighter, the case is sized around a classic Bic, so measure yours first.
- Two ounces of polymer clay, one block in your main color plus a small amount for details.
- Acrylic roller or pasta machine, for rolling an even slab about one eighth inch thick.
- Craft knife and small ruler, for cutting clean straight wrap pieces.
- Cornstarch or baby powder, a light dusting keeps the clay from sticking to your lighter.
- Baking tray with parchment paper and an oven thermometer, for a safe, even cure.
Gather everything before you start so you are not hunting for tools with clay on your hands. Lay the supplies out in order of use, from clay and roller to knife and baking tray. A tidy workspace makes the whole project calmer and much more fun.
Shaping the Case: Condition, Cut, and Wrap

Before: Without a plan, the clay sticks to the lighter, the seam lands in an ugly spot, and the top edge waves up unevenly. You end up peeling the whole thing off and starting over, wasting clay and patience. Most first attempts fail right here at the wrapping stage.
After: With measured pieces and a light dusting of cornstarch, the slab wraps around smoothly and the seam sits neatly at the back. The top and bottom edges stay straight, and the sleeve slides off easily for baking. The whole step takes about ten minutes.
Roll your conditioned clay into a slab, cut a rectangle that wraps the lighter body with a small overlap, and dust the lighter lightly before wrapping. Press the seam closed with your fingertip, then trim the top and bottom edges with the craft knife for a clean line.
Design Ideas That Get Saved on Pinterest
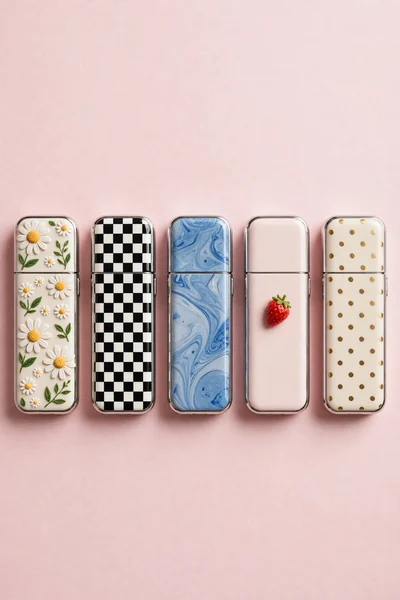
Do This:
- Try tiny 3D details like flowers, mushrooms, or hearts pressed gently onto the surface.
- Use a checkerboard or striped pattern for a bold look that photographs well.
- Marble two colors together for a swirled effect that hides small imperfections.
- Add a sprinkle of mica powder before baking for a soft shimmer finish.
Avoid This:
- Do not pile on heavy 3D pieces that make the case bulky in a pocket.
- Do not mix more than three colors or the design starts looking messy.
- Do not carve deep lines, since they weaken the thin clay walls.
- Do not use glitter on the surface, because it flakes off without heavy sealing.
Pick one idea and commit to it instead of mixing everything at once. Simple designs with clean execution always outperform busy ones in photos. Once your first case turns out well, you will have the confidence to try bolder styles.
Baking It Right: Temperature, Time, and Tenting

Time Needed: 30 minutes at 275°F (135°C) | Difficulty: Easy | Tools Required: Oven thermometer, foil, baking tray | Pro Tip: Tent with foil to prevent browning
Let the wrapped sleeve rest for fifteen minutes before baking so the clay relaxes and holds its shape. Place it on parchment, tent loosely with foil, and bake at the temperature printed on your clay package. Use a thermometer, since most home ovens run hotter or cooler than the dial says.
After baking, let the sleeve cool completely on the tray before touching it. The clay feels slightly soft when hot and hardens as it cools. Once cool, slide it gently onto the lighter and check the fit. If it is snug but slides on, you nailed it.
Also Explore:How to Glaze Polymer Clay for a Perfect Glassy Shine
Sanding and Sealing for a Professional Finish
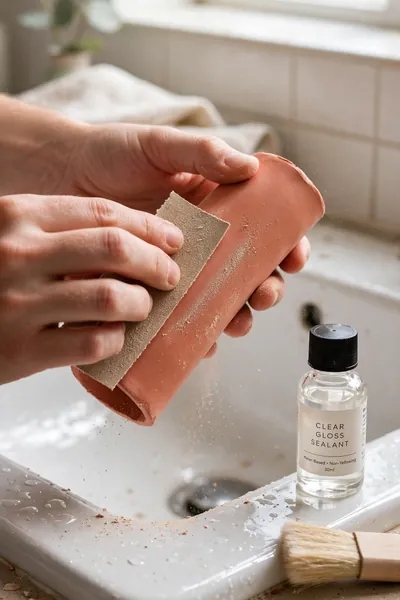
Sanding is the step that separates a homemade look from a store bought one. Start with 400 grit sandpaper to smooth the seams and edges, then move to 800 grit for a silky surface. Wet sanding works best, so dip the paper in water and use light, even strokes.
Sealing protects your design from scratches and daily wear. Brush on two thin coats of a clay safe clear sealant, letting each coat dry fully between layers. Gloss gives a shiny boutique finish, while matte keeps things soft and modern. Either way, your case will look finished and last much longer.
Troubleshooting: Cracks, Bubbles, and Loose Fits
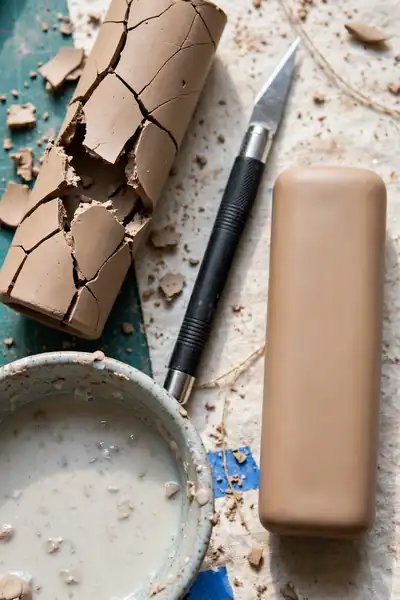
Even a well made clay sleeve can run into trouble after baking. Small cracks, air bubbles, and loose fits are the three issues beginners face most. The good news is that every one of them has a simple fix.
- For hairline cracks, rub a tiny amount of liquid clay into the crack, smooth it flat, and rebake for fifteen minutes.
- For air bubbles, poke the bubble with a pin before baking to release the trapped air, then press it smooth.
- For a loose fit, the sleeve shrank slightly or the wrap was too generous, so add a thin clay shim inside or remake it a touch tighter.
- For a sleeve that will not slide on, sand the inside edges lightly until it fits with gentle pressure.
Mistakes That Ruin Lighter Cases and How to Avoid Them
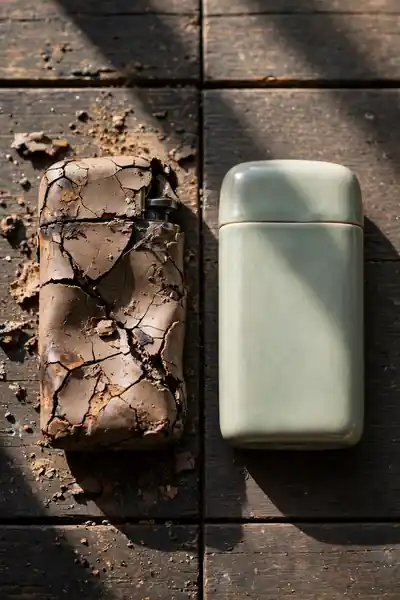
Quick Tip: The biggest beginner mistake is rushing the conditioning step. Under conditioned clay looks fine at first, then cracks during baking or crumbles at the edges. Spend a full five minutes kneading until the clay bends without any cracking.
The second common mistake is rolling the slab too thin. A wrap thinner than one eighth inch tears easily and warps in the oven. Keep your slab even and just thick enough to feel sturdy. Slow down, measure twice, and your case will survive baking without drama.
How Much Does It Cost to Make One?
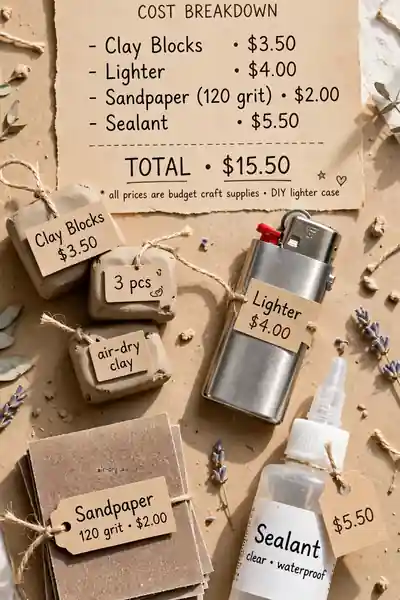
Common Mistake: Beginners assume they need a full craft store haul before starting. They buy five clay colors, three tools, and two sealants for a single case. The bill climbs past twenty dollars and the project feels expensive before it even begins.
The Fix: Start with one two ounce clay block, a basic craft knife, and supplies you likely own already. Your first case costs about five to seven dollars in new materials. Once you know you enjoy the craft, expand your color collection slowly.
A single block of clay makes two to three cases, which drops the per case cost to around three dollars. Sandpaper and sealant last through dozens of projects. Compared to the fifteen to thirty dollars shops charge for handmade cases, making your own is a clear win.
Gift Wrapping and Selling Your Finished Cases
What You Need:
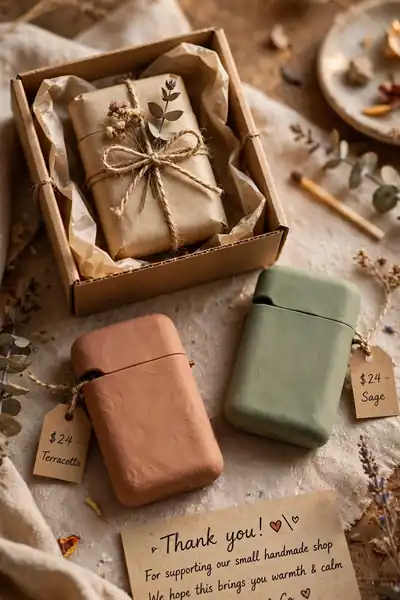
- Small kraft boxes or organza bags, simple packaging makes the case feel like a real gift.
- Twine and dried flowers, a cheap way to make the wrapping look boutique.
- Tiny thank you cards, a handwritten note turns a craft into a keepsake.
- A phone camera and daylight, good photos are everything if you plan to sell.
- An Etsy or market stall plan, decide your price before listing, not after.
Wrap each case in tissue so the finish stays scratch free, then nestle it into its box. If you are selling, price between twelve and twenty dollars based on detail level. Handmade lighter sleeves sell well as stocking stuffers and birthday gifts, especially in sets of two or three.
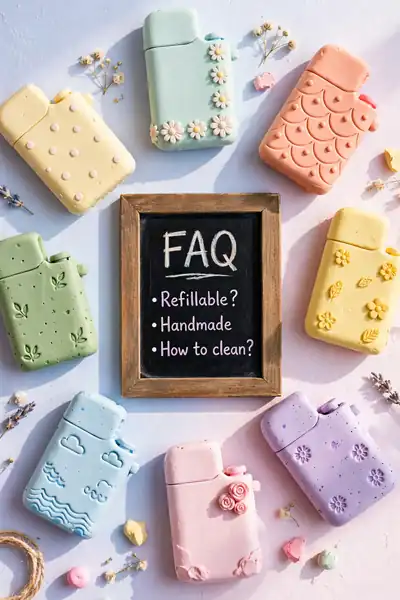
Polymer Clay Lighter Case FAQ
1. Can I bake the clay while it is still on the lighter?
No. Never put a lighter in the oven. Always bake the clay sleeve on its own, let it cool completely, and then slide it onto the lighter.
2. What size lighter works best for this project?
A standard size Bic lighter works best because it has straight sides and a consistent shape. Mini lighters work too, but you will need to measure and cut smaller pieces.
3. How long does it take to make one case?
About one to two hours including baking and cooling time. Conditioning and wrapping take around thirty minutes, baking takes thirty minutes, and sealing adds a little more.
4. Will the clay melt or soften near the flame?
No. Once fully baked, polymer clay is heat resistant and holds its shape. Keep the design away from the top edge near the flame, just to be safe.
5. Can I wash the finished case?
Yes. A sealed case can be wiped clean with a damp cloth. Avoid soaking it in water or using harsh cleaners that might dull the sealant.
Conclusion
By now you know every step of making a polymer clay lighter case, from conditioning the clay to sealing the finished sleeve. What started as a plain lighter is now something personal, colorful, and completely yours. That is the real magic of handmade crafts.




One Comment