
How to Fix Sinkholes in Candles and Stop Them Forever
You poured slowly, centered the wick, and waited with real patience, and the candle still cooled with a hole around its wick. Learning to fix sinkholes in candles is not about more skill; in my experience, it is about knowing why wax shrinks and what to do in the few minutes that really matter.
You will learn four repairs, from a quick heat gun pass to relief holes for deep pockets, plus the pour temperatures and slow cooling habits that prevent sinkholes in the first place. One rescued candle today becomes a smooth top on every single batch after it.
What a Sinkhole Really Is, and What It Is Not
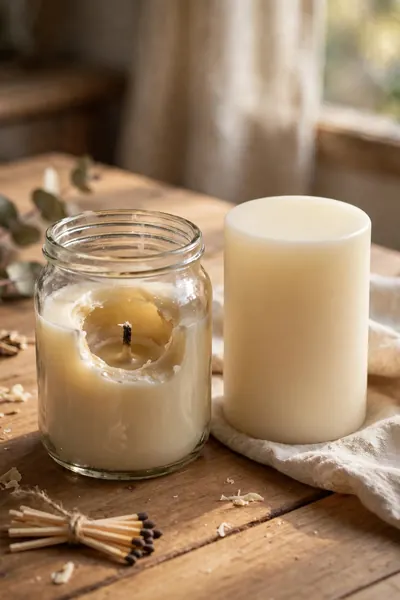
A sinkhole is a hollow dip that forms around the wick as a candle cools, sometimes shallow, sometimes a deep pocket hiding under a thin crust of wax. It is not a defect in your wick or jar. It is plain shrinkage, and it happens to nearly every candle maker.
Tunneling is a different problem: a burned candle that melts down the middle and leaves wax walls standing. Wet spots are pale patches where wax pulled away from the glass. Learning to fix sinkholes in candles starts with spotting which of the three you actually have in front of you.
Why Wax Shrinks as It Cools
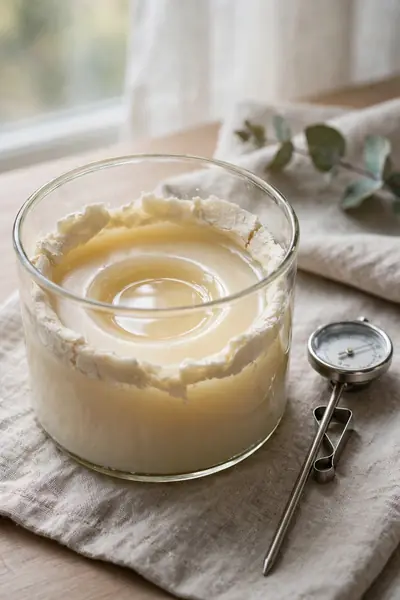
Wax takes up more room as a liquid than it does as a solid, and that one fact explains almost every sinkhole you will ever meet. As a candle cools, the wax gives up volume, and the missing volume has to show up somewhere.
- The outside cools first: wax touching the glass and the open air firms up while the middle is still liquid.
- A firm shell forms: that hardened outer layer locks the candle’s shape and size in place early.
- The center keeps shrinking: the warm core cools last and pulls inward as it loses volume.
- The surface gives way: with nothing left to hold it up, the soft middle sinks and opens the hole.
Also View: Candle Making for Beginners: Start With What You Have
How the Wrong Pour Temperature Creates Sinkholes

Quick Tip: Every wax has a pour temperature printed by its maker, and guessing it is the fastest route to a sinkhole. Pour too hot and the wax shrinks hard as it cools; pour too cool and it sets rough with weak glass adhesion.
A digital thermometer removes the guesswork for a few dollars, and it pays for itself in saved candles. Check the temperature in the pitcher right before you pour, not in the melting pot minutes earlier, because wax keeps losing heat while it waits and your reading should match the wax that actually lands.
Why Fast Cooling Opens the Surface
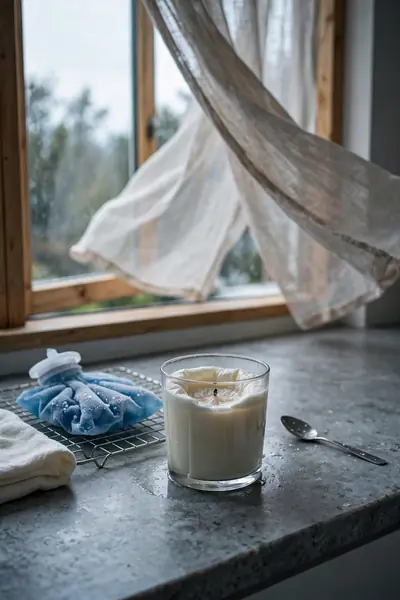
Common Mistake: Most beginners cool candles wherever the pouring happened: on a cold stone counter, beside an open window, or in a room with a fan or air vent running. The top and sides harden fast in that moving, chilly air while the center stays warm.
The Fix: Move fresh candles to a warm, still corner of the room and let them cool at room temperature, untouched. Cardboard or a wooden board under the jars also lifts them off cold surfaces that steal heat from below.
Slow cooling lets the whole candle shrink together, so the surface settles level instead of caving in. Give candles several undisturbed hours, and overnight is even better for wide jars. I’ve noticed that most people skip this step because waiting feels like doing nothing, yet it decides the finish more than any tool.
How Wide Containers Make Shrinkage Worse
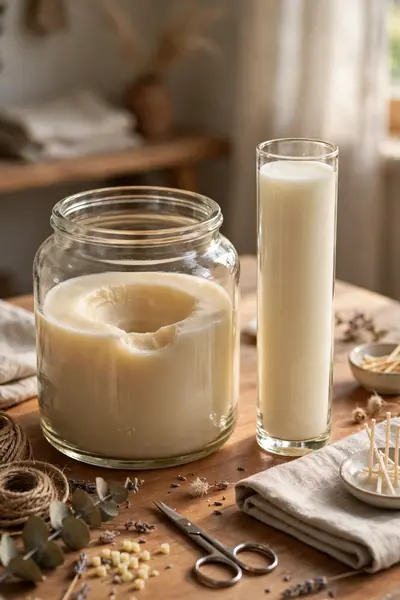
What You Need:
- Extra melted wax in reserve: a wide jar almost always needs a top up after the first cool.
- A planned second pour: filling in two stages beats one deep pour that caves in the middle.
- A longer cooling window: wide jars hold heat for hours, so plan an overnight rest.
- A heat gun for the finish: wide tops show every ripple, and a short pass levels them.
The wider the jar, the longer its center stays hot while the edges set, and that long gap is exactly where deep sinkholes grow. Narrow jars forgive a fast pour; wide jars do not. Treat every wide container as a two pour candle from the start and the problem mostly disappears.
Where Trapped Air Pockets Hide

Before: Poured quickly, the wax folds air into itself as it lands, and those bubbles settle around the wick and under decorations. The top looks smooth when you walk away, so you assume the candle set perfectly overnight.
After: Hours later the hidden pockets collapse as the wax firms, and the surface drops into them. What looked like a fresh sinkhole in the morning is often an air pocket that was there from the first minute.
This is why some sinkholes feel like a mystery: nothing about the cooling was wrong, and the hole still appeared. The cause happened during the pour, not after it. A slow pour and a gentle tap on the jar, both covered later in this guide, push the air out before it can hide.
What You Need to Fix a Sinkhole
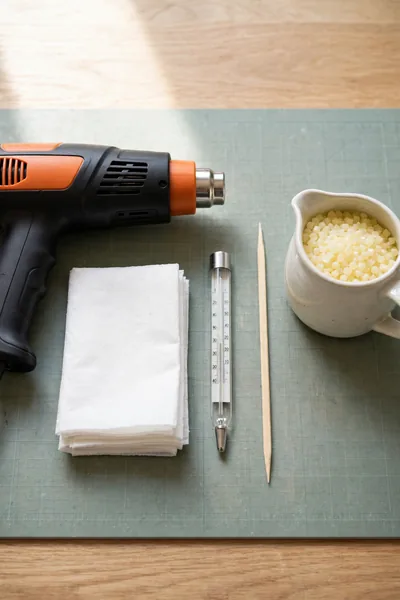
Do This:
- Keep a heat gun or a hair dryer on a warm setting within reach of your candle table.
- Save leftover melted wax from every pour in a small heat safe pitcher for repairs.
- Keep a bamboo skewer or toothpick with your tools for opening hidden pockets.
Avoid This:
- Do not use a kitchen torch or open flame to melt a candle top; it scorches wax and fragrance.
- Do not repair with a different wax and scent and expect an invisible finish.
- Do not work over a surface you cannot protect from hot wax drips.
None of this needs a big budget: most makers already own half the list, and the rest costs less than the candles it will save. Set these tools aside in one small box, and a sinkhole stops being a ruined evening. It becomes a five minute repair you handle without any stress at all.
Refill the Hole With Melted Wax

Time Needed: About 10 minutes plus cooling | Difficulty: Easy | Cost: Low | Best For: Medium and deep sinkholes
Let the candle cool completely first, then melt a small amount of the same wax and pour it slowly into the hole until it sits just level with the surface. Resist overfilling: a proud mound shrinks as it cools and trades one flaw for another. Let the repair cool slowly, untouched, at room temperature.
Level the Top With a Heat Gun
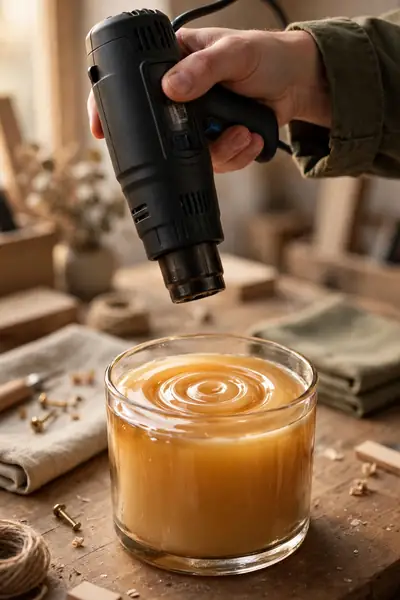
For a shallow sinkhole or a rough, rippled top, a heat gun is the fastest fix in this whole guide. Hold it several inches above the candle and keep it moving in slow circles. The surface wax melts, flows toward the low spots, and settles level on its own.
A hair dryer on its warm setting can do the same job on small candles; it simply takes a little longer. Work in short passes and check between them, because too much heat in one spot can discolor the wax, loosen the wick, or cook off fragrance you wanted to keep.
Poke Relief Holes, Then Top Off

Some sinkholes are only the mouth of a much deeper pocket, and pouring wax over the mouth alone seals air inside to sink again later. Relief holes open that hidden space first, so the fresh wax can fill the candle completely instead of capping it.
- Let the candle cool completely; poking warm wax only smears the surface and hides the pocket.
- Push a skewer down beside the wick in two or three spots until you feel it enter the hollow space.
- Melt the same wax and pour slowly, letting it run down the holes and fill the pocket from below.
- Top the surface level, then cool the candle slowly and check it the next day for any new dip.
The Double Pour for Large Jars

Quick Tip: Stop the first pour a little below your final fill line. That small gap is not a mistake; it is the space your second pour needs. Filling a jar in one deep pour invites the center to cave in as it cools.
Let the first layer cool until a shallow dip forms, then melt fresh wax and pour the second layer thin and level. The top layer shrinks far less than a full jar would, so it stays smooth. Professional makers use this method on large jars every single day, and now so can you.
How Deep Is Too Deep to Save
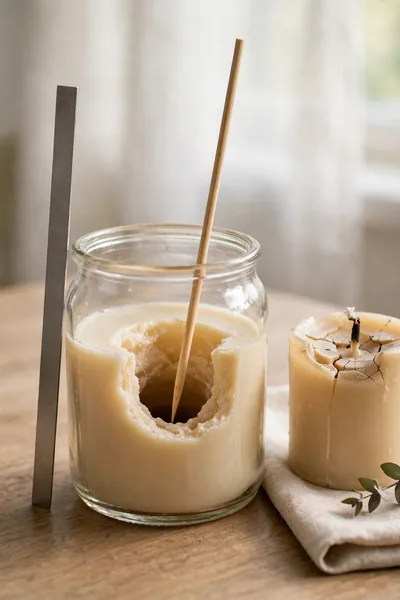
Common Mistake: Beginners pour fresh wax into any hole and call it saved, even when the pocket runs most of the candle’s depth or the wick has cracked, shifted, or drowned in loose wax. That candle will burn badly no matter how smooth its top looks.
The Fix: Push a skewer gently into the hole and measure the depth against the jar. A pocket in the top third is an easy repair. A pocket past halfway, or a damaged wick, means remelting the candle and starting the pour again.
Remelting sounds like failure, but it is often the fastest honest route: the wax, fragrance, and jar are all reusable, and the second pour takes minutes with everything you now know. A candle you would be proud to gift is worth one extra melt, while a patched deep pocket disappoints at the first burn.
Pour Temperatures That Prevent Sinkholes

What You Need:
- A digital thermometer: guessing from steam or shine is how hot pours happen.
- Your wax maker’s pour range: soy pours near 120 to 140 degrees, beeswax near 155, paraffin nearer 170 to 180.
- A steady melting setup: wax held at an even heat instead of reheated in bursts.
- A note of the exact pour temperature for every batch you make.
Cooler pours within the safe range shrink less, because the wax has less heat to give up as it sets. Pour at the low end of your wax’s range on warm days and the middle of it on cold days, then write the number down. Small adjustments here prevent most sinkholes outright.
Let Every Candle Cool Slowly
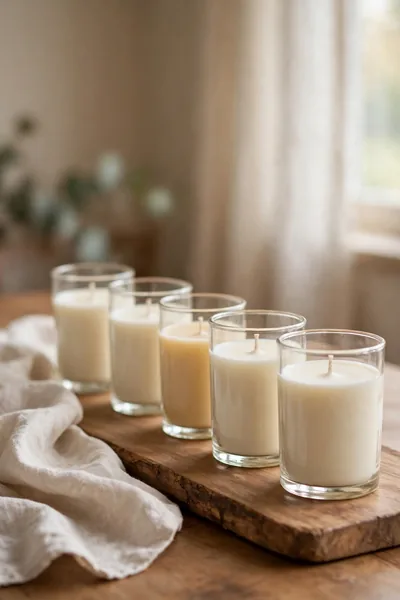
Before: Candles cooled in a busy kitchen get bumped, drafted, and chilled at different rates, and their tops show it: dips near the wick, cracks across the surface, and wax pulling away from the glass in pale patches.
After: Candles cooled in one still, warm spot settle evenly from edge to center. Their tops dry flat, their glass stays clear, and most of them need no repair work at all the next morning.
Room temperature is your friend here, roughly the warmth of a comfortable living room, and time is the other half of the recipe. Plan pours so candles can rest overnight without being moved, and group jars close together on a board so they share their warmth and cool as one.
Warm Your Jars Before You Pour
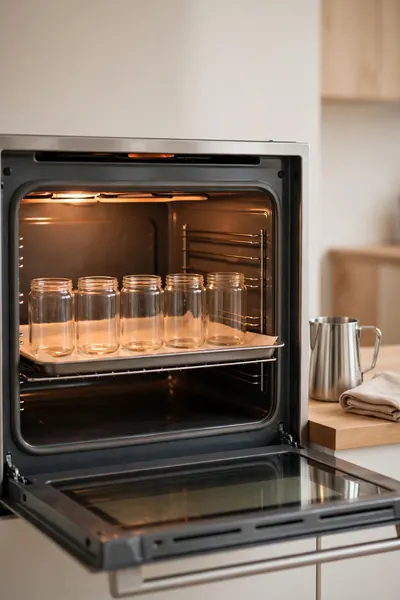
Do This:
- Warm jars in a low oven or with a heat gun until they feel just warm to the touch.
- Keep warmed jars on a wooden board, not a cold counter, while you prepare the wax.
- Pour soon after warming, before the glass gives its heat back to the room.
Avoid This:
- Do not pour into jars straight from a cold cupboard or a chilly garage shelf.
- Do not heat jars until they are hot; overheated glass risks cracking when wax lands.
- Do not warm jars with lids or labels on; adhesives soften and labels scorch.
Cold glass steals heat from the outer wax on contact, so that layer hardens while the center is still liquid, and the shrink gap opens right at the wick. A gently warmed jar cools with the wax instead of against it. Two minutes of warming here saves twenty minutes of repairs later.
Pour Slowly, Then Tap the Jar

Time Needed: One extra minute per jar | Difficulty: Easy | Cost: None | Result: Far fewer hidden air pockets
Pour in a slow, steady stream close to the jar, and keep the pitcher low so the wax lands gently instead of splashing and folding air in. Then tap the jar sides lightly a few times and watch the tiny bubbles rise and pop. That one quiet minute prevents most of the mystery sinkholes.
Keep a Little Wax Back for Topping Up

Here is the habit that quietly fixes most sinkholes before they start: never pour every drop you melted. Hold back a small amount of wax in the pitcher, roughly a spoonful or two per jar, and let it sit ready while the candles cool their first few hours.
When the dip appears, the repair wax is already the same batch, the same scent, and the same color, so the top up blends without a visible line. Warm it gently, pour it level, and the candle finishes as if the sinkhole never had a chance to form.
Also Explore: Candle Wax Measurements Made Super Simple for Beginners
Keep Notes on Every Batch You Pour
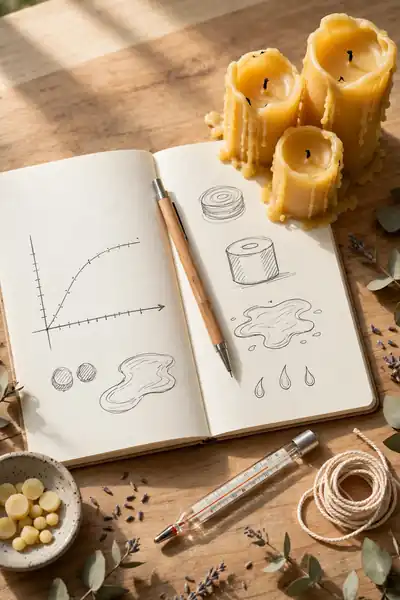
The makers who stop getting sinkholes are usually the ones who can tell you exactly what they poured last time. Notes turn random flaws into patterns you can read: which wax, which temperature, which room, and which result came from that mix.
- Write the wax type and the exact pour temperature before the candle even cools.
- Note the room conditions: warm still air, cold counter, or a draft you could not avoid.
- Record the result the next morning in one honest line: smooth top, shallow dip, or deep sinkhole.
- Change one thing at a time next batch, so your notes point at the real cause.
Match the Wax When You Repair

Quick Tip: A repair only disappears when the new wax is the same wax, the same fragrance, and the same color as the candle under it. A different wax shrinks at a different rate, so the patch can crack, sink, or ring itself with a visible line.
In my experience, this is the small detail that separates a repair nobody can find from one everybody notices. Keep a labeled jar of each batch’s leftover wax on the shelf, and future repairs stay invisible. Your future self, facing a dipped top on a gift candle, will be glad you did.
Let a Repaired Candle Rest Before Burning
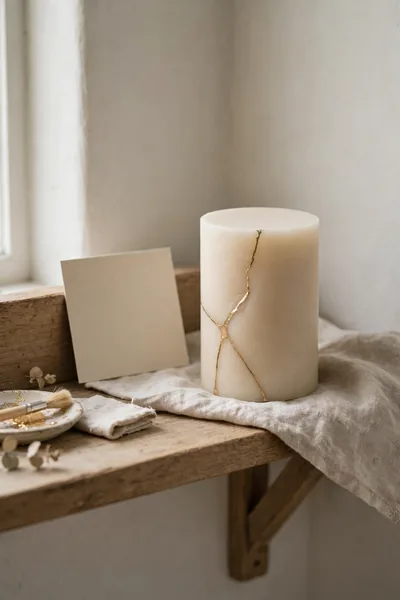
Common Mistake: The top looks smooth an hour after the repair, so the candle goes straight to its first burn. The fresh wax is still soft inside, the wick burns down into it too fast, and the weak center melts, pools, and sinks again.
The Fix: Let a repaired candle rest until the new wax has fully hardened and bonded, at least overnight and longer for scented soy candles that cure over days. A patient rest lets the patch become part of the candle instead of a lid sitting on top.
Treat the repair like a mini second cure: the candle has been through a melt, a pour, and a cool, and it needs the same respect as a fresh one. Mark the repair date in your batch notes, burn the candle after its rest, and the top will hold its level through the whole burn.
Mistakes That Bring Sinkholes Back
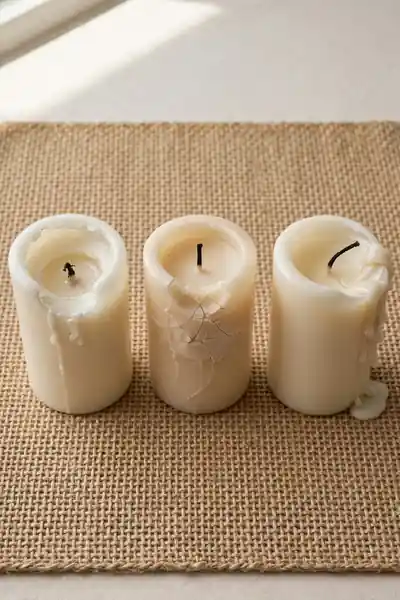
Most repeat sinkholes are not bad luck; they are the same few repair habits coming back around. You have already met the fix for each one in this guide. Read this final check before your next pour, and you will catch these while they are still free to correct.
- Topping off a candle that is still warm: the new wax melts into the soft center and the whole top sinks together.
- Overfilling the repair: a proud mound shrinks as it cools and leaves a fresh dip in the middle of your fix.
- Cooling the repaired candle in a hurry: a fridge or a cold room shocks the patch and cracks it away from the old wax.
- Burning the candle the same day: the patch has not bonded yet, so the flame finds the weak seam first.
- Changing three things at once: with no notes and no single change, the next sinkhole teaches you nothing at all.
Frequently Asked Questions
1. Are sinkholes normal in soy candles?
Yes, completely normal. Soy and other natural waxes shrink more as they cool than paraffin does, so a dip around the wick is expected behavior, not a failed candle. Most soy makers plan a top up or a heat gun pass into every batch.
2. Can I burn a candle that has a sinkhole?
A small, shallow sinkhole is safe to burn, though the melt pool may behave oddly near the hole. Deep pockets are worth fixing first: trapped air and loose wax around the wick can make the flame sputter, smoke, or drown in melted wax.
3. Why does my candle keep getting sinkholes after I fix it?
Usually the repair only filled the mouth of the hole while a deeper pocket stayed hidden underneath, or the candle cooled too fast again after the top up. Poke relief holes before refilling, cool the repair slowly, and the repeat dip should stop.
4. Does fragrance oil cause sinkholes?
Fragrance oil does not create sinkholes on its own, but a heavy load can soften the wax and change how it shrinks, which makes dips deeper and tops less firm. Check your wax maker’s maximum load and stay inside it for smoother finishes.
5. Which wax gets the most sinkholes?
Natural waxes shrink the most: soy is the best known for it, and coconut blends can dip as well. Beeswax shrinks too, mostly in larger pours. Paraffin shrinks the least of the common waxes, which is why beginners often find it more forgiving.
Conclusion
You can now fix sinkholes in candles with confidence: each one is a short repair with a cause you can name and a method you can repeat. Pour at the right temperature, cool slowly, and keep a little wax back, and smooth tops become your normal result. I’ve seen how making this one change can completely shift the result, and slow cooling is that change for candles. Save this guide on Pinterest before your next pour, try one repair on the candle waiting on your shelf, and share it with a maker friend whose tops keep sinking.






One Comment