DIY Wax Fire Starters That Light Every Single Time
Nothing kills a cozy evening faster than a fireplace that refuses to light. If you are tired of matches that fizzle and kindling that smokes, diy wax fire starters are the answer. They catch on the first try and burn long enough to get real logs going.
In my experience, most people struggle because they light newspaper under damp wood and hope for the best. This guide shows you exactly how to make a batch of 12 starters with simple supplies, plus the variations, safety rules, and storage tricks I wish someone had told me.
Why Homemade Fire Starters Beat Store-Bought Ones
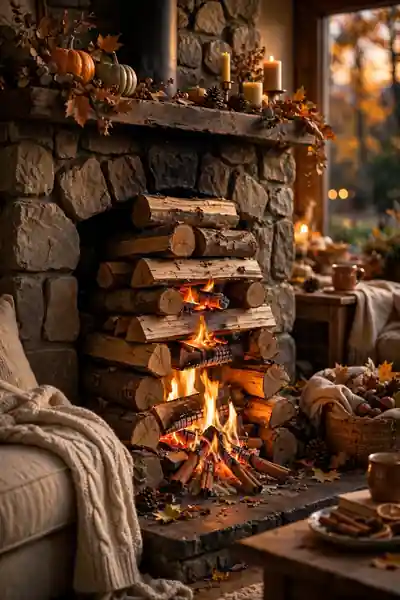
Walk into any hardware store and you will find fire starters loaded with chemicals and a smell that lingers on your hands. They cost more than they should and often burn out before the logs catch. Once I switched to making my own, I never looked back.
Homemade versions cost pennies, burn for up to 20 minutes, and fill the room with natural scents like cinnamon and pine. You control every ingredient, so nothing harsh ever touches your fireplace. Learning to make these homemade wax starters is one of the easiest weekend projects you will ever try.
What You Will Need: Supplies and Tools
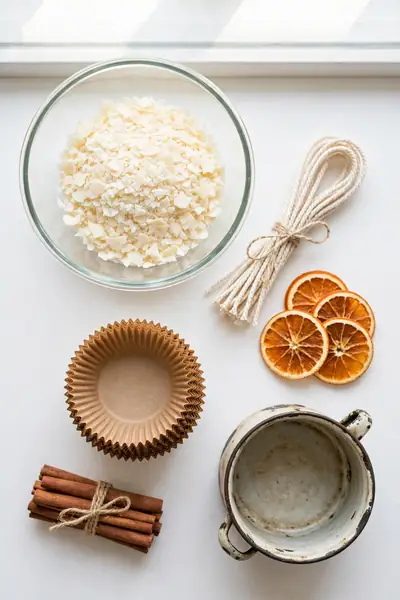
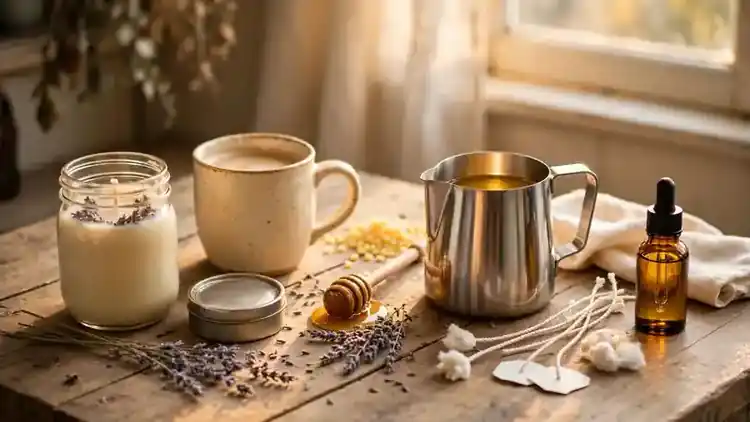
The beauty of this project is how little you need to begin. Most supplies cost very little, and you may already own half of them in your kitchen. Here is everything laid out so you can gather it all before you start.
- Melt one pound of soy wax flakes or beeswax pieces in a double boiler setup. An old pot with a heat-safe bowl on top works perfectly.
- Fill 12 cupcake liners in a muffin pan with cotton balls, dryer lint, or sawdust. These catch the flame fast and keep it steady.
- Tuck in natural decorations like cinnamon sticks, dried orange slices, rosemary sprigs, or tiny pine cones. Leave space so the wax can hold everything together.
- Add one cotton wick to the center of each liner, standing upright. A dab of melted wax at the base keeps it in place.
- Pour the melted wax slowly over each cup until the fillers are covered. Let them cool at room temperature for one to two hours.
Also View:Candle Making for Beginners: Start With What You Have
Choosing the Right Wax (and What to Avoid)
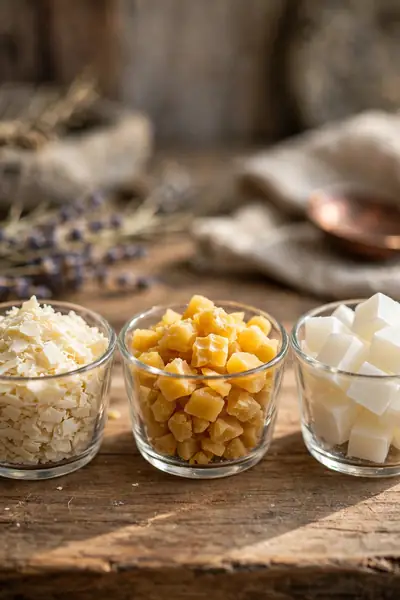
Quick Tip: Soy wax is the best all-rounder for beginners. It melts easily, burns clean, and holds scent well. Beeswax costs more but burns a little longer with a natural honey aroma.
Avoid paraffin with added dyes or heavy fragrance oils, since these can produce harsh fumes in your fireplace. Plain soy flakes or natural beeswax are the safest picks. In my experience, leftover candle scraps work too, as long as they are unscented and clean for burning.
Step-by-Step: How to Make Wax Fire Starters

Common Mistake: Most beginners pour the wax too fast and watch all their pretty decorations float to the top. Then the finished starters look messy and burn unevenly. It is the number one reason batches disappoint.
The Fix: Pour a thin base layer first and let it set for one minute. Then press the decorations down gently and pour the rest of the wax slowly. This locks everything in place for a clean, even burn.
Set your muffin pan on a protected counter, fill each liner with cotton, add decorations, and center the wick. Melt the wax in a double boiler on low heat and pour slowly, tapping the pan once to release bubbles. Cool one to two hours at room temperature, then pop them out.
5 Easy Variations to Try Next

What You Need:
- Egg carton cups: the classic budget version, just fill and pour wax over shredded paper.
- Pine cones: dip dry cones in melted wax twice for a slow, steady burn.
- Sawdust cups: pack sawdust into liners for the longest burn time of all.
- Dried citrus slices: tuck orange or lemon slices in for color and a fresh scent.
- Citronella oil: add a few drops for an outdoor version that helps keep bugs away.
Start with the classic cup version, then experiment once you know the basics. Each variation burns a little differently, so test one at a time and note the burn time. In my experience, the pine cone version impresses guests the most and makes the prettiest gift. Keep notes on what you tried so next batches keep improving.
Pro Tips for a Perfect Batch
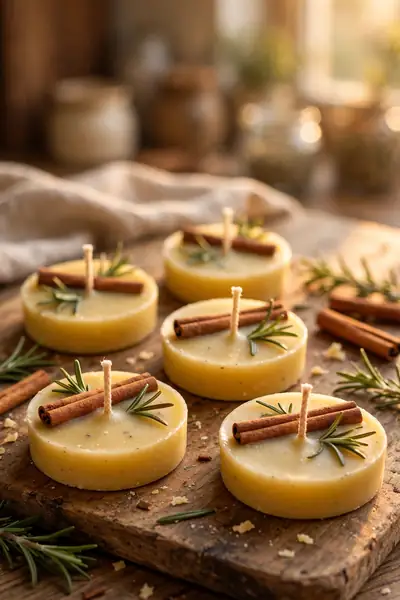
Before: Before you learn the tricks, batches come out lopsided with wicks leaning sideways and wax full of air bubbles. The starters still work, but they look rough and burn unevenly. Guests get a craft project instead of a gift.
After: With a few pro habits, every starter comes out smooth, centered, and gift-worthy. The wick stands tall, the decorations stay put, and each piece burns for a full 15 to 25 minutes. You will feel proud handing these out.
Tap the pan once after pouring to release trapped air, and keep the wick centered with a clothespin laid across the liner. Cool the batch slowly at room temperature, since rushing it in the fridge causes cracks. Trim every wick to a quarter inch before storing.
Common Mistakes That Ruin a Batch

Do This:
- Pour the wax in two layers so decorations stay locked in place.
- Keep the wick upright and centered until the wax fully hardens.
- Cool the batch slowly at room temperature for a smooth finish.
- Trim each wick to a quarter inch before you store or gift them.
Avoid This:
- Do not overfill liners with herbs or the wax cannot hold together.
- Never pour boiling-hot wax, since it melts the liner and scorches scent.
- Do not rush cooling in the freezer or the wax will crack badly.
- Avoid lighting starters with a weak flame; give the wick a few seconds.
Almost every failed batch comes down to rushing one of these steps. Slow down, keep the layers thin, and let patience do the work instead of heat. Your next batch will look store-bought, light on the first match, and burn like a dream.
How to Use Them for a Fire That Lights First Try
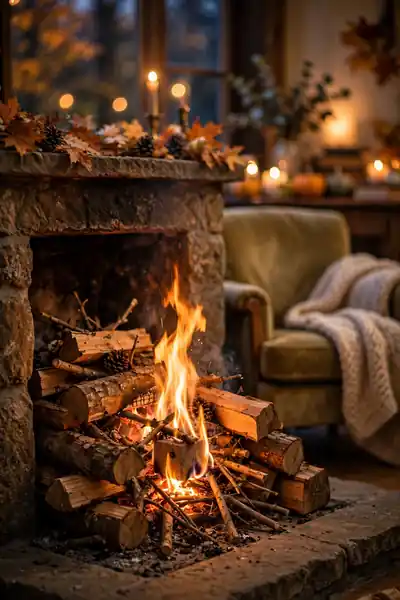
Time Needed: 2 minutes | Difficulty: Easy | Result: fire catches on the first match
Best For: wood fireplaces, fire pits, campfires
Pro Tip: tuck the starter under the kindling, never on top
Knowing how to use diy wax fire starters correctly matters as much as making them. Place one starter under your kindling, light the wick, and let the flame build for a minute before adding logs. Never use them in gas fireplaces or stoves meant only for manufactured logs.
Safety Rules You Should Never Skip
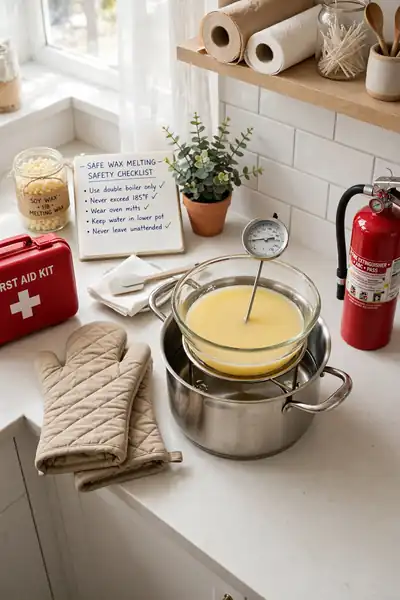
Hot wax causes serious burns, so treat every step with respect. Always melt wax in a double boiler on low heat and never leave it unattended, even for a minute. Keep children and pets out of the kitchen while you work, and wear thick oven mitts when pouring.
Use these starters only in wood-burning fireplaces, fire pits, and campfires. They are not made for gas fireplaces, stoves with catalytic converters, or indoor heaters. Always store the finished batch somewhere cool, dry, and far from any flame or heat source at home.
How to Store Them So They Stay Fresh for Months

Good storage keeps your starters dry, dust-free, and smelling wonderful for months. Wax is sturdy, but heat and moisture are its real enemies. Here is how to keep every batch fresh and ready until the cold evening moment you need it.
- Place the finished starters in a mason jar with a tight lid, a sealed container, or a sturdy zip bag. This keeps dust and moisture out while locking in the scent.
- Store them in a cool, dry spot like a pantry, cupboard, or closet shelf. Keep them away from windows, heaters, stoves, and hot cars where wax can soften.
- When stacking layers, slip a small piece of parchment paper between them. This stops the pieces from sticking together in warm weather.
- Label the jar with the scent and date so you always grab the oldest batch first. Stored well, they stay perfect for a year or longer.
Also Explore:DIY Cinnamon Candle That Makes Home Smell Like Fall
Turn Them Into Beautiful Handmade Gifts
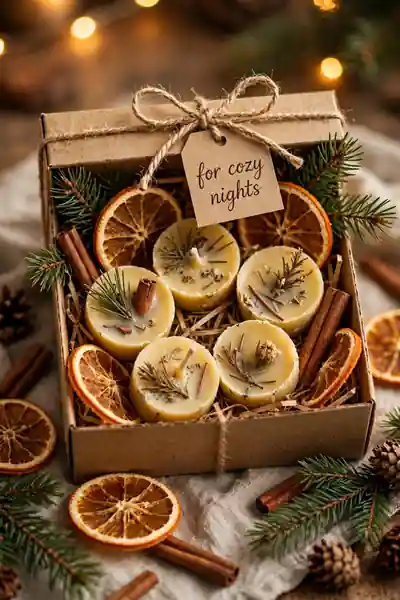
Quick Tip: Presentation turns a simple craft into a gift people remember. A mason jar, some twine, and a handwritten tag cost almost nothing. These make wonderful hostess, holiday, and housewarming gifts.
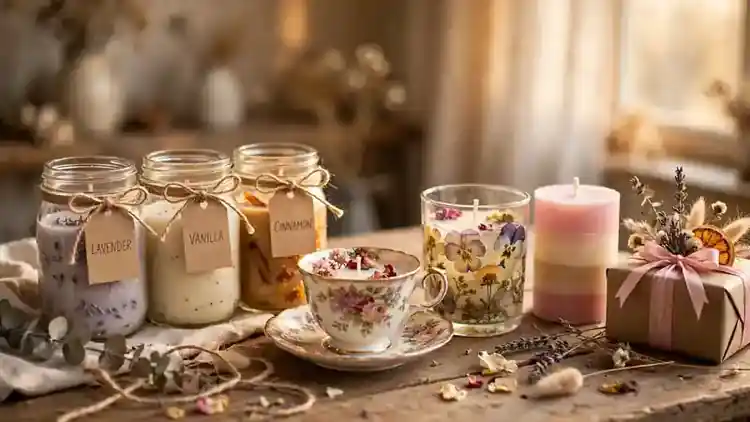
Packing these homemade starters as gifts is as fun as making them. Layer four to six starters in a mason jar with dried orange slices between them, tie twine around the lid, and add a tag with lighting instructions. Your friends will think you bought them from a fancy boutique.
Conclusion
You now know how to make diy wax fire starters that light every single time, from the basic batch to five fun variations. No more smoky struggles or wasted matches, just a warm, safe fire whenever you want one.
I’ve seen how making this one change can completely shift the result: switching from newspaper to a proper wax starter. Save this guide on Pinterest for your next cozy season, make a batch this weekend, and share it with a friend who loves fireside evenings as much as you do.