
DIY Cinnamon Candle That Makes Home Smell Like Fall
Store-bought fall candles cost a fortune and the scent fades in a week. This DIY cinnamon candle fills your whole home with warm, bakery-like coziness for a fraction of the price. And it is easier to make than you think.
In my experience, the first candle is the hardest because everything feels unfamiliar. But once you pour that first jar and smell the cinnamon blooming through your kitchen, you will wonder why you ever paid fifteen dollars for one. I have seen total beginners get hooked after a single batch.
Why Cinnamon Is the Ultimate Fall Scent

There is a reason cinnamon outsells every other fall scent year after year. It smells like baking, holidays, and cozy evenings all at once. One lit candle can make a whole living room feel warm and welcoming before the heating kicks on. That is the magic we are bottling today.
Unlike fussy layered fall blends, cinnamon stands beautifully on its own. It pairs well with apple, vanilla, or clove if you want complexity, but a pure homemade one never smells cheap or artificial. By the end of this tutorial, you will have a candle that smells like an autumn bakery.
What You’ll Need Before You Start

Gathering everything first makes candle making calm instead of chaotic. Hot wax waits for no one, so lay out every single supply before you melt anything. Here is exactly what to buy for your first batch, nothing more at all.
- Soy wax flakes, about one pound, which fills two 8-ounce jars. Soy holds cinnamon scent well and is forgiving for beginners.
- Cinnamon fragrance oil made for candles, not essential oil. Candle fragrance oils are designed to survive hot wax.
- Cotton wicks sized for your jar, plus wick stickers or holders to keep them centered.
- Heat-safe glass jars or tins, clean and completely dry. Mason jars work beautifully for a rustic fall look.
- A pouring pitcher, thermometer, and stir stick. A kitchen scale helps you measure wax and fragrance accurately.
Also View:DIY Ice Cream Candles That Look Good Enough to Eat
Choosing the Right Wax and Wick
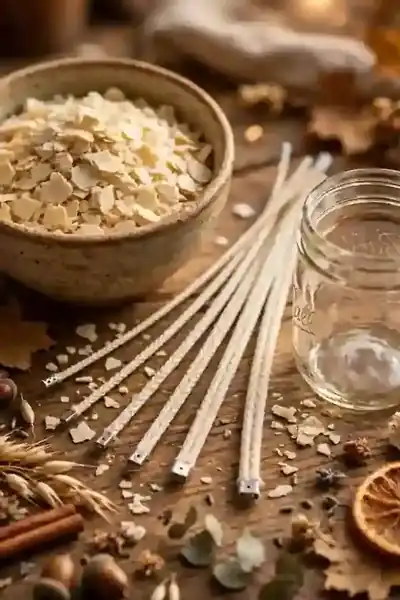
Quick Tip: Match your wick to your jar diameter, not to the wax type. A wick that is too small tunnels and wastes wax; one that is too large smokes and soots. When in doubt between two sizes, test both in small batches first.
For this project, natural soy wax is the best beginner choice. It melts evenly, holds fragrance beautifully, and cleans up with soap and water. Choose a cotton wick rated for your jar’s width, and always secure it centered before pouring. A centered wick means an even melt pool and the strongest scent.
Getting the Cinnamon Scent Just Right
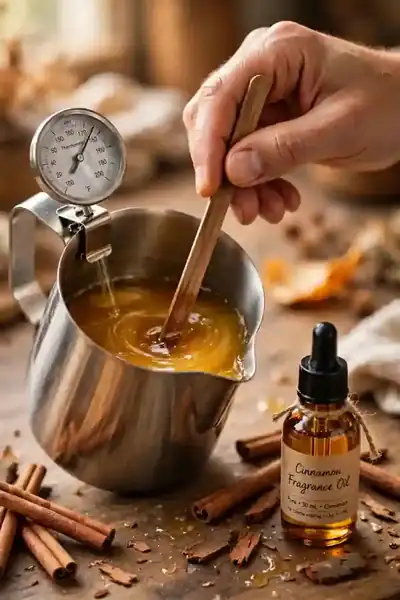
Common Mistake: Most beginners dump in extra cinnamon oil thinking more means stronger scent. Others stir ground cinnamon straight into the wax, which looks rustic but clogs the wick and causes smoking.
The Fix: Stick to the fragrance load your wax allows, usually around 8 to 10 percent for soy. Use a quality cinnamon fragrance oil and skip the ground spice in the wax entirely.
Add the fragrance oil when the wax cools to about 185 degrees, then stir gently for two full minutes so the scent binds to the wax properly. Save real cinnamon sticks for decorating the outside of the jar, and never melt ground spice inside the wax.
Also Explore:Make Candles Smell Stronger With These Easy Fixes
Step-by-Step: Pouring Your DIY Candle

This is the fun part where everything comes together. Work steadily but without rushing, since hot wax needs your full attention from start to finish. Follow this calm sequence in order, and your first batch will pour truly beautifully.
- Melt the soy wax flakes in your pouring pitcher over a double boiler, stirring occasionally until fully liquid.
- Let the wax cool to 185 degrees, then stir in the cinnamon fragrance oil for two full minutes.
- Secure the wick in the center of your jar with a sticker, and rest a holder across the top to keep it straight.
- Slowly pour the wax into the jar, leaving half an inch of space at the top. Pour steadily to avoid air bubbles.
- Let the candle cool undisturbed at room temperature for at least four hours until fully hardened.
Decorating the Jar for a Fall Look

Before: A plain jar candle smells wonderful but looks unfinished on a fall mantel. It disappears among your autumn decor instead of standing out.
After: A few cinnamon sticks tied around the jar turn it into a centerpiece. It looks handmade in the best way and guests always ask about it.
Bundle five to seven cinnamon sticks around the jar and tie them with natural twine, finishing with a small bow. Tuck in a dried orange slice or a sprig of faux fall leaves for color. Keep all decorations on the outside, away from the flame, and never leave a burning candle unattended.
Curing Your Candle Before the First Burn
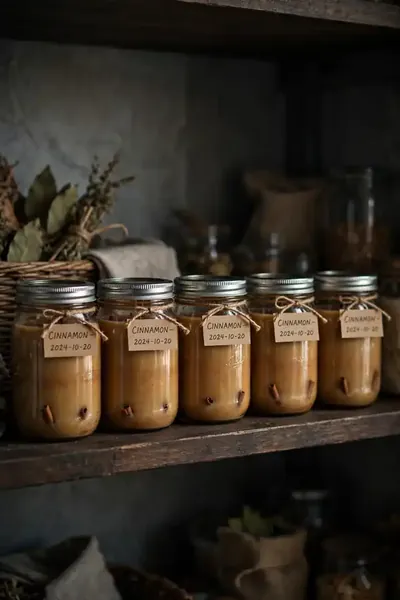
Do This:
- Store the finished candle in a cool, dark place for 7 to 14 days before lighting it.
- Keep the lid on or cover the jar loosely to protect the scent while it cures.
- Label each candle with the pour date so you know exactly when it is ready.
- Make your holiday gifts weeks ahead so curing never feels like waiting.
Avoid This:
- Do not light the candle the same day you pour it, or the scent will smell weak.
- Do not cure candles near heat or sunlight, which fades the fragrance.
- Do not assume one day is enough, since soy wax needs the full curing time.
- Do not skip labeling, because unmarked candles all start looking the same.
Curing lets the wax and fragrance oil bond fully, which is what creates that strong, room-filling cinnamon scent. I’ve noticed that most people skip this step out of excitement, then wonder why their candle smells faint. Patience here is the difference between a nice candle and an unforgettable one.
Lighting It Right for Maximum Scent
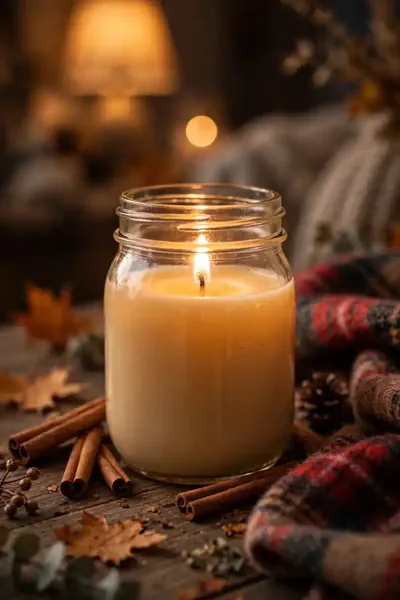
Time Needed: 2 to 3 hours first burn | Difficulty: Easy | Cost: Free
Best For: Every homemade candle | Pro Tip: Trim the wick to a quarter inch before every burn
Result: Strong, even cinnamon scent in the whole room
The first burn sets the memory of your candle, so let the wax melt all the way to the edges before blowing it out. This prevents tunneling and gives you the full scent throw every time after. Trim the wick before each burn, and never burn longer than four hours at once.
Mistakes That Ruin Homemade Candles
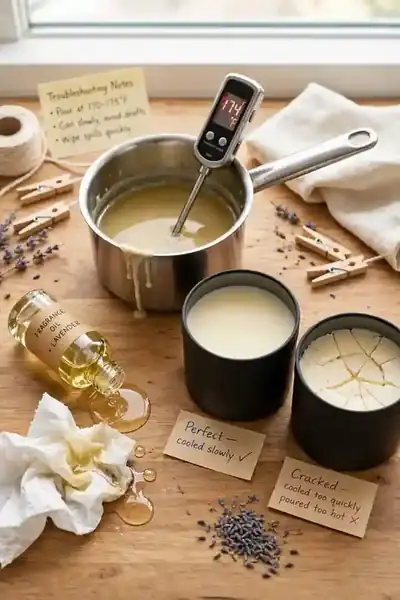
The most heartbreaking mistake is using too much fragrance oil, which makes the candle sweat, smoke, or refuse to set properly. More oil never means more scent, it just means a ruined batch. Measure carefully and always respect the percentages printed on your wax packaging.
The second killer is pouring wax that is too hot or too cool, which causes sinkholes and cracked tops. A thermometer takes the guesswork out completely. Get these two things right and your candles will look and smell like they came from a beautiful boutique.
Cozy Variations and Gift Ideas
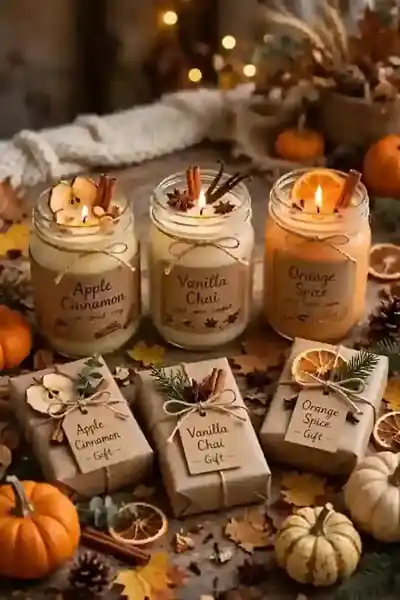
Once you master the classic cinnamon candle, a whole world of cozy variations opens up. Small tweaks to the fragrance blend create completely different moods for different corners of your home. Here are the reader-favorite twists most worth trying first.
- Apple cinnamon: add apple fragrance oil alongside cinnamon for a pie-bakery scent. Use a 2-to-1 cinnamon-to-apple ratio.
- Vanilla chai: blend cinnamon with vanilla and a touch of clove oil for a warm, creamy fall fragrance.
- Orange spice: mix cinnamon with sweet orange oil and decorate the jar with dried orange slices.
- For gifting, wrap each cured candle in kraft paper, tie with twine, and add a handwritten label. Homemade candles make unforgettable fall gifts.
Conclusion
You now know exactly how to make a candle that turns your home into an autumn haven. This DIY cinnamon candle costs little, smells incredible, and makes a gift people genuinely love. Save this tutorial on Pinterest so it is waiting when the fall crafting mood strikes. Then gather your supplies, pour your first jar, and enjoy every cozy minute of it. Share it with a friend who loves fall as much as you do. I’ve seen how making this one change can completely shift the result. There is nothing like cinnamon drifting through a crisp evening. Happy pouring.




One Comment