
Make Candles Smell Stronger With These Easy Fixes Now
Your candle looks beautiful, but you can barely smell it from two feet away. If that stings, you are not alone, and learning how to make candles smell stronger is easier than you think. The problem is rarely your talent.
In my experience, weak scent comes down to a handful of small, fixable details: the wax you choose, how much fragrance oil you add, the temperature you pour at, and how long you let the candle cure. This guide walks you through each fix in plain language, no confusing jargon.
By the end, you will know exactly what to change in your very next batch, and you will finally pour candles that fill the whole room. Let’s fix that faint scent together.
Why Your Candles Barely Smell (And It’s Not Your Fault)
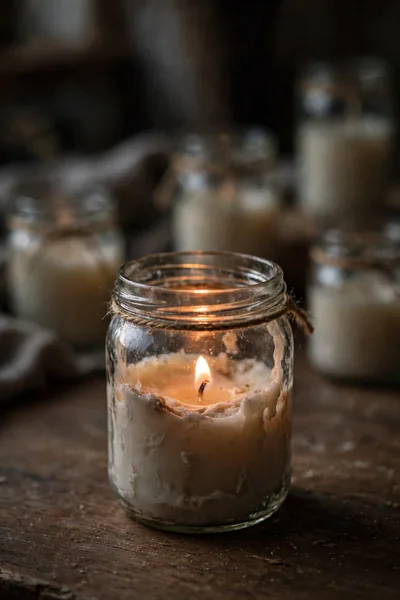
You followed the recipe exactly, yet your candle barely scents the room. Before you blame your skills, know this: weak scent is the number one complaint among beginner candle makers. In my experience, the problem is almost never talent. It is usually one small fixable detail.
The good news is that a faint candle can become a room-filling one with a few simple changes. This guide will show you how to give your candles a stronger scent using easy fixes that actually work. By the end, you will know exactly what to adjust in your very next batch.
Also View:DIY Cinnamon Candle That Makes Home Smell Like Fall
How Candle Scent Actually Works
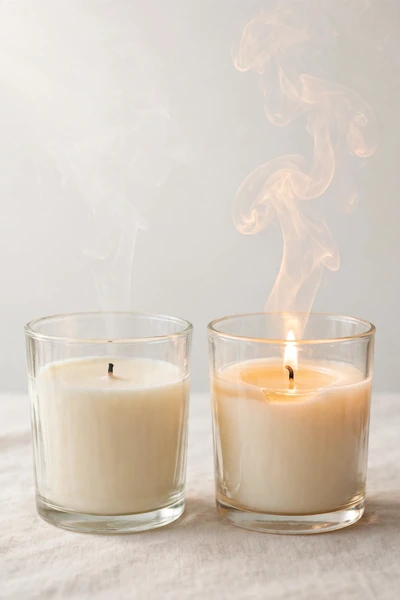
To fix weak scent, you first need to understand how scent leaves a candle. It is simpler than it sounds, and knowing this will make every fix below click into place. Think of it as the two-minute science behind a strong candle.
- Unlit, a candle gives “cold throw”, the scent you smell sniffing the jar. This comes straight from the fragrance oil in the wax.
- Lit, it gives “hot throw”, scent carried by the melted wax pool. A full melt pool means more fragrance released into the air.
- Your nose notices hot throw most. If the melt pool stays small, the room stays faint no matter how good the oil smells.
- Every fix in this guide targets one of these two throws. Stronger cold throw plus stronger hot throw equals a candle that fills the room.
Pick a Wax That Holds Scent Well
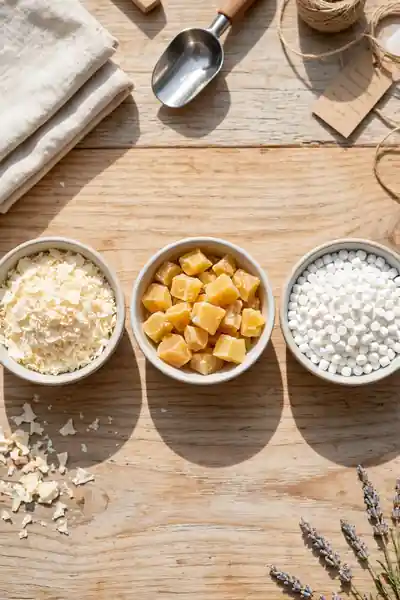
Quick Tip: Soy wax and coconut-soy blends hold scent beautifully for beginners. Avoid pure beeswax for scented candles, since its natural honey aroma fights most fragrance oils. I’ve noticed beginners get the strongest scent from a coconut-soy blend.
Wax is the foundation of your scent, so choose it with care. Paraffin throws scent the strongest, but many home crafters prefer soy for cleaner burning. If strong scent is your top goal, a parasoy blend gives you both power and a clean burn. Test one wax at a time so you know what works.
Getting Your Fragrance Load Right
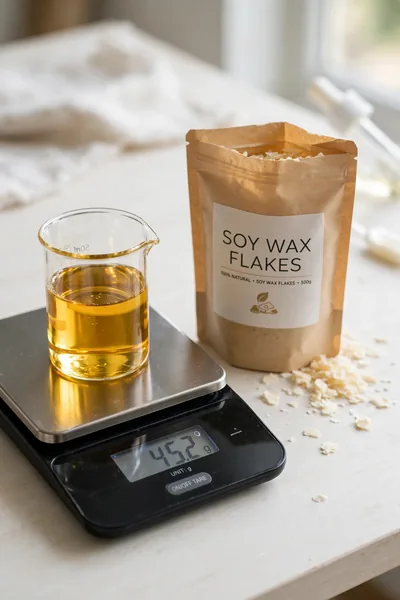
Common Mistake: Most beginners pour in extra fragrance oil, thinking more oil means more scent. But every wax has a maximum load it can hold, usually 6 to 10 percent. Past that limit, the oil pools, sweats, or simply never binds to the wax.
The Fix: Weigh your fragrance oil on a kitchen scale instead of eyeballing it. For one pound of soy wax, use 1 to 1.6 ounces of oil, which keeps you inside the safe 6 to 10 percent range. Precise measuring gives you a stronger, cleaner-burning candle every time.
Skipping the scale is the fastest way to weak or sweaty candles. Too little oil and the scent vanishes; too much and the candle misbehaves. Write down your exact amounts for each batch so you can repeat what works. Small measuring habits lead to big scent payoffs.
Add Fragrance at the Right Temperature
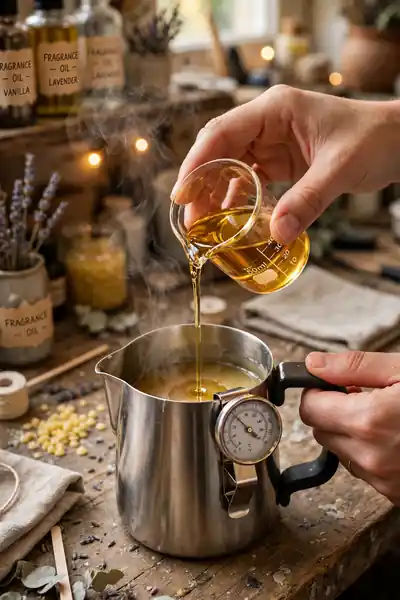
What You Need:
- A thermometer. Wax temperature decides whether fragrance binds or burns off.
- A kitchen scale. Ounces matter more than you think for scent strength.
- A silicone spatula. It scrapes every drop of oil into the wax.
- A timer or clock. Stirring for two full minutes makes a real difference.
Stir your fragrance oil into the wax when it cools to around 185 degrees Fahrenheit. Too hot and the scent flashes off into the air; too cool and the oil never fully mixes in. Stir gently but steadily for two minutes. Set a timer so you do not cut the stirring short.
Let Your Candles Cure (This Is the Big One)
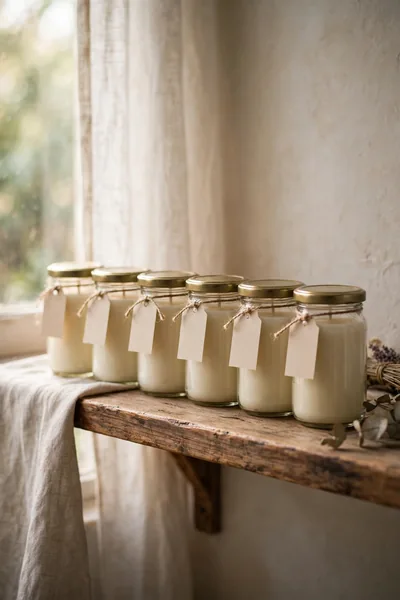
Before: Before curing, a freshly poured candle smells promising in the jar. Light it right away and the scent feels thin and disappointing. That is because the wax and fragrance have not fully bonded yet.
After: After a proper cure, the same candle smells rich and strong, both unlit and burning. The fragrance has married into the wax completely. Your patience turns an okay candle into one people ask about.
Let soy candles cure for 10 to 14 days before lighting them. Store them with lids on, away from heat and sunlight, while you wait. I know waiting is hard, but skipping the cure wastes all your earlier effort. The strongest scent comes to those who wait.
Your Wick Affects Scent More Than You Think
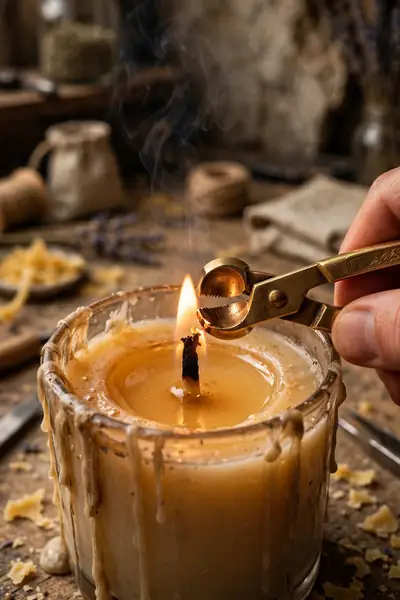
Do This:
- Match wick size to your jar diameter using a wick guide chart.
- Test-burn one candle for two hours before making a full batch.
- Trim the wick to one quarter inch before every single burn.
Avoid This:
- Do not use a wick that is too small; it tunnels and starves the scent.
- Do not skip the test burn; guessing wastes wax and fragrance.
- Do not let the wick mushroom; it creates soot that dulls the scent.
The wick is your candle’s engine, and scent rides on the melt pool it creates. A properly sized wick melts wax edge to edge within two hours. That full pool releases the most fragrance into your room. When in doubt, wick up one size and test again.
Store Finished Candles the Right Way
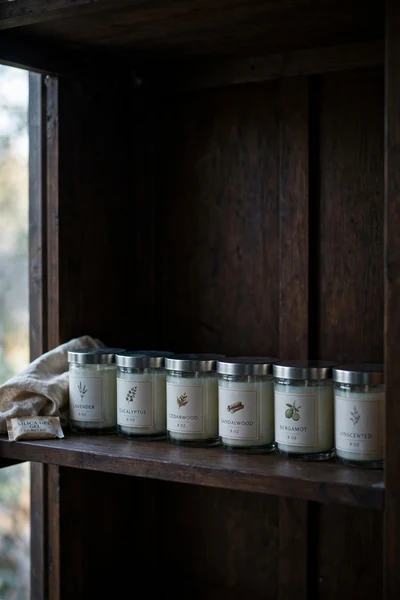
Time Needed: 5 minutes | Difficulty: Easy | Cost: Free | Best For: Keeping finished candles smelling fresh for months
Heat, light, and air are the three enemies of stored candles. Keep finished candles in a cool, dark spot with their lids on. A closet shelf works perfectly. This simple habit keeps your scent locked in until the day you light them. Your future self will thank you.
Mistakes That Kill Your Candle’s Scent

Even with good wax and the right fragrance load, small habits can quietly kill your scent. Burning a candle for only twenty minutes at a time causes tunneling, which shrinks the melt pool. Drafts from fans and open windows scatter the fragrance before you ever smell it.
The fix is simple once you know what to avoid. If you want to make candles smell stronger, give every burn enough time to melt edge to edge. Keep candles away from drafts, and trim the wick before each lighting for a clean, strong scent.
Quick Fixes for Candles You’ve Already Made
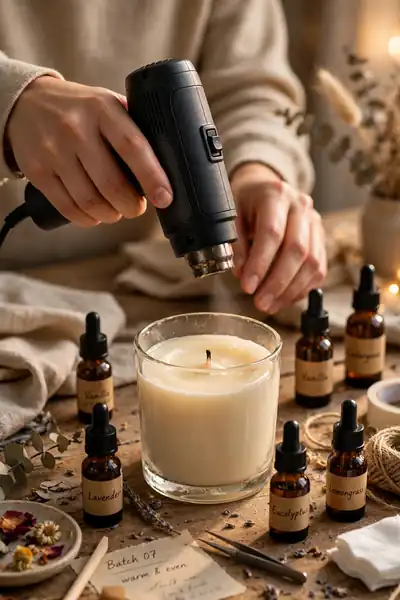
Already poured a batch that smells faint? Do not throw those candles away. A few rescue tricks can boost the scent of finished candles. Here is what to try before starting over. Most of these take only minutes, and cost nothing.
- Warm the top layer gently with a heat gun and stir in a few extra drops of fragrance oil, then let it reset.
- Add a scented wax melt on a warmer next to the candle; the pair fills the room together.
- Re-melt the candle fully, add more fragrance oil at the right temperature, and pour it again with a fresh wick.
- Use faint candles in small rooms like bathrooms, where even a light scent feels strong.
Pro Tips for a Stronger Scent Throw
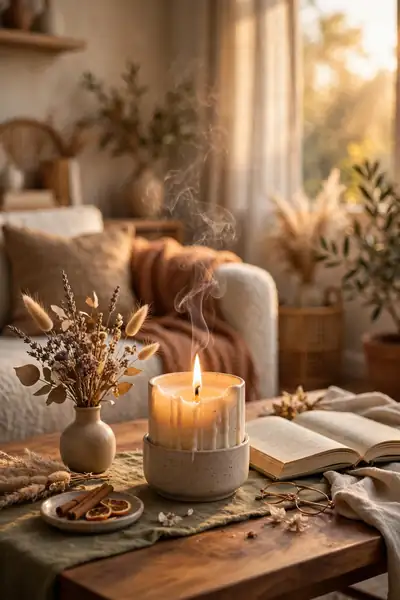
Quick Tip: Layer two complementary scents, like vanilla and coffee, for a richer smell than one oil alone. I’ve seen this make a real difference in how far the scent travels. Keep notes on every blend so your winners are repeatable.
Once the basics are solid, small pro touches take your candles further. Warm your jars before pouring to prevent wet spots and improve scent binding. For a stronger scent at every burn, trim the wick and let the melt pool reach the edges. These details separate good candles from unforgettable ones.
Also Explore:DIY Ice Cream Candles That Look Good Enough to Eat
You now have everything you need to make candles smell stronger, from picking the right wax to curing with patience. Strong scent is not luck; it is a handful of small choices done right. I’ve seen how making this one change can completely shift the result.
Save this guide on Pinterest so it is waiting for your next pour day. Try one or two fixes in your next batch and notice the difference. Then share it with a fellow candle maker who keeps asking why their candles smell faint. Your strongest-smelling candle is one careful batch away.
Conclusion
A weak candle is not a failed candle. It is usually one fix away from the strong scent you wanted. Choose a wax that holds fragrance well, measure your load honestly, respect the cure, and you will make candles smell stronger batch after batch. Start with one fix on your next pour, and try the rescue tips on the candles already on your shelf. Save this post on Pinterest so the temperatures and cure times stay beside you, and share it with a candle friend whose jars smell too faint. I’ve seen how small changes like these can completely shift the result, and scent is where you notice it first.





15 Comments