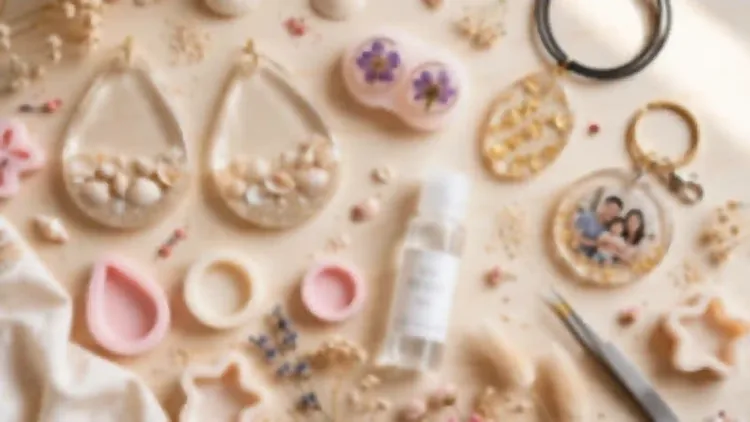
DIY Resin Jewelry That Even Total Beginners Can Master
That jar of shells from last summer’s beach trip deserves better than a dusty shelf. So do the pressed flowers in your notebook and the photo you keep meaning to frame. This guide turns those keepsakes into diy resin jewelry you can wear and gift, even if you have never touched resin before. You will learn which resin to buy, how to mix and pour without bubbles, and how to finish five beginner projects, from flower earrings to photo keychains.
In my experience, the first finished pendant changes everything: the craft stops feeling risky and starts feeling like your own small studio habit.
Resin Types Compared
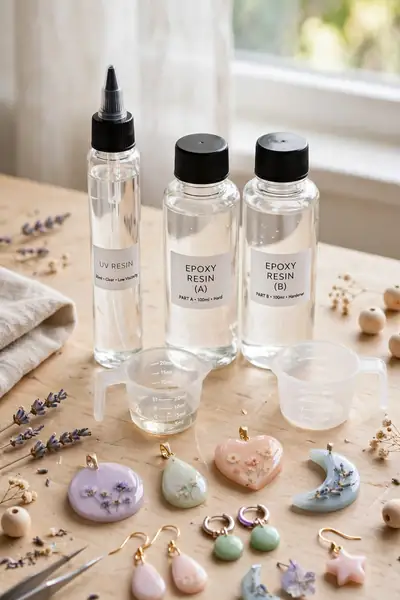
Two resins dominate beginner jewelry making, and they behave like opposites. UV resin cures under a small lamp in two to four minutes per layer, needs no mixing, and suits tiny pieces. Two part epoxy resin mixes in equal parts and needs a full day to harden.
Price tells the second half of the story. UV resin costs more per ounce, yet almost nothing goes to waste on a failed pour. Epoxy kits cost less per ounce and fill deeper molds, which is why most diy resin jewelry sellers keep both on the shelf.
Supplies and Workspace Setup
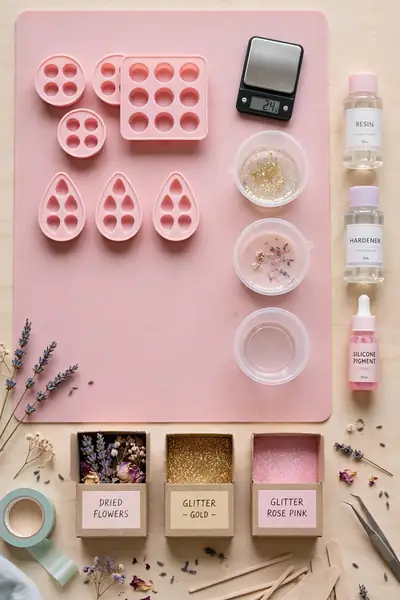
- Silicone jewelry molds in pendant, circle, and teardrop shapes, plus one flat mold for small studs.
- Nitrile gloves, a small digital scale, silicone mixing cups, and wooden stir sticks for clean, measured pours.
- Dried inclusions in tiny sealed boxes: pressed flowers, fine glitter, gold foil flakes, and mica powders.
- A findings starter pack with jump rings, earring hooks and posts, necklace chains, and jewelry pliers.
- A silicone mat over the table, a small level to check the surface, and a clean box to cover pieces while they cure.
In my experience, the setup decides the result more than talent does. Resin starts thickening the moment it is mixed, so a table that holds every tool within reach saves pieces. Spend ten quiet minutes laying everything out, and your first pour stays calm instead of rushed.
Safety Rules for Wearables

Quick Tip:
Treat uncured resin like wet paint that dislikes skin. Nitrile gloves go on before the bottle opens, and a window or a small fan stays on until every piece is covered and curing.
Jewelry rests against skin for hours, so full cure is the real safety line, not a suggestion. A pendant that feels hard after a day can still be finishing its cure inside. Give pieces the full time on the label before wearing or gifting them.
Mixing Ratios Made Simple

BEFORE: The first pour gets guessed. Resin and hardener go into the cup by eye, the stir is quick, and the corners of the cup never get scraped. The pendant comes out of the mold soft at the edges and stays tacky for days.
AFTER: The weighed pour behaves completely differently. Equal parts sit on the scale to the gram, the stir runs slow and steady for three full minutes, and the stick scrapes every side. The same mold now releases a hard, glassy piece right on schedule.
Accurate ratios matter because resin hardens through a chemical reaction, not by drying in air. Too much hardener cannot speed things up, and too little leaves soft spots that never recover. Weigh every batch, even a tiny one, and the results turn predictable very fast.
Two Layer Pour Method
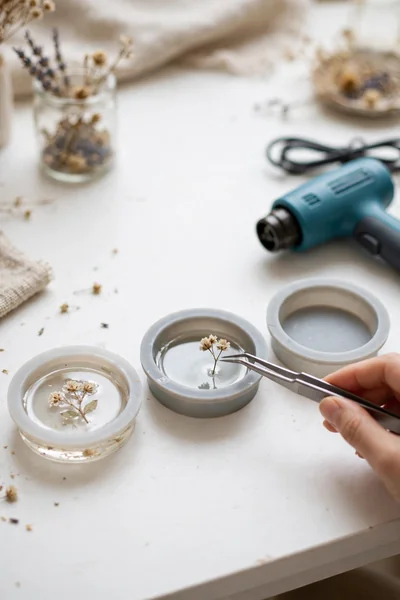
- Mix a small batch and pour a thin base layer, just enough to cover the bottom of each mold.
- Wait until the layer turns tacky, about 20 to 30 minutes for epoxy or one short lamp cure for UV resin.
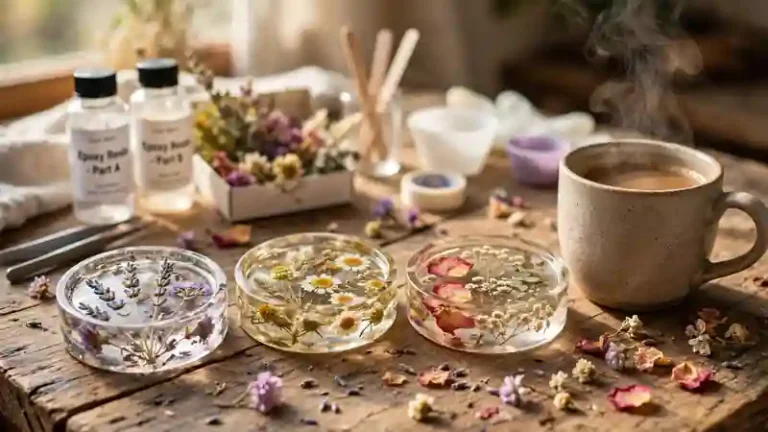
- Set your flowers, shells, or glitter into the tacky layer with tweezers, pressing each piece gently so it stays put.
- Mix a second small batch and pour slowly over the top until every inclusion sits fully covered.
- Pass a heat gun or a lighter flame briefly above the surface to pop bubbles, then cover the molds and leave them alone.
Thin layers solve the two problems that ruin beginner pieces: floating inclusions and trapped heat. Each layer stays shallow enough to release its bubbles and cure evenly. The seams stay invisible too, because fresh resin bonds to a tacky layer as if it were one pour.
Seashore Pendant Necklaces
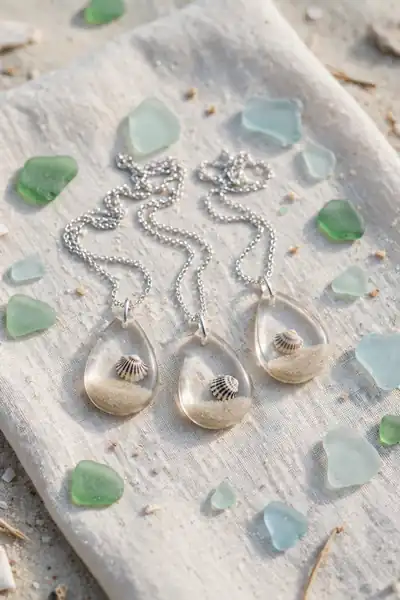
| Point | Flat Shells | Tall Shells |
|---|---|---|
| Fit in shallow molds | Sit fully under the resin line | Poke above the surface |
| Resin needed | Thin layers cover them easily | Deep molds and more resin |
| Finished look | Clean, even, glassy top | Raised texture, uneven top |
| Best home | Pendants and earrings | Paperweights and trinket dishes |
Shells also need a full day of drying after their soapy wash, since trapped moisture turns into cloudy spots inside clear resin. Pieces with natural color, soft pinks, warm tans, faint stripes, reward that patience by glowing once light passes through them on a chain.
Dried Flower Earrings

DO:
- Seal every dried flower with a thin brush coat of resin or clear craft glue, and let it dry fully before pouring.
- Pick small, flat blooms that sit inside the mold without bending.
- Pour the base layer first and set the flowers face down, so the front of the earring stays smooth.
- Check colors against wet resin before curing, since deep shades darken slightly once covered.
DON’T:
- Never pour over fresh flowers, since their moisture clouds the resin and browns the petals.
- Do not press thick blooms into shallow studs, since the edges will stick out of the resin.
- Never leave finished earrings in direct sun for days, since real petals fade faster than pigments.
Flower color is the one surprise beginners rarely expect. Reds and purples deepen, soft whites can turn translucent, and a few petals brown at the edges if their seal coat was thin. A single test stud with each new flower saves a whole matching set.
Gold Foil Pendants

Cost: A small jar of foil flakes covers dozens of pendants, so each piece carries only a few cents of gold.
Time: About 10 minutes of hands-on work per pendant, plus curing time.
Skill Level: Beginner, since the foil needs no placement skill and hides tiny bubbles well.
Best For: Evening gifts, party outfits, and pieces that need to look expensive on a small budget.
Foil behaves differently from glitter once the resin closes over it. Large flakes catch light in bold flashes, while tiny torn pieces give a softer, antique shimmer. Tearing the sheets by hand, never cutting them, keeps the edges irregular and the reflections natural in any light.
Photo Keepsake Keychains

A photograph inside resin turns a plain keychain into the gift people refuse to leave at home. Print the picture small, about an inch wide, and seal both sides with clear craft glue or a laminating pouch first. Bare paper drinks resin, darkens, and can bleed its ink.
Names and dates work the same way when they are printed on clear sticker film instead of paper. Set the film in the tacky base layer, pour over it slowly, and the letters appear to float. Add a tassel and a sturdy split ring after curing.
Pressed Flower Hair Clips
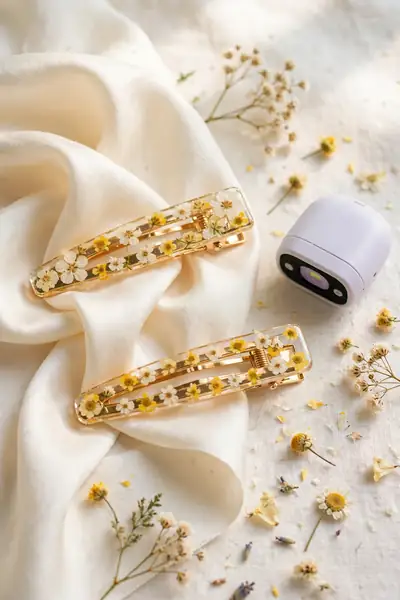
- Plain metal hair clips with a flat top bar, since resin needs a level surface to grip and cure evenly.
- Resin tape or a strip of painter’s tape under the clip, sealing the sides so liquid resin stays on top.
- Tiny pressed flowers, small leaves, or a line of fine glitter sized to the narrow bar of the clip.
- UV resin for this project, since thin layers cure in minutes and the clip can be worn the same day.
- A flat silicone mat under the work, keeping the clip level while each thin layer sets.
Clips punish thick pours more than any mold does. One heavy layer slides off the edges, pools underneath, and glues the clip shut. Three thin layers, each cured before the next, keep the bar neat and the spring working exactly as it should every single time.
Demolding, Sanding and Finishing
Quick Tip:
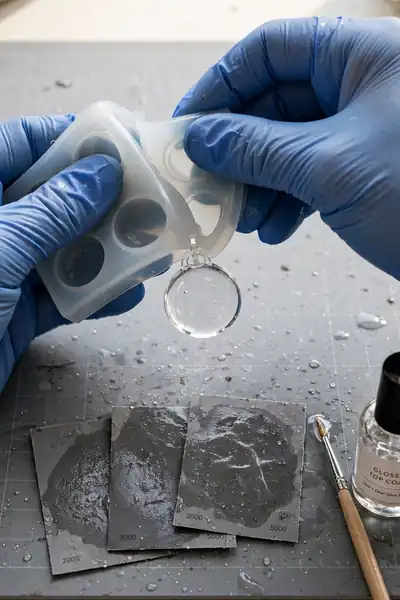
Run the fingernail test before any demolding. Press a nail gently into a hidden edge of the piece; if it leaves even a faint mark, the resin needs more time, no matter what the clock says.
Demold by flexing the silicone slowly from the edges, never by prying with a tool. Then sand sharp edges under a trickle of water, moving from coarse 400 grit to fine 2000 grit. A thin brushed top coat at the end restores the glassy shine that sanding removes.
Findings and Assembly Guide

BEFORE: The finished charms sit in a pretty pile, but wearing them is another story. Hooks get glued straight onto backs and pop off within a week. Jump rings get forced open sideways, lose their round shape, and let pendants slip off chains.
AFTER: The same charms become real jewelry with ten minutes of hardware work. Rings open with a twist, close with the ends perfectly flush, and posts bond under a small dome of fresh resin. Pieces survive daily wear, gift boxes, and handbag pockets.
Two small pliers do nearly all of this work, one holding the ring still and one twisting it open. I’ve noticed that most lost pendants trace back to a ring that was pulled apart instead of twisted. Learn the twist once, and every chain stays secure.
Cost Per Piece Breakdown

- Add up the full kit: resin, molds, findings, and inclusions, then note the total before you pour anything.
- Count how many finished pieces one full kit realistically makes, counting a few practice pieces as part of the cost.
- Divide the kit total by the piece count to get your true cost per pendant, pair, or keychain.
- Add packaging per piece, a card, a pouch, or a small box, since gifts carry that cost too.
A starter kit around forty dollars usually makes twenty or more small pieces, which puts each finished gift near two dollars before packaging. Comparable handmade style earrings sell for fifteen to twenty five dollars in boutiques. That gap is why resin gifts feel generous without straining any budget.
Gift Packaging Ideas

| Point | Store-Bought Gift | Handmade Resin Gift |
|---|---|---|
| Cost per gift | $15 to $40 at most shops | Around $2 to $4 in materials |
| Personal touch | Generic, chosen in minutes | Made for one person, with their flower, photo, or color |
| Time needed | One shopping trip | One relaxed evening of crafting |
| Keepsake value | Often replaced within a year | Kept for years, worn and remembered |
Packaging finishes the story the piece started. A pendant on a kraft card with one handwritten line about where its flower or shell came from feels like a keepsake, not a craft project. Small organza pouches protect the shine during travel and cost pennies each.
Care and Storage Tips
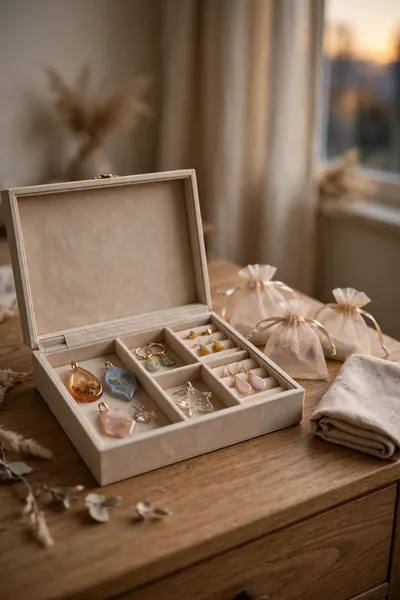
DO:
- Store each piece in its own soft pouch or a lined jewelry box, away from harder items.
- Wipe pieces with a soft, slightly damp cloth after wearing them.
- Keep resin jewelry out of long direct sunlight when it is not being worn.
- Put pieces on after perfume and hairspray, so chemicals never sit on the surface.
DON’T:
- Never soak resin pieces in water or ultrasonic cleaners, since the shine dulls over time.
- Do not toss pieces loose into a drawer or handbag pocket with keys and coins.
- Never use harsh chemical cleaners or nail polish remover anywhere near the surface.
Resin is tough against daily knocks but gentle with its shine, so storage habits decide how long pieces look new. Most yellowing and scratching I see comes from sunny windowsills and crowded drawers, not from wearing. A pouch and a dark drawer quietly solve both problems.
Mistakes Beginners Make

Sticky Surface: Almost always a ratio or mixing problem. Weigh both parts, stir slowly for the full time, and scrape the cup sides so no unmixed resin sneaks into the mold.
Cloudy Spots: Moisture is the usual cause. Dry every flower, shell, and photo fully, and seal paper and petals before they touch resin.
Trapped Bubbles: Fast stirring whips air into the mix. Stir slowly, pour in a thin stream, and pass heat briefly over the surface right after pouring.
Soft Edges: The piece left its mold too early. Edges cure last, so wait for the fingernail test to pass before demolding or sanding.
Every failed piece teaches one specific lesson, and the fix is almost always in the prep, not the pour. Keep a small notebook beside your mat and write down ratios, room temperature, and cure times. Patterns appear within three or four sessions, and mistakes stop repeating themselves.
Frequently Asked Questions
1. Which resin should a complete beginner buy first, UV or epoxy?
UV resin, if your budget allows it. Small pieces cure in minutes under a lamp, so you learn from each attempt the same day. Epoxy costs less and suits deeper molds once your basics feel steady.
2. Can I wear a piece the same day I make it?
With UV resin, yes, once it feels fully hard and cool. With epoxy, wait for the full cure on the label, usually several days, since jewelry touches skin for hours at a time.
3. Why did my dried flowers change color inside the resin?
Resin darkens petals as it soaks in, and unsealed flowers can brown at the edges. A thin seal coat, dried fully before pouring, keeps most colors close to their dry shade.
4. How do I fix a piece that feels slightly tacky?
If only the surface feels tacky, a thin fresh top coat often cures it clean. If the whole piece bends, the ratio was off, and that piece becomes a practice piece instead.
5. Are finished resin earrings safe for sensitive ears?
The resin charm itself sits away from the piercing; the metal post or hook is what touches the ear. Choose nickel free or surgical steel findings, and only wear pieces that reached a full cure.
Conclusion
Your first tray of finished pieces will not look like a shop display, and it does not need to. What matters is that every pendant, earring, and keychain on it was made by your hands, around things that already mean something to you. That is the quiet charm of diy resin jewelry: small keepsakes become gifts people actually wear. Save this guide on Pinterest before your next craft evening, try one project this weekend, and share it with a friend who keeps shells and flowers in drawers. I’ve seen beginners light up at their first demold, and your turn is next.


One Comment