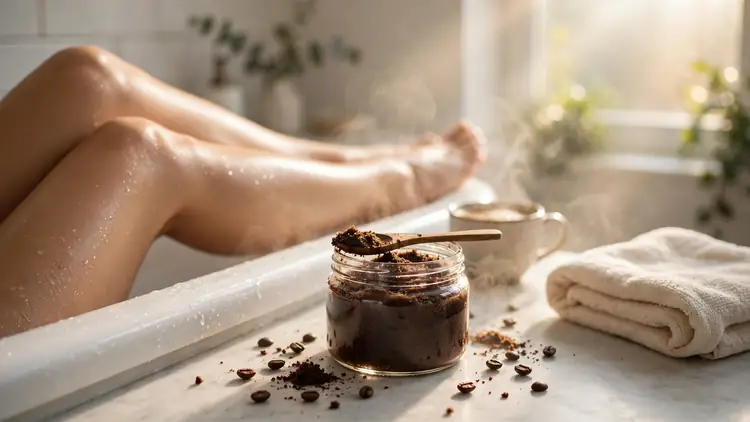
DIY Coffee Sugar Scrub for Silky Smooth Glowing Skin
Your morning coffee already made tomorrow’s skin treatment, and it is sitting in the filter right now. One diy coffee sugar scrub turns those used grounds, a cup of sugar, and a little oil into the softest shower of your week, for pennies instead of a boutique price tag.
I’ve noticed dull, rough skin is rarely a product problem; it is an old layer that never got cleared away. This guide gives you the base recipe, the right sugar for your skin, six scented variations, and the safety rules, so your first jar works exactly as it should.
Five minutes of stirring, and your shower shelf holds a spa.
What Makes a Coffee Sugar Scrub Different From Store Bought
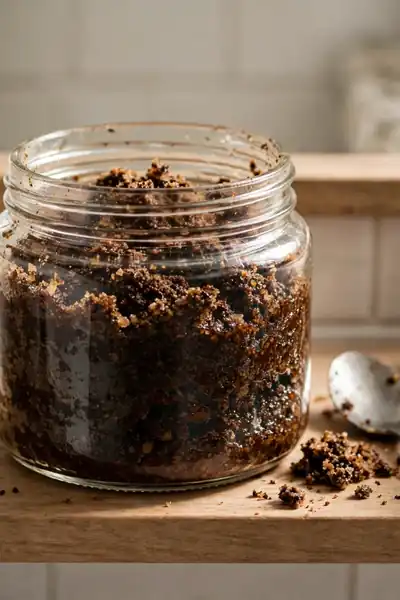
A diy coffee sugar scrub is the spoonable kind you keep in a jar by the shower: used coffee grounds, sugar, and a gentle oil, stirred in five minutes. No molds, no fridge hardening, no soap base. You scoop what you need, and the jar waits for next time.
Store bought scrubs ask you to pay for the jar, the fragrance lab, and a list of fillers you cannot pronounce. The homemade jar holds three ingredients, costs pennies per use, and you control the grit: finer sugar for tender skin, coarser grounds for heels and elbows that need work.
What This Scrub Does for Dull, Rough Skin
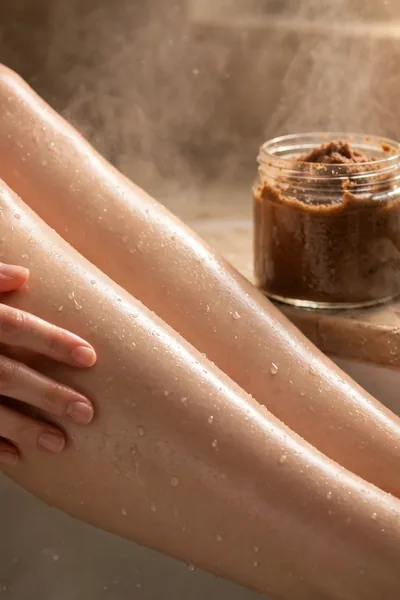
Dull skin is usually just a traffic jam of old cells sitting on the surface, blocking light and blocking your moisturizer too. This scrub clears that layer in one shower, and the oil left behind means you step out already soft instead of reaching straight for the lotion bottle.
- Sugar melts as you massage, so the scrub starts firm and finishes gentle on every pass
- Coffee grounds work the rough ground: heels, elbows, knees, and the backs of arms
- Oil stays on the skin after rinsing, sealing in the shower’s moisture for hours
- Regular use before shaving lifts flat hairs, so the razor glides instead of tugging
Also View: DIY Shower Melts for a Spa Day Without Leaving Home
Ingredients: Coffee, Sugar, Oil, and Nothing You Cannot Pronounce
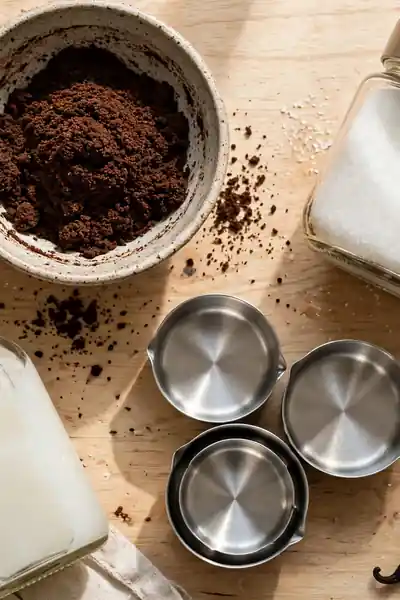
Quick Tip: Used grounds from this morning’s pot are better than fresh ones here. They are softer, fully swollen, and gentler on skin, and the scrub becomes a genuinely zero waste recipe. Fresh dry grounds work too, just expect a firmer, stronger scrub from them.
For one jar you need one cup of sugar, half a cup of coffee grounds, and a third of a cup of melted coconut oil or plain olive oil. Add five drops of vanilla extract if you like a softer scent. That is the entire shopping list, and most kitchens hold it already.
Choosing Your Sugar: Fine, Raw, or Brown
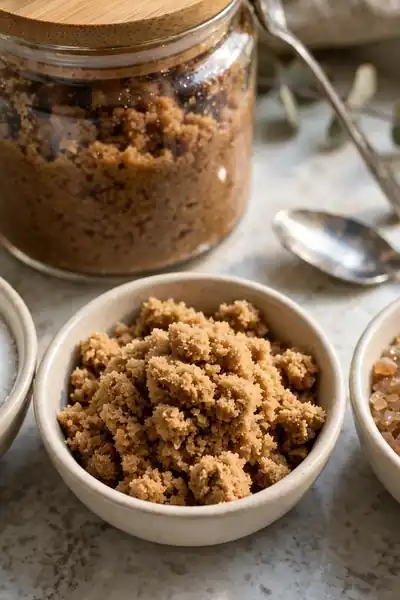
Common Mistake: Most people grab whatever sugar bag is open, usually the coarsest raw crystals in the pantry. On arms and legs that feels fine, but on the chest, neck, and inner arms those big sharp crystals scratch and leave the skin red instead of glowing.
The Fix: Match the sugar to the body zone. Fine granulated white sugar suits most of the body, brown sugar is the gentlest choice because its crystals are softer and rounder, and coarse raw sugar belongs only on heels and thick elbow skin.
When in doubt, start finer than you think you need. You can always add a spoon of coarse sugar to the next batch for the rough spots, but a too harsh batch cannot be softened once mixed. In my experience, brown sugar wins for beginners almost every time.
The Base Recipe: Five Minutes, One Bowl

What You Need:
- One cup of fine or brown sugar, measured level, as the gentle melting base of the scrub
- Half a cup of used coffee grounds, squeezed dry, or fresh grounds for a firmer batch
- A third of a cup of coconut oil, melted until just liquid, or olive oil straight from the bottle
- Five drops of vanilla extract or your chosen scent, stirred in at the very end
- One clean glass jar with a tight lid, fully dry inside before the scrub goes in
Stir the sugar and grounds together first, then pour the oil over slowly, mixing until the texture looks like wet sand that holds a fingerprint. If it pools oil, add sugar a spoon at a time. The whole batch takes five minutes, most of it simple stirring.
What the Coffee Actually Does on Skin, and When Results Show
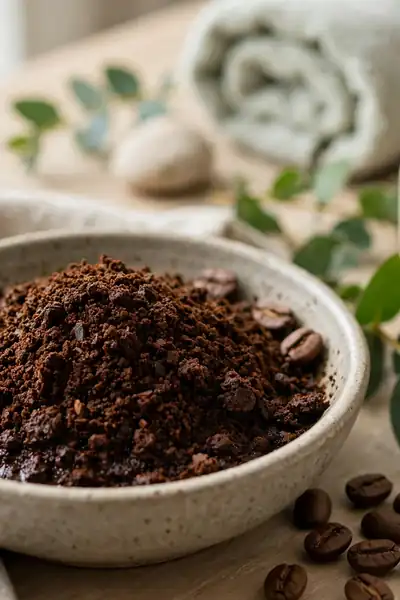
Before: Most people treat the coffee in this recipe as scent and color, the brown stuff that makes the jar look pretty. Skipped over as decoration, its real work goes unnoticed, and some makers even swap it out for extra sugar without knowing what they lost.
After: The grounds are gentle physical exfoliants with naturally rounded edges, and the caffeine in them is why skin looks temporarily firmer and brighter after a good massage. Antioxidants in coffee add quiet support while the rubbing itself wakes up the surface and brings color back.
Expect the feel to change fast and the look to change gradually. Skin feels smoother after the very first use, because the old layer is simply gone. The brighter, more even look builds over two to three weeks of twice weekly use, as fresh skin keeps replacing the dull surface.
How to Use It in the Shower, Step by Step

Do This:
- Wet your skin fully in warm water first, so the scrub glides instead of dragging
- Massage a spoonful at a time in slow circles, spending longer on heels and elbows
- Let the scrub sit for one quiet minute before rinsing, so the oil can settle in
- Pat dry with the towel instead of rubbing, keeping the soft oil layer on your skin
Avoid This:
- Scrubbing dry skin, which turns gentle sugar into sandpaper and leaves redness behind
- Pressing hard to finish faster, because pressure causes scratches, not smoothness
- Using the scrub right after shaving, when the skin is already tender and open
- Leaving the jar open in the shower, where splashed water thins and spoils the batch
Work from the feet upward and rinse as you go, because the oil makes the shower floor slippery under smooth feet. Step out slowly and hold the rail if your tub has one. Two careful minutes of technique beat ten rushed minutes every single time.
How Often to Scrub, by Skin Type

Normal Skin: Twice a week | Dry Skin: Once a week | Sensitive Skin: Every two weeks | Face: Never, too coarse
More scrubbing is not more glow; it is how good skin gets sore. Twice a week is the sweet spot for most bodies, with a rest day feeling built in. Skin that flushes easily or stings at new products should start at once a week and judge by the mirror, not the calendar.
Six Variations: Vanilla Latte, Cocoa, Citrus, and More

One base recipe becomes six jars with small swaps, and each one earns its own morning. Vanilla Latte adds vanilla extract and a spoon of cream colored sugar on top. Cocoa Mocha stirs in a tablespoon of cocoa powder for a deeper scent and a richer brown color.
Citrus Wake Up uses orange zest and two drops of sweet orange oil for bright mornings. Peppermint Cooler takes two drops of peppermint oil for tired legs. Honey Oat softens everything with a spoon of honey and ground oats, and Cinnamon Spice warms winter skin with half a teaspoon of cinnamon.
Troubleshooting: Too Dry, Too Oily, Too Harsh

A first batch rarely lands perfect, and every fault in this recipe has a one spoon correction. Too dry, too oily, and too harsh are texture problems, not failures, and the jar in front of you can be fixed in the bowl in under two minutes without starting over.
- Too dry and crumbly: stir in melted oil one teaspoon at a time until it clumps like wet sand
- Too oily and pooling: add sugar a spoon at a time and stir until the surface looks matte
- Too harsh on skin: mix in two spoons of brown sugar or ground oats to soften the grit
- Too weak and melting fast: add a spoon of fresh dry grounds for more staying power
Jar It as a Gift: Layers, Labels, and Freshness
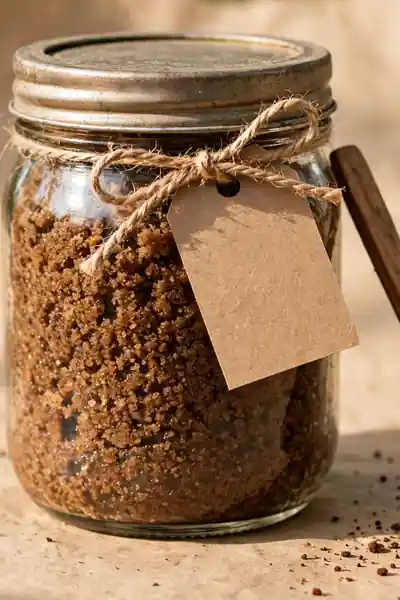
Quick Tip: Gift jars look best filled in two visible layers, dark scrub below and a pale sugar dusting on top, finished with twine and a handwritten label. Make the batch the same week you give it, because a fresh jar smells strong and feels like a boutique gift.
Write the label like a friend, not a factory: the name of the variation, the week it was made, and one line of instructions. Add a small wooden spoon tied to the neck of the jar and the whole gift is complete. Most people keep the jar long after the scrub is gone.
Also Explore: Easy DIY Bath Bomb Recipe for Fizzy Relaxing Soaks
Storing the Jar: Where It Keeps and How Long It Lasts
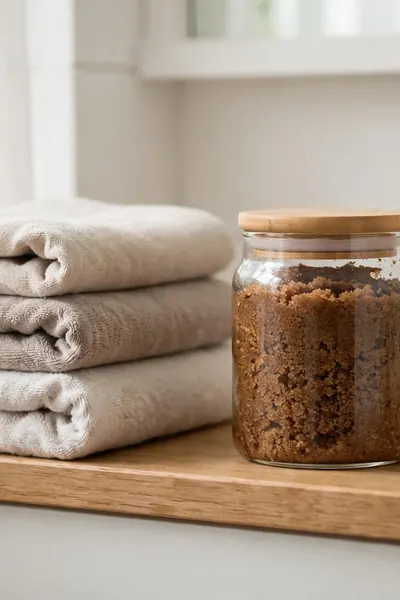
Common Mistake: The jar lives open on the shower ledge, collecting splashes at every bath. Each splash adds water, water grows bacteria in a preservative free recipe, and the scrub turns thin, separated, and faintly sour weeks before its time. Warm steam speeds the whole decline.
The Fix: Keep the jar sealed, dry, and outside the shower between uses, on a shelf or in a cabinet. Scoop with a dry spoon every time, never wet fingers. Stored this way, a batch keeps well for about a month, and the oil stays mixed instead of pooling.
If the oil does rise and pool on top after a warm week, nothing is ruined. Stir the jar with a clean spoon and the texture comes straight back. Separation is the oil being oil at room temperature, not spoilage, as long as the smell stays fresh and coffee sweet.
Safety First: Patch Test, Face Rules, and Sensitive Skin

What You Need:
- A patch test on the inner arm, left for 24 hours, before the first full body use
- Finer grounds and brown sugar set aside if your skin flushes or stings easily
- A firm rule that this scrub stays off the face, where the skin is too thin for coffee grit
- A bath mat or careful footing, because any oil scrub makes the shower floor slippery
Natural does not automatically mean gentle for everyone, and a two minute patch test is the cheapest insurance in this whole recipe. I’ve noticed that most people skip this step and only learn their skin’s limits the uncomfortable way. Test once, then scrub with confidence all winter long.
Mistakes That Make a Scrub Harsh, Greasy, or Useless
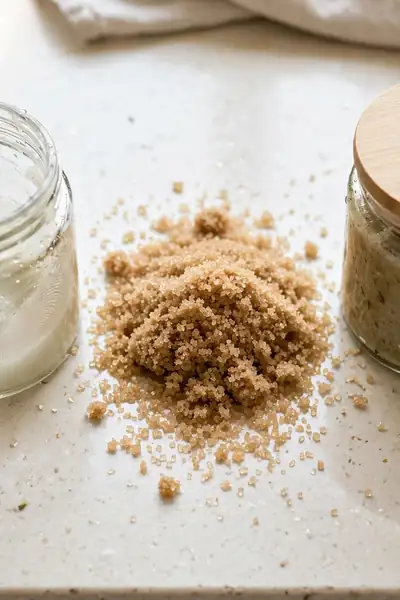
Before: The eager first batch usually fails in familiar ways. The grounds are ground too fine or the sugar too coarse, wet fingers dip straight into the jar, and yesterday’s scrub gets used on freshly shaved legs. The skin answers with stinging, redness, and a greasy film that will not rinse.
After: The corrected batch feels different from the first spoonful. The grit matches the body zone, a dry spoon guards the jar, and scrub day and shave day sit on different mornings. The skin comes out smooth, calm, and lightly oiled, with no sting and no slippery residue left behind.
None of these fixes needs a new recipe, only new habits around the same three ingredients. Read the fault, change the one habit behind it, and the next jar behaves. Most makers find their second batch is the one they start giving away to friends.
Frequently Asked Questions
1. Should I use fresh or used coffee grounds?
Used grounds are softer and gentler, and they keep coffee out of the bin. Fresh grounds give a firmer scrub for heels and elbows.
2. How long does one jar last?
About a month of twice weekly use, stored sealed and dry outside the shower.
3. Can I use it before shaving?
Yes, scrub first, then shave. The lifted hairs and smooth surface give a closer, calmer shave.
4. My skin is very dry. Is this scrub still okay?
Yes, once a week with brown sugar, and moisturize after while the skin is still damp.
Conclusion
Three pantry ingredients, five quiet minutes, and your shower shelf now holds a scrub that clears dull skin and leaves it soft and glowing. One diy coffee sugar scrub, made your way, with your sugar, your scent, and your strength, beats anything shipped in a plastic jar.
Save this recipe on Pinterest for your next slow morning, stir up the base batch this week, and share it with a friend whose skin needs a reset. I’ve seen how small changes like these can completely shift the way an ordinary shower feels, from rushed routine to the best five minutes of the day.





One Comment