
Candle Wax Measurements Made Super Simple for Beginners
If candle wax measurements keep tripping you up, you are not alone. You melt what looks like plenty, pour it in, and watch it stop short of the rim. Now you face a second melt, a sticky pot, and a candle that looks half done.
This guide fixes that with three small steps: measure your jar with water, convert the volume with a density table, and add a ten percent buffer. In my experience, beginners skip the water test most often, and that single skip causes most short pours. Once you try this method, every jar fills to the same clean line.
Why Guessing Wastes Wax (and the One Idea That Fixes It)
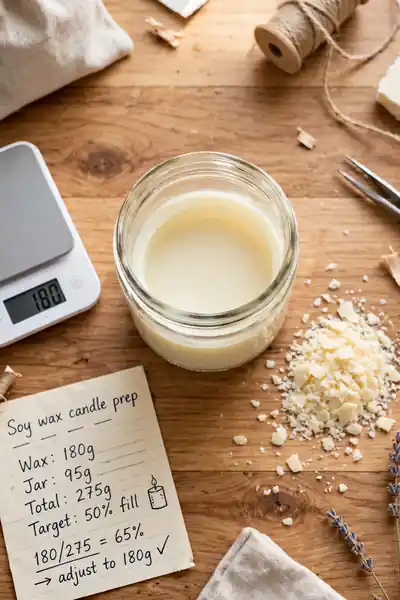
Running short halfway through a pour can ruin a calm candle evening. You melt what looks like enough, fill the jar, and watch the wax stop a full inch below the rim. That gap means a second melt and a candle that never looks quite right.
The fix is one idea: a jar holds volume, but wax is melted by weight, and the two are never equal. Getting candle wax measurements right means converting volume to weight first. One cup of soy flakes weighs less than one cup of paraffin. Convert first, and every pour lands on target.
What You Need Before You Measure
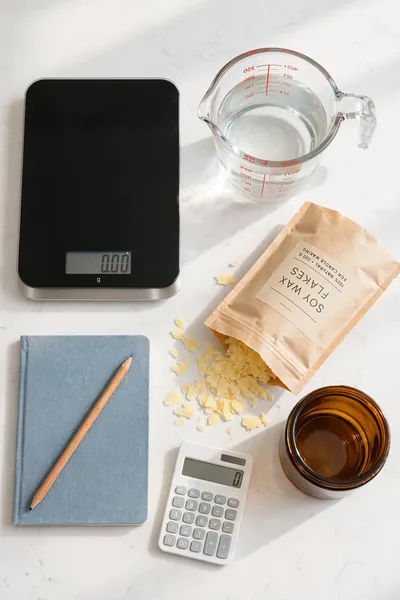
You do not need fancy gear to measure wax well. Five everyday items cover the whole job, and you probably own most of them already. Gather them before you melt anything, so the process stays calm from the first step.
- Set a digital kitchen scale on a flat counter. It should read in both ounces and grams, and a tare button helps a lot.
- Keep a clear liquid measuring cup nearby. You will use it to measure your jar’s water volume in the next section.
- Fill a jug with plain tap water. Water is only for measuring the container, never for mixing into wax.
- Grab a calculator and a small notebook. Write each jar’s volume down once, and you will never measure that jar again.
Also View:Candle Making for Beginners: Start With What You Have
Step 1: Measure Your Container With Water

Quick Tip: Never measure a jar by its label size. An “8 oz” jar rarely holds 8 ounces of wax at your fill line, so the water test is the only number you should trust.
Fill the jar with water up to the line where you want the wax to stop, leaving about half an inch below the rim. Pour that water into your liquid measuring cup and read the volume. Write the number down. In my experience, this one habit prevents more measuring mistakes than any other step.
Step 2: Turn Volume Into Wax Weight With the Density Table
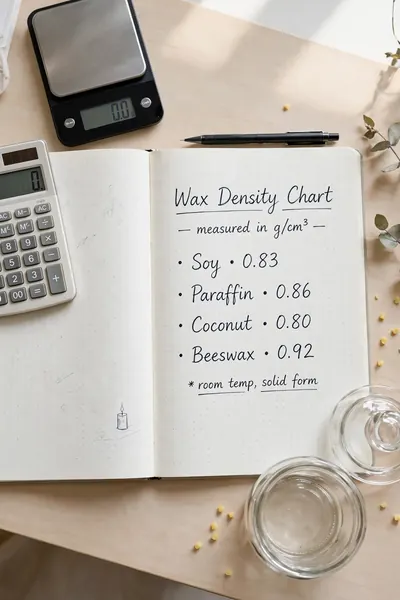
Common Mistake: Most beginners use one density number for every wax, or skip density and guess the weight from the jar size. Soy, paraffin, coconut, and beeswax all weigh differently for the same volume, so a single number quietly throws every pour off.
The Fix: Multiply your water-measured volume by the density figure for your exact wax type. Use your supplier’s number when the label lists one, since blends vary a little by brand.
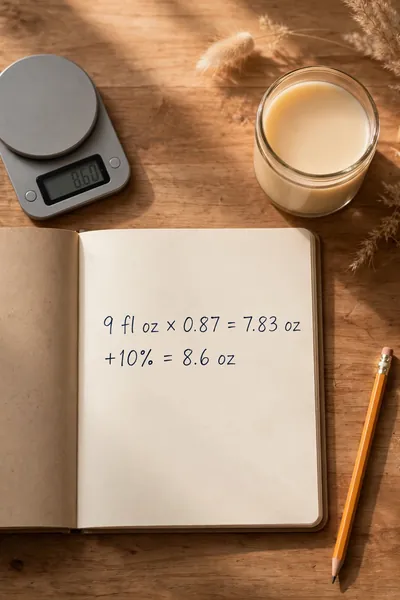
Here is the table to use. Soy wax runs about 0.86 to 0.88 ounces per fluid ounce, paraffin about 0.9, coconut about 0.83 to 0.85, and beeswax about 0.95 to 0.97. A 9-fluid-ounce jar with soy wax needs about 7.83 ounces, so the math stays small and friendly.
Step 3: Add a Small Buffer for Leftovers and Top-Offs
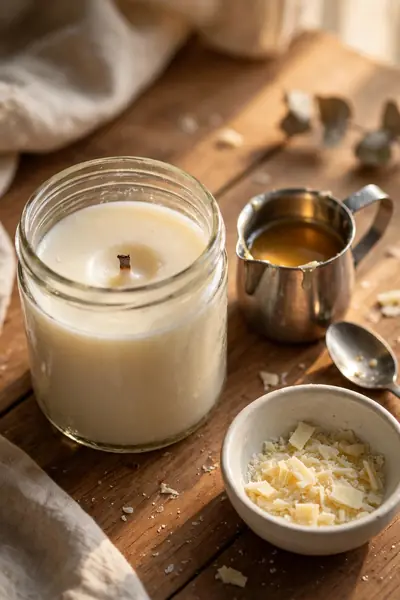
What You Need:
- A small spare pitcher: it holds the extra melted wax until the top-off pour.
- Ten percent extra wax: this buffer covers pot residue and the top-off in one move.
- A heat-safe spoon: you will stir the reserve wax gently before pouring it.
- A notebook note: write down how much extra you actually used for next time.
- A little patience: the candle needs to mostly set before you top it off.
Add ten percent to your calculated wax weight before you melt anything. If your math says 7.83 ounces, melt about 8.6 ounces instead. The extra covers wax left in the pot and the small second pour that fixes sinkholes. Leftover wax is never wasted, since it waits in the pitcher for the top-off.
The Same Math in Grams and Milliliters

Before: You stare at a scale that reads grams while every guide talks in fluid ounces. Converting on the fly feels messy, so most beginners guess, and the guess is usually wrong.
After: You read the jar volume in milliliters, multiply by your wax density in grams per milliliter, and melt an exact gram weight. The pour comes out exact, with no guessing and no second melt.
Multiply your milliliters by your wax density to get grams.
| Wax Type | Multiply Each ml By (g/ml) | 250 ml Jar Needs | With 10% Buffer |
|---|---|---|---|
| Soy | 0.83 | 208 g | 229 g |
| Paraffin | 0.86 | 215 g | 237 g |
| Coconut | 0.80 | 200 g | 220 g |
| Beeswax | 0.92 | 230 g | 253 g |
The method never changes, only the units do.
A Worked Example, Start to Finish
Do This:
- Weigh 8.6 ounces of soy wax for a 9-fluid-ounce jar, since that covers the base amount plus the buffer.
- Write the jar volume, the density you used, and the final weight in your notebook.
- Melt the full amount at once, then pour in one steady stream.
- Save the small leftover in the pitcher for the top-off pour.
Avoid This:
- Do not scoop flakes with a measuring cup and call it a weight.
- Do not skip the buffer and hope the pour comes out even.
- Do not pour the reserve wax while the candle is still fully liquid.
- Do not round your numbers down to make the math look neater.
Watch the whole example in one line. A 9-fluid-ounce jar times 0.87 soy density gives 7.83 ounces, and ten percent more brings it to 8.6 ounces to melt. That single line is the entire method. Once you have run it twice, you will stop dreading the math and start trusting it.
Quick-Reference Chart: Common Jars, Exact Wax Needed
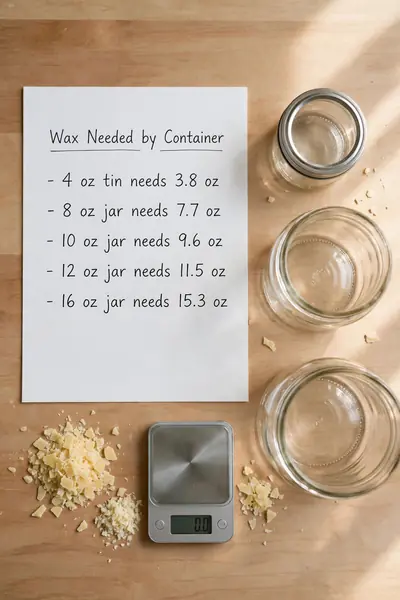
Time Needed: 2 minutes per jar | Difficulty: Easy | Best For: Repeat jars and gift batches | Pro Tip: Tape the chart inside a cupboard door
For soy wax with the buffer already included: a 4-ounce tin needs about 3.8 ounces, an 8-ounce jar needs about 7.7, a 10-ounce jar needs about 9.6, a 12-ounce jar needs about 11.5, and a 16-ounce jar needs about 15.3. Screenshot this list and keep it where you pour.
Also Explore:Make Candles Smell Stronger With These Easy Fixes
How Much Fragrance Oil to Add (Without Messing Up Your Math)
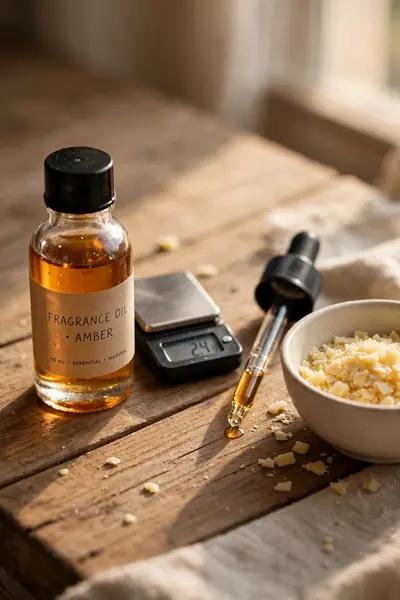
Fragrance oil takes up space in your jar, so it belongs in the math too. Most waxes hold a fragrance load of 6 to 10 percent of the wax weight, and your supplier’s label states the safe maximum. Staying inside that range keeps the scent strong without sweating or pooling.
Here is the simple way to work it out. Multiply your wax weight by your chosen load, so 8.6 ounces at 8 percent gives about 0.69 ounces of oil. Melt the full wax amount and stir the oil in, since the buffer covers the small extra volume.
Making a Batch: Measuring Wax for 4, 6, or 12 Candles

One candle is simple math, but a gift set needs batch math. The trick is to calculate once for the whole batch instead of repeating the work jar by jar. Do it this way and every candle in the set pours the same.
- Work out one jar first, exactly as before. That single number is your building block.
- Multiply the per-jar wax weight by the number of candles in the batch. Six jars at 8.6 ounces need 51.6 ounces in total.
- Melt the full batch weight in one large pitcher when your pot allows it. One melt keeps the temperature and color even across the set.
- If your pot is small, split the batch into two equal melts. Weigh each half separately instead of eyeballing the split.
How Much Wax to Buy: Turning Your Numbers Into a Shopping List
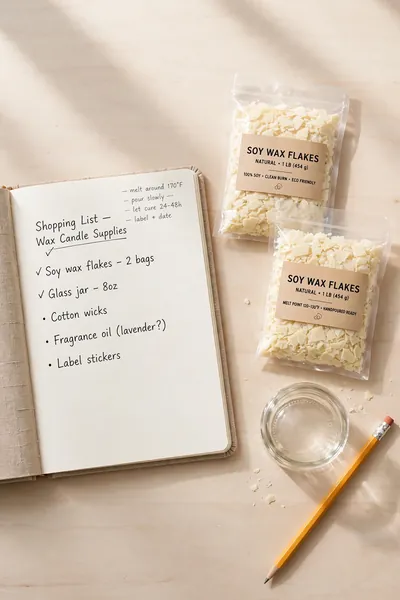
Quick Tip: Buy by the batch total, not by the jar count. A 5-pound bag covers about ten 8-ounce-jar candles with buffer, so check your total before you checkout.
Turn your batch total into bags. Divide the total wax weight by 16 to get pounds, then round up to the next bag size. A 51.6-ounce batch needs about 3.2 pounds, so a 5-pound bag covers it with room to spare. Leftover flakes stay fresh in a sealed bag in a cool, dry spot.
5 Mistakes That Throw Off Every Measurement
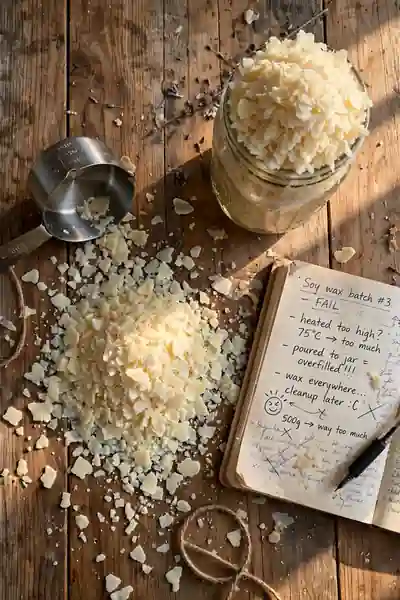
Common Mistake: Most measuring errors come from treating volume and weight as the same thing. Scooping flakes by the cup, using one density for every wax, and skipping the buffer are the three habits behind nearly every short pour.
The Fix: Weigh every batch on a scale, match the density to your exact wax, and keep the ten percent buffer every time. Those three habits alone fix most measuring trouble before it starts.
Two more mistakes deserve a quick warning. Never measure a jar from its label size, since the fill line is what counts, and never pour the top-off while the candle is still fully liquid. Fix these five habits and your numbers will match reality nearly every time.
Troubleshooting: When Your Numbers Do Not Match Reality

What You Need:
- Your notebook numbers: the jar volume, density, and final weight you recorded.
- A clean scale: reweigh to confirm the numbers before you blame the method.
- The wax label: check the exact wax type and any supplier density figure.
- A second water test: remeasure the jar if the first number feels off.
- A cool head: most mismatches trace back to one small slip, not a broken formula.
Start with the most likely slip. If you ran short, your density or volume was probably off, so recheck both. If you have a big leftover, the jar volume was likely overestimated. A sunken well just needs the reserved top-off pour. Fix the one slip and the next pour behaves.
Frequently Asked Questions
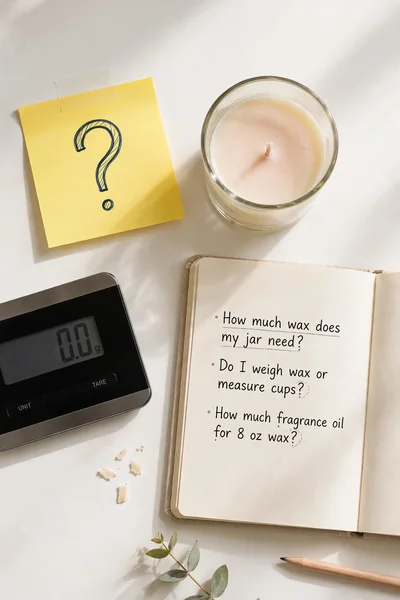
1. Do I really need a kitchen scale, or can I estimate?
A scale is the one tool worth owning for this. Estimates drift because flakes pack unevenly, and a scale removes that guesswork entirely.
2. Does the wick change how much wax I need?
No. Wick size affects how the candle burns, not how much wax fills the jar.
3. Can I use this method for wax melts?
Yes. Measure your mold with water the same way, then run the same volume-to-weight math.
4. What if my jar has an odd shape?
The water method handles any shape. Fill to your fill line, measure the water, and the math works the same.
5. Can I reuse leftover wax?
Yes, as long as it stayed clean. Keep it sealed, remelt it for top-offs or small candles, and it pours like new.
Conclusion
You now have the whole method: measure with water, convert with density, and add ten percent. Getting candle wax measurements right turns pouring from a gamble into a calm routine, and your jars will fill to the same clean line every time.
I have seen how making this one change can completely shift the result. Save this guide on Pinterest before your next pour, try the method on one jar tonight, and share it with a friend who is just starting out. Your candles will look neater, your wax will last longer, and you will pour with confidence from here on.



2 Comments