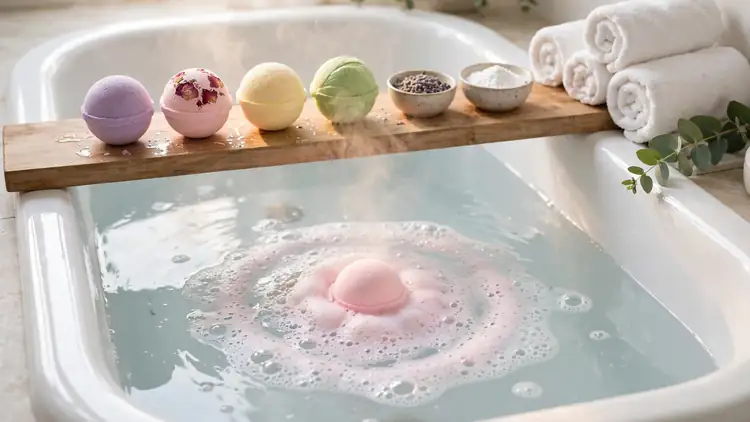
Easy DIY Bath Bomb Recipe for Fizzy Relaxing Soaks
A bath bomb that crumbles in the mold or fizzles out in the bowl can put anyone off making them at home. This easy diy bath bomb recipe fixes both problems with one balanced base, a squeeze test that never lies, and slow, patient drying.
I have noticed that people rarely fail on ingredients. They fail on moisture: one heavy pour, one steamy afternoon. So this guide walks the dry way through every step, then opens the scent shelf with lavender for evenings, rose for gifts, citrus for mornings, and eucalyptus for spa style soaks. Every fix for crumbling, cracking, and early fizzing is in here too
Why Homemade Bath Bombs Beat Store Bought
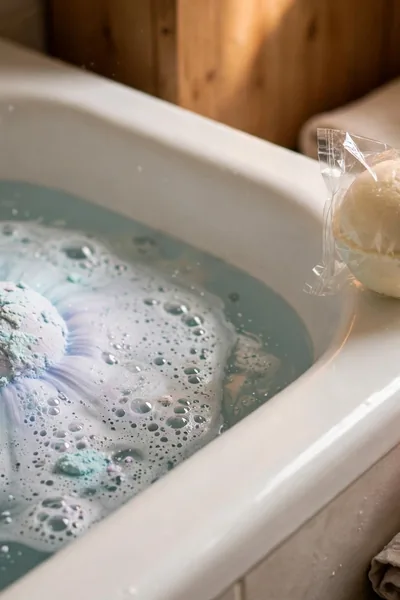
One store bought bath bomb can cost as much as a whole homemade batch. That fact sends most people to the kitchen, but it is not the best reason to stay. A good diy bath bomb recipe also hands you the controls: the scent strength, the color, and every ingredient that touches your skin.
Store bombs hide their formulas behind fragrance blends and long labels. Yours takes six ingredients you can pronounce, mixed in ten minutes on your counter. Once the basic method clicks, every bath becomes a custom order: stronger fizz, softer color, extra oil for dry winter skin.
The Ingredients and What Each One Does
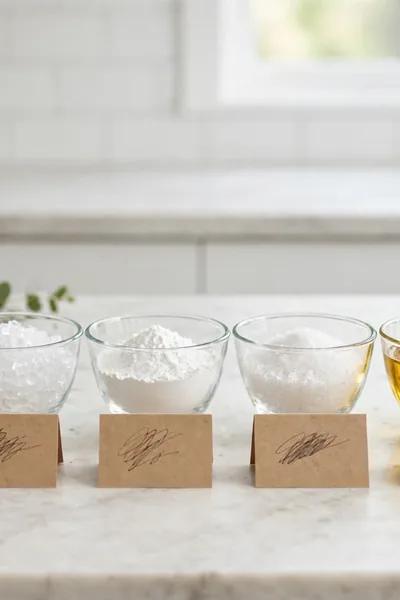
Six plain ingredients do all the work, and each one has a single clear job. Learn the jobs and the recipe stops being a mystery you follow blindly. It becomes a formula you can adjust, rescue, and scent any way you like.
- Baking soda, the base: about two thirds of every bomb, it gives the water its silky feel.
- Citric acid, the fizz maker: it reacts with baking soda in water to release the bubbles.
- Cornstarch, the hardener: it slows the fizz slightly and helps the bomb hold a firm shape.
- Epsom salt, the soother: it adds a little weight and that classic spa soak feel.
- Oil, the moisturizer: coconut, almond, or olive oil binds the mix and softens the bath water.
- Essential oil and color, the personality: a few careful drops decide the scent and shade.
Also View: Make Epsom Salt Potpourri for a Naturally Fresh Home
The Equipment That Makes It Easy
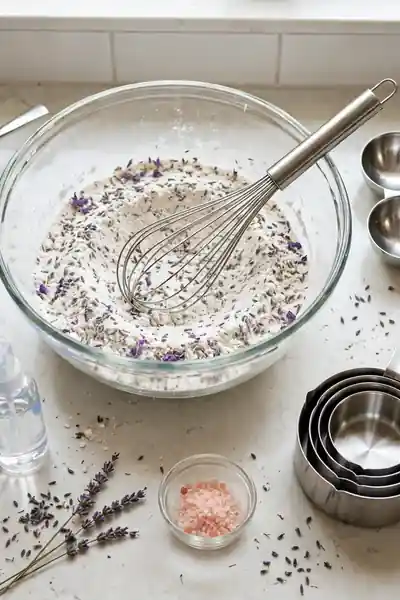
Quick Tip: Reach for a glass or stainless steel bowl for mixing. Citric acid is gentle with both, and a wide bowl gives the whisk room to blend the powders evenly. Keep one small spray bottle only for this job, filled with witch hazel or plain water.
Nothing on this counter needs to be bought specially except the molds, and even those have stand ins: silicone muffin cups, ice cube trays, or clean plastic ornament halves all work. The whisk matters more than any mold, because lumps of unmixed citric acid are the main cause of weak fizz spots.
The Base Recipe With Exact Amounts
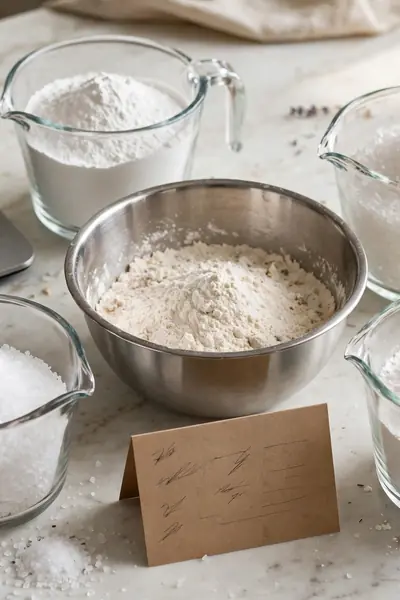
1 cup baking soda
1/2 cup citric acid
1/2 cup cornstarch
1/2 cup Epsom salt, fine grain
2.5 tablespoons melted coconut oil (or almond or olive oil)
1 to 2 teaspoons essential oil
Witch hazel or water, in a spray bottle, as needed
Common Mistake: Doubling the citric acid to chase a stronger fizz. The fizz does not double. Instead the bombs grow warts, expand in the mold, and crumble at the edges, because the balance with the baking soda is what makes the reaction behave.
The Fix: Keep the classic two to one balance between baking soda and citric acid, and get extra fizz from freshness and firm packing instead. Old citric acid that has sat open in a damp cupboard fizzes weakly no matter how much you add.
This base makes roughly four to six standard round bombs, depending on your mold size. Halve everything for a test batch, or double it for gift making, keeping every proportion the same. Write your exact amounts on a card after a batch you love, because memory edits recipes.
Before You Start: Dry Hands, Dry Bowl, Dry Day
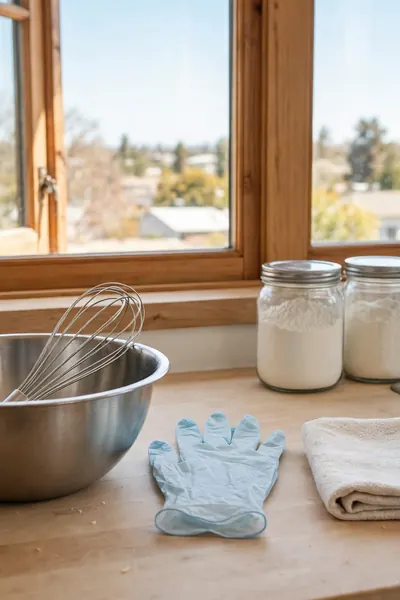
What You Need for a Dry Start:
- A bone dry bowl and whisk, wiped and air dried, never just shaken off
- Fresh dry gloves, changed at once if your hands sweat
- All jars closed between measures, away from the sink and kettle steam
- A dry day, or at least a closed window away from cooking steam
- A flat tray ready for molding, so wet hands never go hunting mid batch
Pick your making day like you would pick a laundry day. Humid air drifts into open bowls all afternoon and quietly pre-wets the mix, which is why bombs made on rainy days so often expand overnight. If the day is damp and the batch matters, close the windows and wait for morning.
Mix the Dry Ingredients First
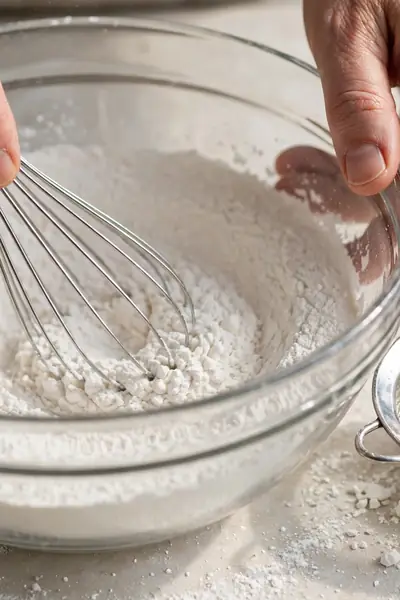
Before: The powders go in and get two lazy stirs. Lumps of citric acid hide inside the baking soda, and the finished bombs fizz in patches, strong on one side and silent on the other, with chalky white spots on the surface.
After: Two full minutes of whisking, with every lump broken against the bowl’s side or sieved out, gives one even powder. Every spoonful now carries the same balance, so the bombs harden evenly and fizz from every side at once.
Gloves earn their place here, not for safety theater but because dry hands keep the mix dry. Bare palms carry enough moisture to start tiny fizz spots where you handle the powder. Whisk slowly at the start so the fine powders do not puff into the air and up your nose.
Add Oil, Scent, and Color Slowly
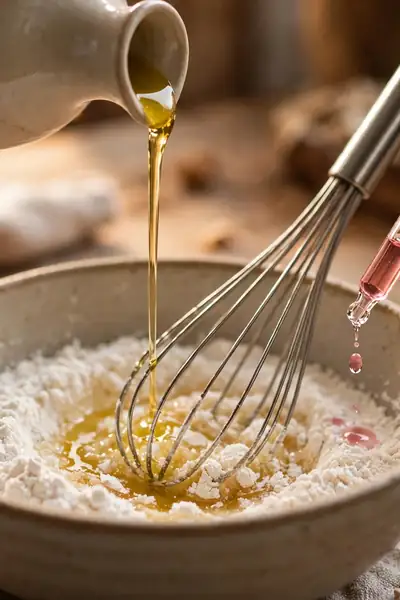
Do This:
- Melt the oil first and drizzle it in a thin stream while whisking nonstop
- Blend scent into the oil before it meets the powder, so it spreads evenly
- Add color a few drops at a time and whisk fully between additions
- Use the spray bottle for the final moisture, two spritzes at a time
Avoid This:
- Pouring oil or water straight from a jug in one go
- Adding scent drops directly onto dry powder, which makes harsh pockets
- Chasing a deep color in the bowl, since bath water deepens it later
- Keep mixing after the texture is right, which warms and wets the batch
Every ruined first batch I have seen was ruined in this exact minute, and almost always by kindness: a generous pour. Liquid is the trigger of this whole recipe, so it enters like a guest, not a flood. Two spritzes, whisk, two spritzes, whisk. The pace feels fussy only until your first perfect batch.
Check the Texture With the Squeeze Test
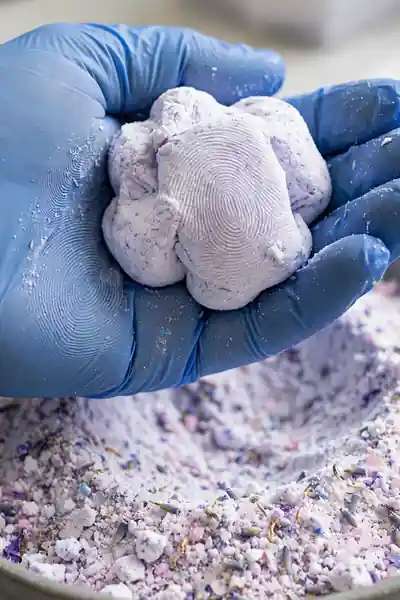
Quick Facts: Target Feel: Wet sand | Test: Squeeze one handful hard | Pass Sign: Holds shape, clean edges | Fix for Dry: Two spritzes, then test again
Wet sand at the beach is the picture to hold in your mind: damp enough to keep a shape, dry enough to crumble at a poke. If the squeezed clump drips or feels like dough, it is too wet for molding. If it falls apart like powder, it needs two more spritzes, never a pour.
Pack the Molds Firmly
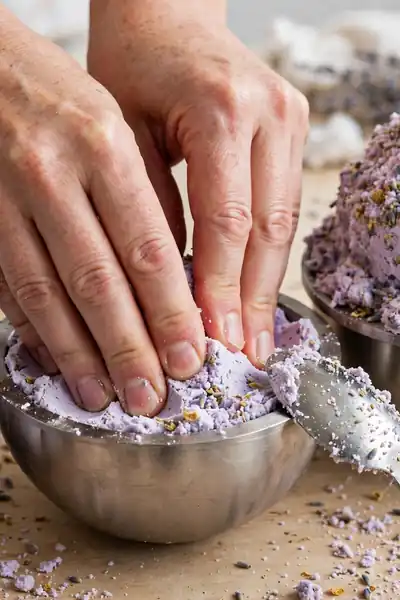
Loose filling is the silent cause of cracked bombs. Spoon the mix into one mold half, press it down hard with the back of the spoon, then mound more on top until it heaps. Fill the second half the same way, slightly overfull, because the two heaps compress into each other.
Twist the halves together with pressure until the metal edges meet, then tap the outside once with a spoon. Wipe the squeezed out ring of powder away before setting the mold down. That ring looks harmless, but left on, it dries into a seam that splits the bomb later.
Unmold and Dry Them Properly
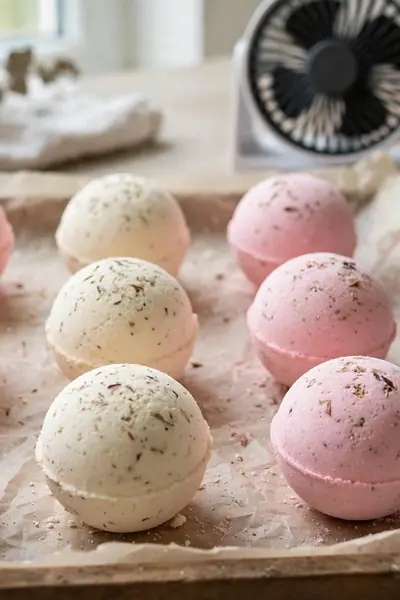
Fresh bombs are at their weakest in the first hour, so this stage asks for patience more than skill. Dry them in the order below and they will harden into the firm, smooth spheres that survive wrapping, stacking, and the trip through the mail.
- Rest the filled molds 10 to 15 minutes before opening, so the shape sets.
- Tap the outside of each half gently with a spoon, then twist and lift one side away.
- Set each bomb on parchment or a dry towel, never straight onto a cold counter.
- Leave them 24 hours untouched, then turn them once and give them another 24.
- Keep them away from the bathroom steam while drying; a dry shelf beats a steamy one.
Know When They Are Truly Ready
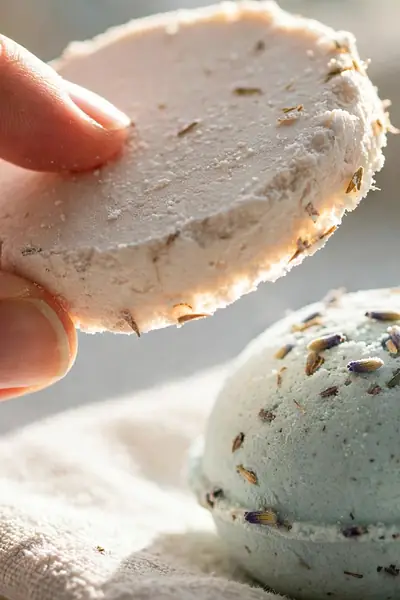
Quick Tip: Use the thumbnail test: press your nail gently into a hidden spot on the bottom. A ready bomb resists and feels like hard chalk, with no give at all. Tap it too: a dry, light knock sounds hollow and crisp, while a still damp center sounds dull.
Color tells the truth as well. Bombs dry paler as the moisture leaves, moving a full shade lighter than the mix in the bowl. Judge readiness by the palest one on the tray, never the darkest, and when in doubt, give the whole tray one more night.
Make Them Pretty: Colors, Botanicals, and Two Tone
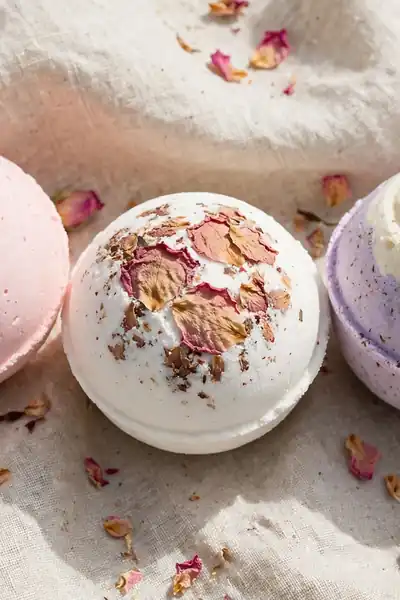
Common Mistake: Loading the top with dried flowers and heavy color to make the bomb look fancy. Loose petals fall off in the wrapper, strong dye can ring the tub, and the whole thing reads as decoration instead of something you would drop in your own bath.
The Fix: Keep the palette soft, two tones at most, and press botanicals into the mix while packing the mold, not onto the finished surface. Petals set inside the top layer stay put through drying, wrapping, and the drop into the water.
Two tone bombs are the easiest upgrade: fill one mold half with one color, the other half with a second, and let the seam become the design. I have noticed soft pairs like blush with cream or sage with white photograph best and sell the handmade look without shouting.
Lavender Bath Bombs for Evening Soaks
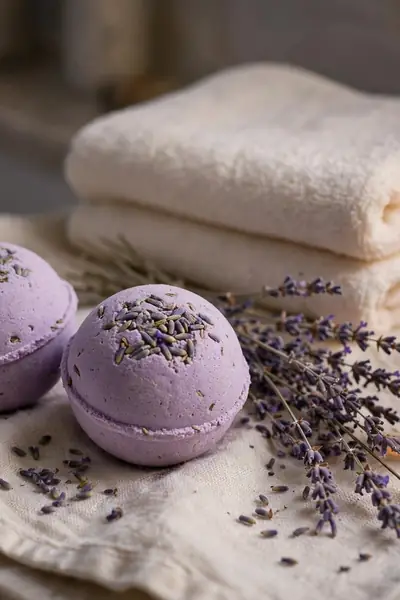
What You Need for This Variation:
- The base recipe from section 4, unchanged
- Lavender essential oil, the full 2 teaspoons for a clear scent
- A pinch of dried lavender buds, pressed into the top mold layer only
- The faintest purple bath bomb color, mixed lighter than you want it
- Parchment for drying, since buds can stick to towels
Lavender is the scent most people picture when they picture a bath at all, which makes this the safest first variation to master. Keep the color the faintest purple you can manage. Bombs that look like grape candy rarely smell refined, and the soak should feel like dusk, not dessert.
Rose Bath Bombs for Gifts
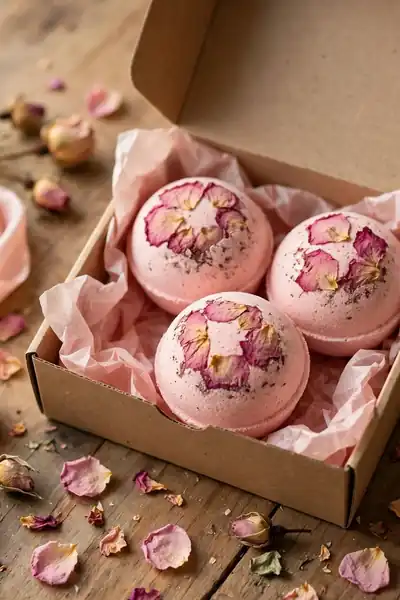
Before: The mix is plain white with a drop of scent added as an afterthought, and the finished bombs smell flat, the way rose water tastes when you expected perfume. Pretty petals sit in a jar nearby, never making it into the gift.
After: The oil goes in at full measure, the color leans blush instead of red, and a few crushed petals are pressed into the mold’s top layer. The bombs come out looking like small cakes and smelling like an actual rose garden after rain.
Rose bombs are the ones people give, so make the gift version deliberately: slightly smaller molds, petals only in the top layer, and the driest possible drying time so nothing sticks to tissue paper. One in a box reads as thoughtful. Three read as a present.
Citrus Bath Bombs for Morning Energy
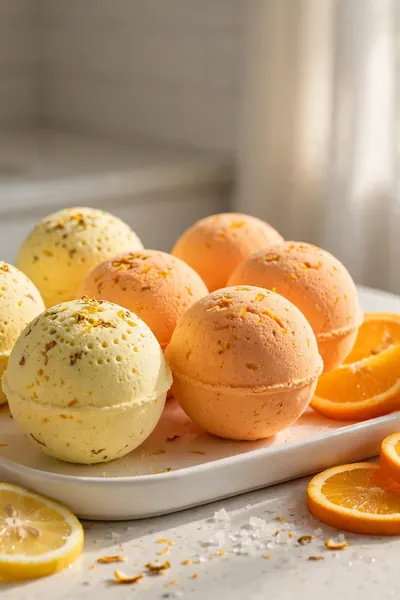
Do This:
- Reach for sweet orange as your main citrus oil, the friendliest of the family
- Pair it with a little lemon for brightness, not more orange for volume
- Keep the color pale yellow, since deep orange can look muddy in the tub
- Use these bombs first, within a few weeks, while the scent is at its peak
Avoid This:
- Loading extra drops to force a stronger smell, which only risks skin sting
- Making citrus batches far ahead for gifts, because the scent fades early
- Using colored slices or zest inside the bomb, which turns soggy and brown
- Storing citrus bombs in a warm bathroom, where the scent dies fastest
Citrus bombs belong to mornings and Monday moods, the exact opposite shelf from the lavender batch. Make them on the day you plan to gift or use them within a few weeks, because bright citrus scents fade faster than florals. That fading is normal, not a mistake in your making.
Eucalyptus Bath Bombs for Spa Style Soaks
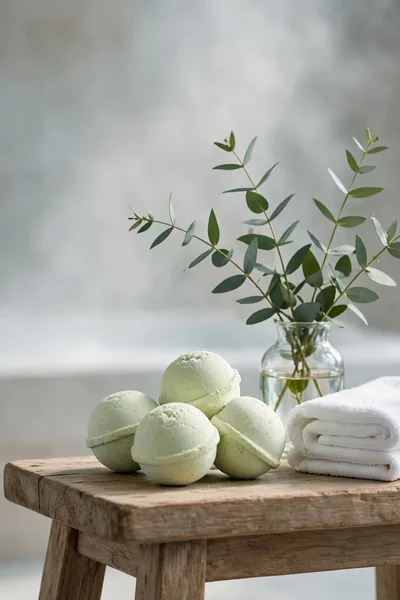
Quick Facts: Scent: Eucalyptus, full measure | Color: Leaf green | Best Moment: Evening steam soak | Pairs With: A plain white bomb set
Eucalyptus is the scent of every good spa changing room, sharp and clean in a way florals never try to be. In my experience it pairs best with a slightly stronger oil measure than lavender, because the baking soda softens it in the water. Make these the deepest color of your set, a leaf green.
Make Them Without Epsom Salt or Without a Mold
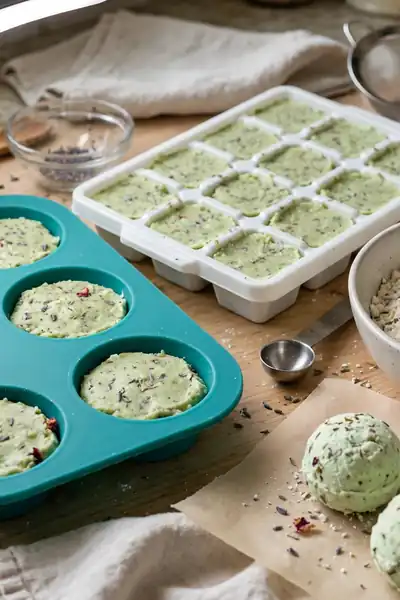
Two shortages stop more beginners than any failure: no Epsom salt in the cupboard, and no molds in the drawer. Neither one cancels bath night. For the salt, swap in an extra quarter cup of cornstarch and a pinch of fine sea salt, and expect a lighter bomb that still fizzes well.
For the mold, almost any shape in the kitchen will press a bomb: silicone muffin cups, ice trays, measuring cups, two hands rolling a snowball. Press the mix in hard, level the top, and turn it out after fifteen minutes. The sphere is a habit, not a rule.
Fix Crumbling, Cracking, and Soft Bombs
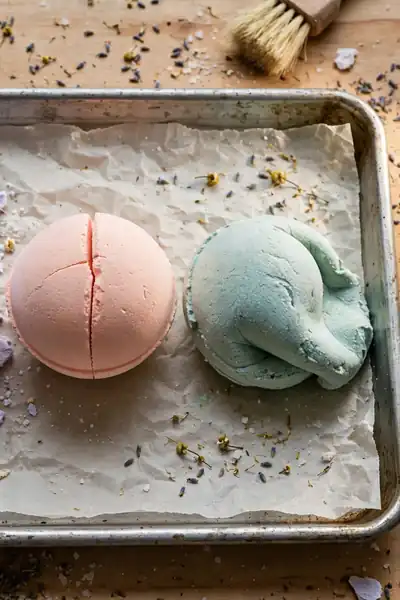
Most failed bombs fail in one of three ways, and each one points straight at its cause. Read the damage like a mechanic reads an engine: the shape of the problem names the fix, and the next batch is usually perfect.
- Crumbly edges: the mix was a touch too dry at molding, or the packing was loose. Add two spritzes and pack harder next round.
- A crack through the middle: the bomb dried too fast near heat, or the seam ring was left on. Dry away from radiators and wipe the seam.
- Soft the next day: the bomb drank humidity overnight, from bathroom air or an open window. Dry and store in a dry room from the start.
- Flat top or slump: unmolded too early, before the shape set. Give filled molds a full 15 minutes before opening.
Stop Expanding and Early Fizzing
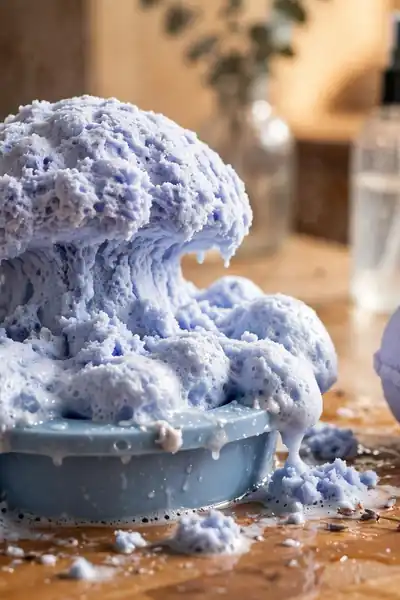
Quick Tip: Treat expansion as a moisture report, not a recipe failure. The mix took in more liquid than the dry balance allows, from a heavy spray hand, a steamy room, or wet measuring cups. The same batch, made drier on a dry day, usually behaves perfectly.
Early fizzing during mixing is the same story told sooner: somewhere, liquid pooled instead of spreading. The fix is technique, not ingredients. Drizzle against the bowl’s side while whisking, spritz over the whole surface instead of one spot, and never set the bowl near a boiling kettle or a running shower’s steam.
What to Do When the Mix Gets Too Wet
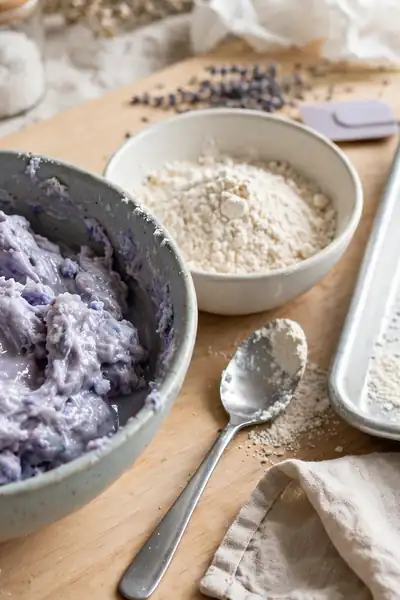
Common Mistake: Throwing a too wet batch in the bin, or worse, trying to dry it in a low oven. Heat sets off the reaction and ruins the fizz completely, and most wet batches are only a few spoonfuls away from perfect.
The Fix: Keep a small reserve of dry mix aside for exactly this moment. Whisk it into the wet bowl a spoonful at a time until the squeeze test passes again. If the bowl has gone fully dough like, spread it thin on parchment for an hour, crumble it, and add dry mix.
A rescued batch sometimes dries with a slightly rough surface, and gifting standards may complain, but the fizz inside survives almost untouched. Keep rescued bombs for your own tub, where performance matters more than polish. Write the extra dry amount on your recipe card so the rescue becomes the recipe.
Store Them So They Stay Fizzy
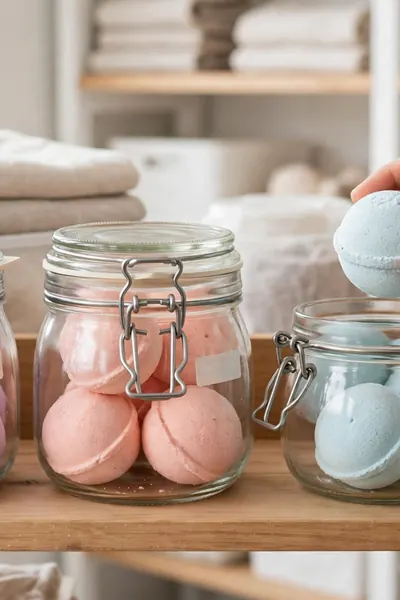
What You Need for Long Fizz:
- Airtight jars or tins with lids that truly seal
- One silica gel packet per jar, saved from shoe boxes and packaging
- Pencil dated labels on every jar, scent and making date
- A dry shelf outside the bathroom, away from shower steam
- Shrink wrap or cellophane for gift bombs that will travel
Fizz fades before looks do. A bomb stored perfectly still gives its best show in the first two to three months, then softens month by month until the drop becomes a slow melt. Date your jars with a pencil mark, use the oldest first, and treat month four as the honest deadline for gifts.
Package Them as Gifts That Look Bought
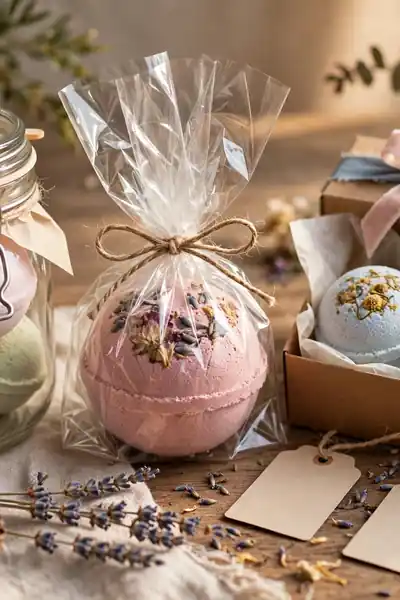
Before: The bombs travel loose in a plain bag, rubbing against each other until the edges powder and the scents blend into one vague sweetness. Whoever receives them has no idea what the scent is, when they were made, or how to use one.
After: Each bomb sits sealed in cellophane or a jar, wearing a tag with its scent name, the making date, and one simple line: drop the whole bomb into warm water. The fizz survives the trip, the colors stay separate, and the gift explains itself.
A combination trick works well here: pair one floral bomb with one citrus and one eucalyptus in a single box, and the gift reads as a set instead of spares. Order them mild to strong on the tag, and the receiver gets a small ritual instead of a guess.
Also Explore: Budget Friendly Christmas Gifts for Family to Love
Safety Notes for Skin and Scents
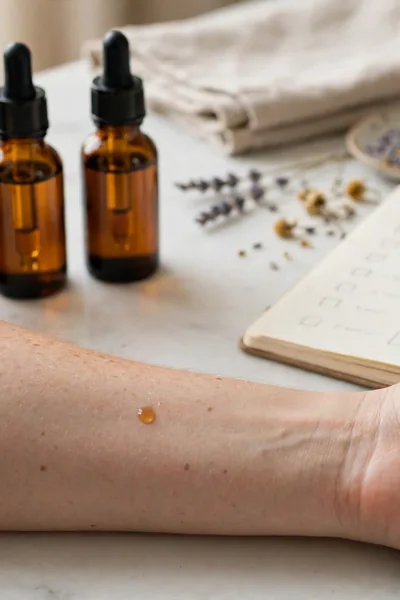
Do This:
- Follow the oil supplier’s own dilution guidance on the bottle
- Test a new scent in one small bomb first and try that soak yourself
- Keep bombs away from broken or freshly shaved skin
- Rinse the tub after oily baths, because oil makes surfaces slippery
Avoid This:
- Adding extra essential oil to fix a weak scent in finished bombs
- Using craft fragrance blends that are not made for skin
- Letting children use strong scented bombs made for adults
- Leaving bombs where toddlers or pets can bite into them
Bath bombs sit against skin in warm water for twenty minutes, so they deserve the same respect as anything else you put on your body. None of this needs fear, just measure. The recipe’s one to two teaspoons across six bombs is a gentle level for most adults, and a patch test outranks any chart.
Mistakes That Ruin a Whole Batch
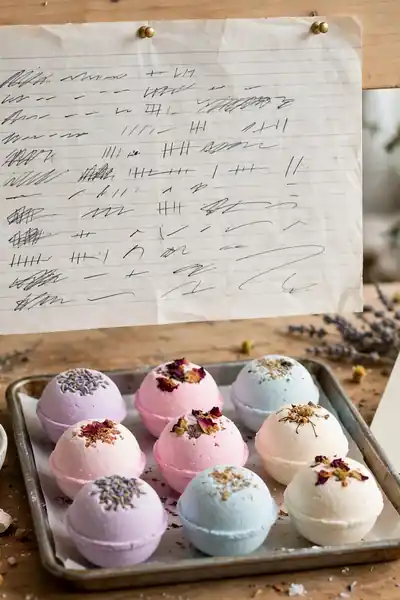
Quick Facts: Mistake 1: Pouring liquid at once | Mistake 2: Packing the mold loosely | Mistake 3: Unmolding in the first minutes | Mistake 4: Drying beside bathroom steam
Most ruined batches trace back to one of four minutes: the pour, the packing, the unmolding, or the drying shelf. Notice that none of them is the recipe itself. Keep this list near the counter for your first three batches, and by the fourth, your hands will correct mistakes before your eyes spot them.
Test a Small Batch First
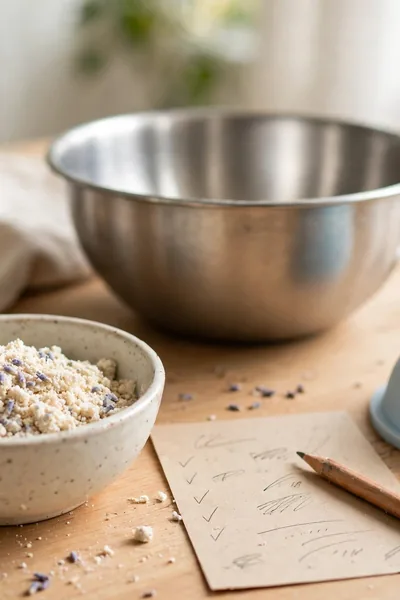
Every scent, color, or swap deserves a rehearsal before it earns a full batch. Halve the base recipe, make two bombs, and give one the test: dry it, drop it, soak in it. The other stays on the shelf as your control sample for scent strength after a week.
Half batches fail cheap. A weak scent costs you two bombs of learning instead of six, and a color that rings the tub never reaches the gift boxes. Write the verdict on the card the same day, while your nose still remembers, and the next batch starts from knowledge, not hope.
Frequently Asked Questions
1. Can I make bath bombs without citric acid?
Yes, with a weaker show. Swap in the same amount of cream of tartar and the bombs will fizz gently instead of vigorously. The texture and scent stay lovely, but for that classic lively fizz, citric acid has no true equal.
2. Can I use food coloring instead of bath bomb color?
In a pinch, yes, a few drops only. Food coloring can tint skin and leave a ring on some tubs when used heavily, and the colors fade as the bombs dry. Proper bath bomb color costs little and behaves far better.
3. Why did my bath bombs crack while drying?
They dried too fast or carried a wet seam. Heat from a radiator or sunny sill pulls moisture out unevenly and splits the surface. Dry bombs on a plain shelf in still air, and always wipe the seam ring away before setting molds down.
4. How long do homemade bath bombs stay good?
The fizz is at its best for the first two to three months in an airtight jar. After that they still work, but month by month the drop gets slower and the scent gets quieter. Date every jar and use the oldest first.
5. Can I use fragrance oil instead of essential oil?
Only fragrance made for bath and skin products, at the rate the supplier prints on the bottle. Craft and candle fragrances are not skin products, however good they smell. When the label is vague, treat it as a no.
6. Why does my bath bomb sink instead of float?
Dense packing and heavy add ins pull it down. A lighter pack with a well dried, airy center usually floats and spins. Floating is a nice show, never a quality test: a sinking bomb still releases the same scent and oils.
7. Can children use these bath bombs?
For children, make a separate mild batch with half the scent level and simple ingredients, and always let an adult run and supervise the bath. Skip strong scents for the youngest children, and stop any soak that makes skin feel itchy.
Conclusion
Six plain ingredients, one careful method, and a row of firm, fizzy bombs drying on your shelf: that is the whole journey. Keep this diy bath bomb recipe saved on Pinterest for gift weeks and slow Sundays, make your first small test batch this week, and share the guide with a friend whose store bought bombs keep disappointing her. I’ve seen how one good homemade soak can completely shift the way an evening feels, turning an ordinary bath into the quietest, kindest hour of the whole day. Start with lavender; it forgives beginners.