21 Textured Macrame Basket Patterns for Cozy Storage
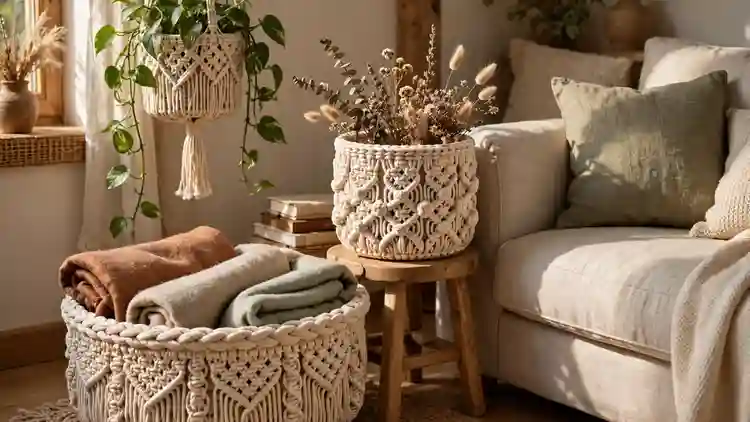
Every home has the same three trouble spots: the entryway pile, the bathroom gap, the blanket landslide beside the sofa. These 21 textured macrame basket patterns answer all three with cord, patience, and knots you mostly already know, worked bigger, bolder, and with far more texture than the plain baskets in most tutorials.
I’ve noticed texture is what separates a basket people compliment from one they walk past. A row of berry knots, a braided rim, one band of color: small decisions, huge difference. Each pattern here lists its cord, its base, and the job it does best, so you can start tonight.
Cord, Base, and Stiffness Basics
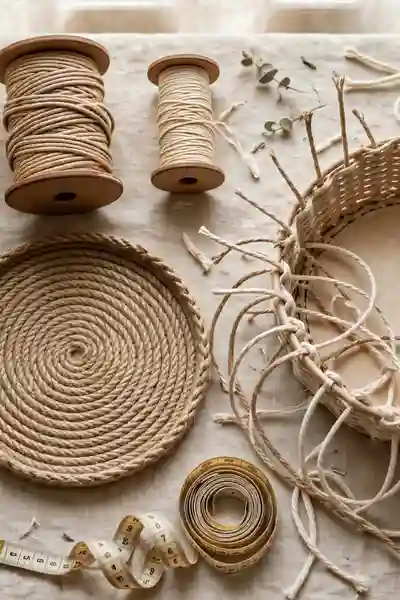
Every basket here stands or slumps on three early choices. Cord thickness sets the personality: 3mm single twist reads soft and drapey, 4 to 5mm braided cord holds a wall shape, and chunky 6mm builds fast, bold texture. Choose before you start, not during.
Bases decide the rest. A coiled spiral base grows round baskets, a straight row start grows square ones, and a wooden disc base skips the hardest stage. Stiffness comes from structure, not spray: tight knots, double walls, and braided cord keep their shape daily. Pick your base and cord first, and most macrame basket patterns behave exactly as promised.
Classic Coiled Round Basket
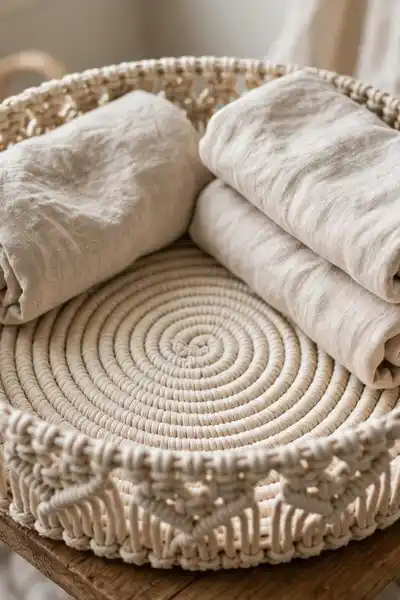
- Base: a tight spiral coil, increased evenly every round so it lies flat
- Cord: 4mm braided for walls that hold their round shape
- Size guide: a 10 inch base grows a basket that swallows four rolled towels
- Skill focus: even tension, because the spiral shows every wobble
- Best use: bathroom towels, yarn, and living room throws
Round baskets forgive beginners because the spiral hides uneven tension. Start the coil tight, count your increases for the first three rounds, and the base sits flat instead of wobbling. I’ve noticed makers who rush the center end up reworking it twice, so give round one your full attention; the rest turns meditative.
Also View: DIY Macrame Tote Bag Tutorial for Market Day Style
Square Knot Storage Basket
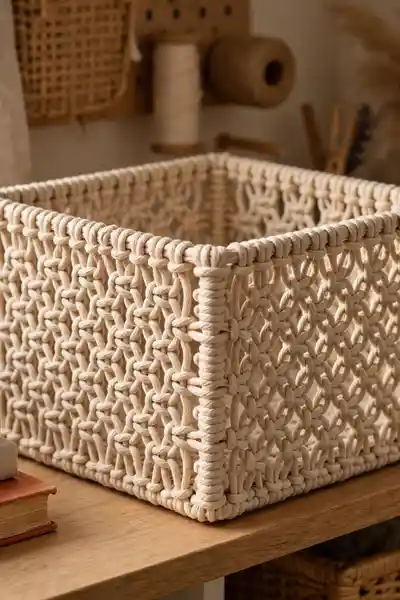
Quick Tip:
Knot the first three rows, then measure the band height and write it on a sticky note. Match every later band to that number before moving up, and the grid stays even all the way to the rim without constant recounting.
Straight sides are the square knot’s party trick. Worked in flat vertical bands, it builds walls that stand square to the shelf and stack beside each other without leaning. Keep a ruler nearby for the first few rows, because even band height early on makes the finished grid look machined instead of handmade wonky.
Spiral Texture Basket
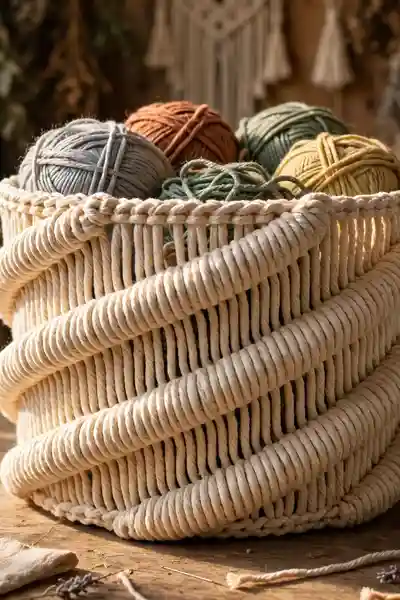
Common Mistake: Switching the working side halfway through a row, which reverses the twist and leaves a visible kink in the spiral.
The Fix: Always start each half knot from the same side. A tiny marker clip on your starting cord keeps the direction honest when you return from a break.
Half knots are the laziest useful knot in macrame: repeat the same half of a square knot and the work twists on its own into a rope spiral. Keep the filler cords straight and let the working cords do the traveling, and the spiral stays even from base to rim.
Berry Knot Basket

What You Need:
- 4mm cord, with berry sections cut three times longer than flat areas
- A base basket body worked to the height where the berries will sit
- A ruler for spacing the bobbles evenly around the row
- Patience: each berry is several knots gathered into one cluster
- A comb for brushing out any fringe below
They eat cord faster than flat knots, roughly three times the length per inch, so budget honestly. Place berries in odd numbered groups, three or five across a front panel, and the eye reads them as a design rather than an accident. That planning minute saves the mid panel cord panic.
Wave Pattern Basket
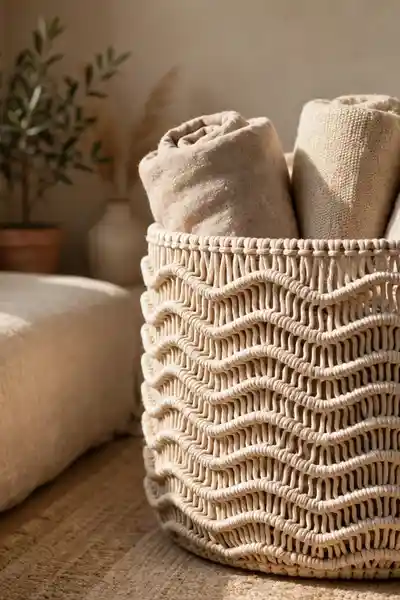
Before: A plain alternating knot basket that looks fine in person and flat in every photograph.
After: The same cords worked in paired rows, square knots then half hitch, until the wall ripples in soft swells that catch the light all day.
Waves come from rhythm, not new knots. The texture catches side light beautifully, which makes this the pattern that photographs best on a shelf. Keep row tension matched inside each pair, because one tight pair among loose ones reads as a dent, not a wave.
Diamond Mesh Basket
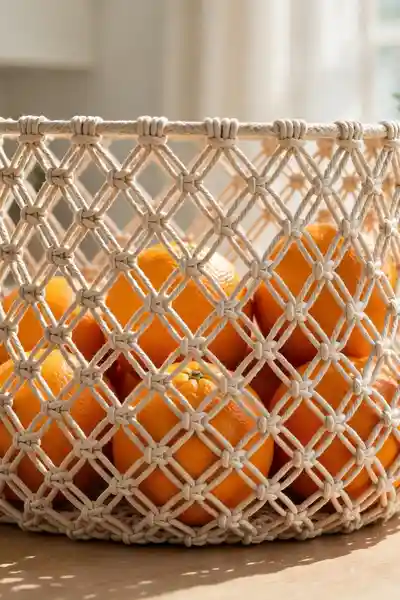
Do This:
- Offset each row of square knots by half a knot to form the diamonds
- Slip a cardboard spacer behind the row for even diamond sizes
- Knot looser than feels safe; the lattice needs room to open
- Choose contents that enjoy air: fruit, onions, yarn in progress
Avoid This:
- Tightening the mesh like a solid wall, which strangles the pattern
- Heavy contents that stretch the open lattice out of shape
- Skipping the spacer while learning, then wondering why sizes drift
- Lining it, which defeats the airflow the mesh exists for
Air moves through it, fruit ripens evenly, and yarn balls stay visible so you stop buying colors you already own. Knot the mesh looser than feels safe and it holds; knot it tight and the diamonds strangle into blobs. A cardboard spacer behind the row keeps every diamond the same size while you learn.
Fringe Trim Basket
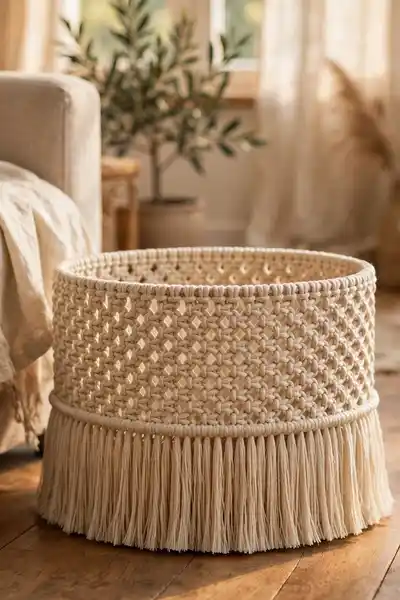
Cord: Any 4mm | Fringe Length: 4 to 6 inches | Time: Body one evening, fringe one hour | Best For: Rescuing plain baskets
A body that came out uneven or a rim you are not proud of turns into boho intention under a full brushed fringe. Work the body plain and fast, then spend your care on the finish: fringe combed straight, and trimmed so the line follows its curve.
Two Tone Basket
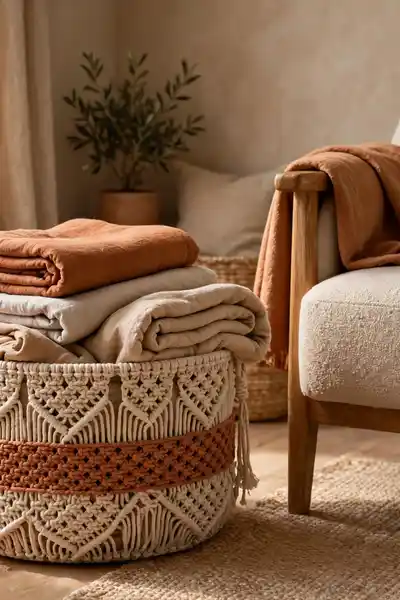
Two tone baskets look planned in a way single color work rarely does. One band of dyed cord at the belly or under the rim turns a plain basket into the piece guests ask about. The trick is placement: a band at the widest point reads boldest, while a thin double stripe near the top reads tailored.
Buy the dyed cord rather than dyeing mid project, because home dyed batches rarely match when you run short. Join colors inside a knot where the swap hides, and the outside shows one clean line. One band has rescued many baskets from the unravel pile.
Wooden Base Rope Basket
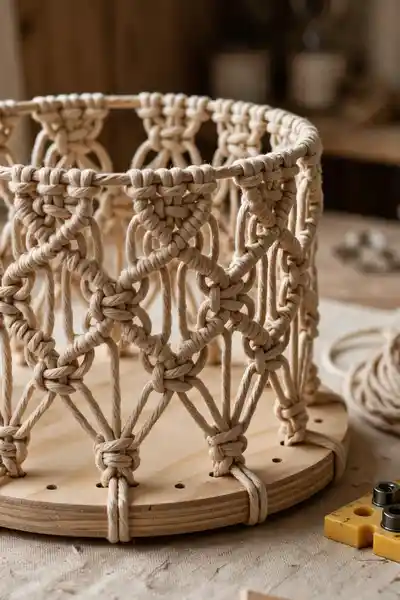
- Base: a pre drilled wooden disc, round or oval, in the finished basket’s size
- First row: cords lark’s head mounted through the holes, packed tight
- Cord: 5mm braided suits the sturdy job this basket is hired for
- Finish: sand the disc edge and oil it so the wood reads as design
- Best use: heavy loads like books, tools, and firewood kindling
Knot your first row through the holes, and the wall rises evenly from a base that never curls. Bases come in sizes from catch all to blanket scale, and a light sanding plus oil makes the wood read like part of the design, not a cheat.
Hanging Plant Basket

Quick Tip:
Test the hang indoors over a bed before the plant goes in. Hang the empty sling, set a bowl of water at its center, and adjust the gathering knots until the water sits level. Five minutes here saves a tilted plant for a year.
Walls and windowsills fill up; the air above them stays free, and a hanging plant finally gets the light it actually wants. Balance is the whole skill: four evenly spaced gathering points, cords measured twice, and a first hang over a bed or sofa while you check the level.
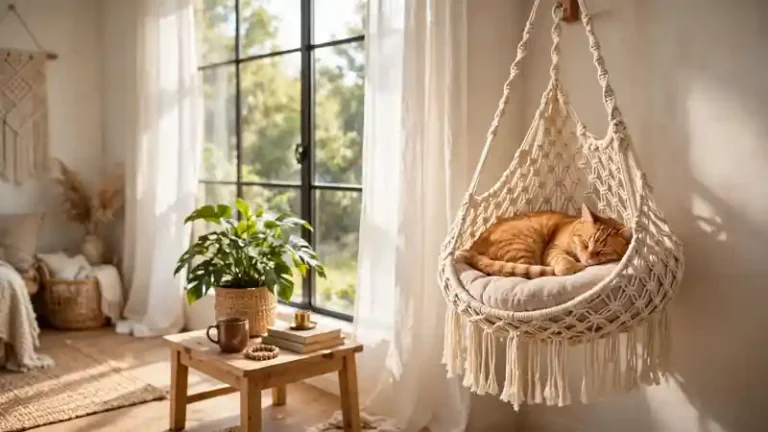
Also Explore: DIY Macrame Cat Hammock Your Cat Will Actually Use
Wall Pocket Basket
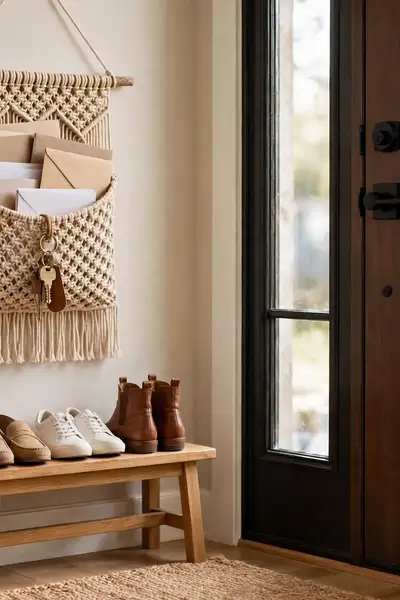
Common Mistake: Building the pocket as a small round basket and flattening it against the wall afterward, where it bulges and spills.
The Fix: Work the back panel flat like a mat first, then build the pocket outward from its bottom edge so the shape is born flat.
Work the back panel flat like a small mat, then build the pocket out from its bottom edge, and gravity itself keeps the shape honest against the wall. One hangs beside the door swallowing mail and keys; another keeps herbs off a crowded kitchen counter.
Fruit Basket With Handles
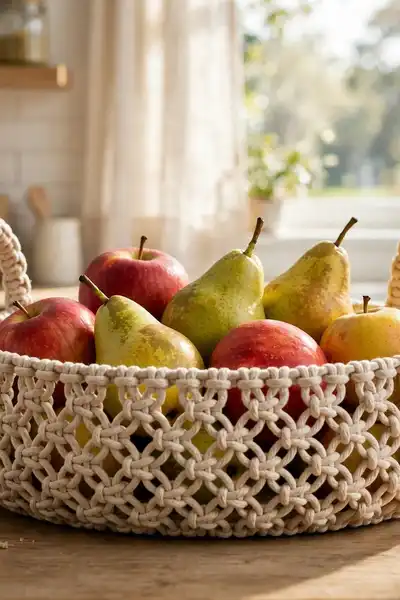
What You Need:
- A wide, shallow base, coiled or wooden, at least 12 inches across
- 4mm washable cotton cord, since fruit juice finds every basket eventually
- Two handle gaps planned into the rim rows, spaced opposite each other
- Semi open knotting for airflow around the fruit
- A table it can travel to, because this one is built to be carried
Low and wide is the fruit basket rule, because a deep basket buries the bottom layer until it bruises. Open or semi open knotting suits it, since air around fruit slows the ripening race, and a washable cotton cord matters here more than anywhere, because fruit baskets meet juice eventually.
Nursery Soft Basket
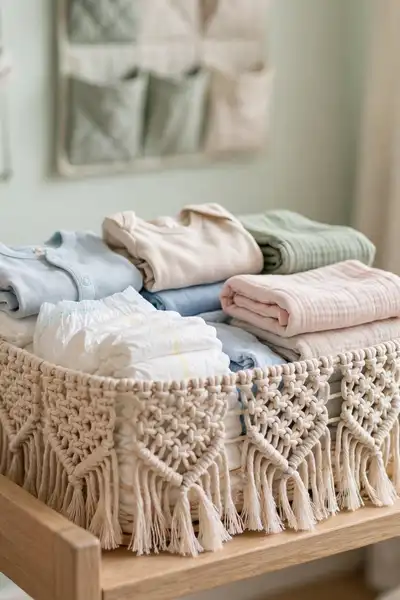
Before: Hard wicker and beaded baskets near the changing table, pretty in photos, wrong within reach of small hands.
After: A soft single twist basket with no hard parts, no long fringe, and walls that fold gently instead of poking.
Single twist cord in a simple square knot body gives exactly that softness, and pastel or natural undyed cord keeps the chemistry boring. Size it for the real cargo, diapers first. It earns its shelf for years past the nursery stage, moving on to toys, then blankets, then whatever childhood brings next.
Yarn Stash Basket
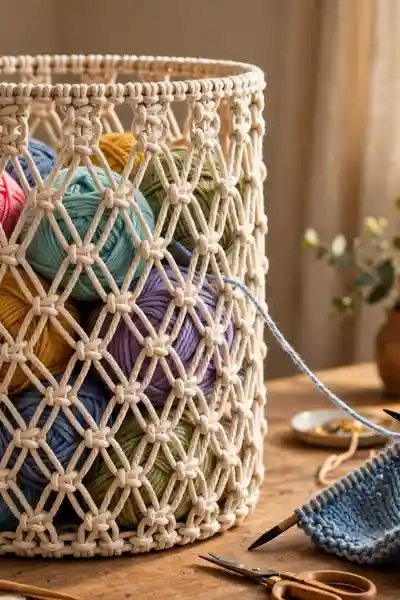
Do This:
- Build the walls tall, at least 12 inches, so balls stack instead of spilling
- Work one diamond gap at rim height as a yarn feed port
- Keep one basket per project, labeled if you are honest with yourself
- Leave the current ball on top so its strand runs free
Avoid This:
- A wide floppy rim that lets balls bounce out on carpet
- Mixing two projects in one basket, which tangles both
- Closing the top fully, since you will open it fifty times a project
- Storing it in direct sun, which fades the top layer of yarn
A tall stash basket with a slightly narrower rim solves it, balls visible through open upper rows, working yarn feeding through a diamond gap while the ball stays home. Keep one basket per project, because the day two projects share a basket is the day both tangles are born.
Blanket Basket With Handles
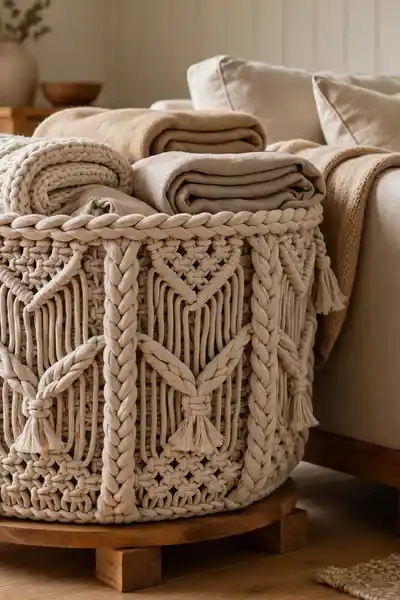
Cord: 5 to 6mm braided | Base: 18 to 20 inch wooden disc | Cord Needed: 3 to 4 times a table basket | Skill Level: Confident beginner
Build it on a wooden base for sanity, use 5 or 6mm braided cord, and add two rows of double half hitch at the rim, which act like the frame of a picture. Worked this way, it carries folded throws for years without the walls bowing outward.
Toilet Roll Basket
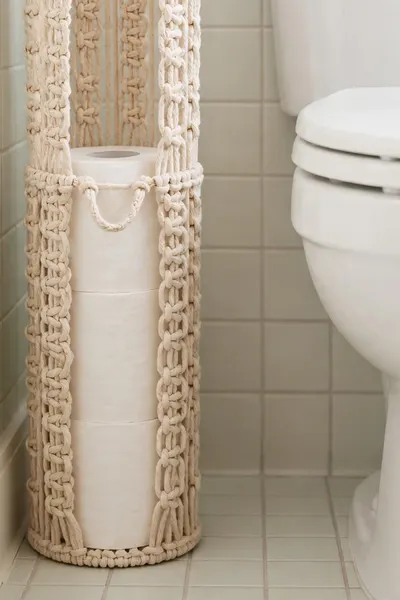
Bathroom storage fails on width, not height: the gap beside a toilet rarely offers more than 6 inches. A slim basket sized to three stacked rolls turns dead floor useful. Cotton cord shrugs off bathroom humidity where jute sulks, and an open top means guests never have to ask.
Keep the pattern simple: alternating square knots in columns, because fancy texture vanishes in a narrow shadowed gap. A small loop handle on the front edge helps it slide out for cleaning day. I’ve seen this basket end the rolls on the tank era in several houses.
Mini Catch All Basket
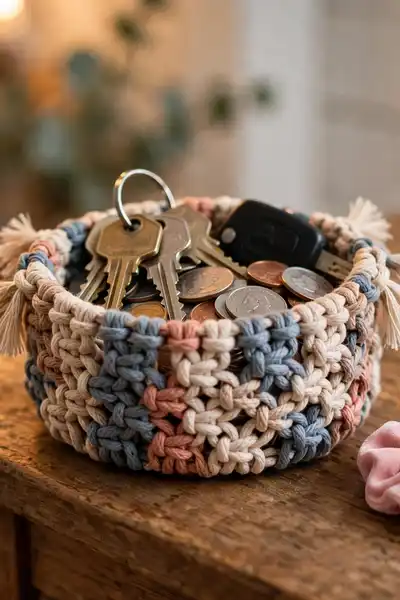
- Base: a 5 inch coil from whatever cord the last project left behind
- Walls: 6 to 8 rows of any knot you are practicing this week
- Time: about 30 minutes, start to keys in
- Cost: effectively zero, which is the entire point
- Best spots: entryway table, nightstand, desk corner, car console
Every maker ends a project with arm lengths of good cord too long to bin and too short for walls. Coiled into a 5 inch base with a few knot rows, they become the basket that lives by the door for keys, coins, and the hair tie economy of the whole house.
Picot Edge Basket
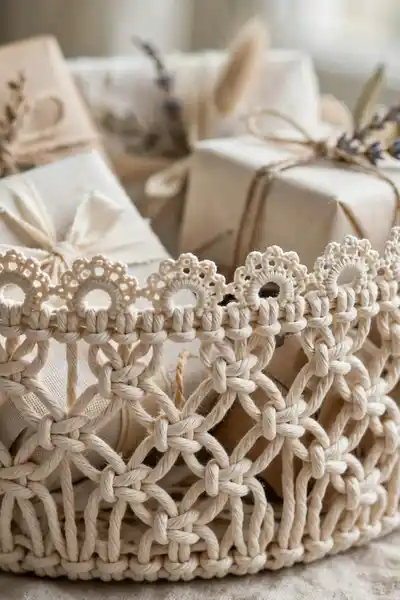
Quick Tip:
Form every loop over the same pencil laid along the rim. The pencil sets the loop height, your hands only anchor the knots, and twenty scallops come out identical instead of slowly shrinking as your fingers tire.
Picot edging is borrowed from lace making, small loops pinned between anchor knots. On a plain basket body it reads delicate and vintage, the finish that suits gift baskets and nursery pieces. Work the loops over a pencil so every scallop matches, because the eye catches one tall loop among twenty instantly.
Braided Rim Basket
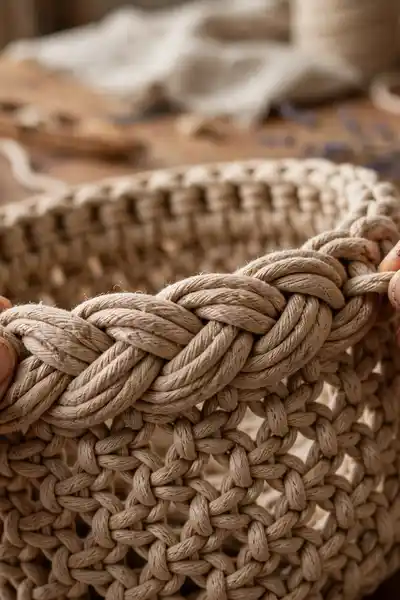
Common Mistake: Trimming the wall cords short at the rim and gluing the ends down, where they lift and fray within a season.
The Fix: Leave the cords long, group them in threes, and plait the braid around the rim so every ending is swallowed inside it.
Take the wall cords in threes, plait them around the top edge, and the braid swallows every ending while adding a rope thick border that also stiffens the rim. It is the finish photographers zoom into, because a clean braid reads as skill from across the room.
Color Block Basket
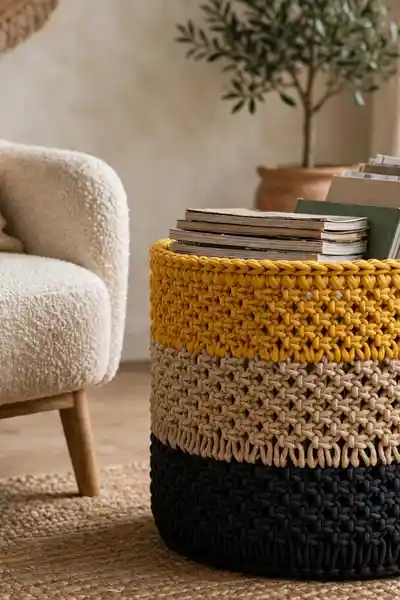
What You Need:
- Cord in three colors, with the darkest bought for the base third
- A finished size plan with zone heights written down in inches
- Joining knots planned inside the work where color swaps hide
- A ruler checked at every zone border before moving up
- Extra cord in the base color, since dark zones eat yardage quietly
Plan the zones before the first knot, not at the halfway shelf. The zones follow the basket’s jobs; dark at the bottom hides floor scuffs, light at the top keeps the rim cheerful. Measure zone heights against the finished plan, not by feel, because a blocked basket shows uneven borders mercilessly.
Lidded Basket With Lid

Before: An open basket of bathroom bits, remotes, or chargers that tidies nothing because the clutter stays on display.
After: The same basket under a shallow knotted lid with a loop handle, reading as one calm object while the mess minds its business inside.
A lid changes a basket’s social status: open baskets display, lidded baskets tidy. Fit is the whole craft, so measure the finished body before starting the lid, and knot the lid’s wall one row looser than the body’s so it settles on instead of wrestling on.
Frequently Asked Questions
1. Are macrame baskets beginner friendly?
Yes, honestly. The coiled round basket and the mini catch all on this list need only a spiral base and one or two knots. Start there, keep tension even, and the textured patterns stop looking advanced very quickly. Most beginners finish a first small basket in one evening.
2. What type of cord works best for baskets?
Braided cotton cord, 4 to 5mm, for most baskets, because it holds wall shape and hides tension wobbles. Single twist reads softer and suits nursery and fringe work. Chunky 5 to 6mm braided cord is the right call for blanket baskets and any basket that carries real weight.
3. How much cord do I need for one basket?
A small catch all uses roughly 30 to 40 feet. A medium storage basket takes 150 to 200 feet, and a blanket basket can pass 400 feet. Textured knots, especially berries, eat up to three times more per inch, so buy a third extra whenever texture leads the design.
4. Can I wash a macrame basket?
Spot clean first, always. Most baskets revive with a shake outside, a gentle brush, and a damp cloth on marks. A full soak can soften the wall shape, so if washing is unavoidable, use cool water, no twisting, and dry the basket stuffed with towels to hold its form.
5. How do I keep a basket from going floppy?
Structure beats spray. Braided cord, tight even knots, a double wall or a wooden base, and a braided or hitched rim row keep shape for years. Stiffening sprays exist, but a basket built firmly from the start rarely needs them and never depends on them.
6. Which basket should a total beginner make first?
The mini catch all, then the classic coiled round basket. The first teaches your hands even tension in 30 minutes with scrap cord, and the second teaches the spiral base that half the patterns here grow from. Two small wins, in that order, beat one big struggle.
Conclusion
Storage you made yourself behaves differently in a home; you keep it, mend it, and plan rooms around it. Keep these macrame basket patterns saved on Pinterest, start this week with the 30 minute catch all from scrap cord, and share the list with a friend whose entryway needs the same mercy. I’ve seen how one handmade basket can completely shift the way a corner works, mostly because its maker finally stops apologizing for the pile. Your first knot is the hard part, and it takes about ninety seconds.