How to Make an Air Dry Clay Flower Frog That Works
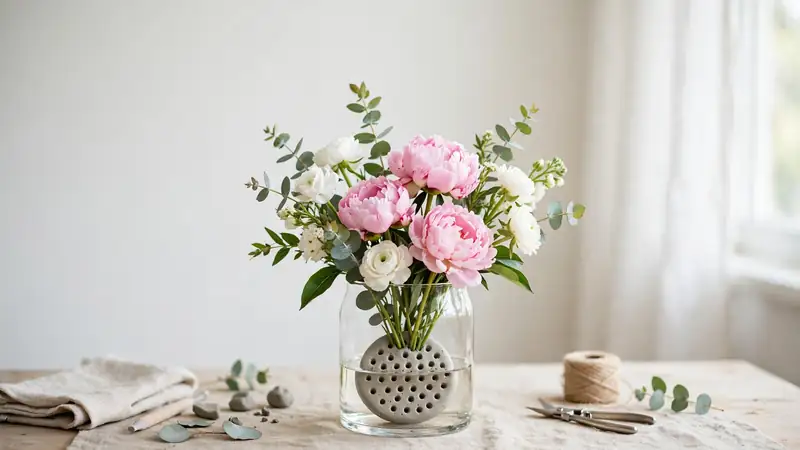
Your flowers deserve better than flopping sadly to one side of the vase. An air dry clay flower frog solves this in an afternoon: a small handmade disc that holds every stem exactly where you place it. No wiring skills, no expensive tools, no kiln.
In my experience, most people skip flower frogs because they look like a florist-only tool. I have noticed that once you try one, arranging becomes genuinely fun instead of frustrating. You will learn to shape it, dry it crack-free, waterproof it properly, and use it for arrangements that look store-bought.
What Is a Flower Frog and Why Make Your Own
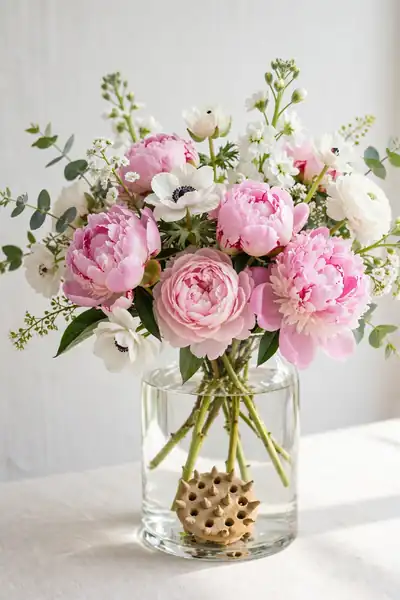
A flower frog is a small holder that sits inside your vase and keeps stems exactly where you want them. No more floppy bouquets leaning to one side. This air dry clay flower frog costs pennies to make, needs no kiln, and works just as well as vintage metal ones.
Store-bought frogs are surprisingly pricey for such a simple tool, and the old metal ones can rust. Making your own means custom sizes for every vase you own. In my experience, beginners love this project because it is forgiving: even a slightly lumpy frog holds flowers beautifully.
Also View:How to Make an Air Dry Clay Paint Palette So Easily
Materials and Tools You Will Need
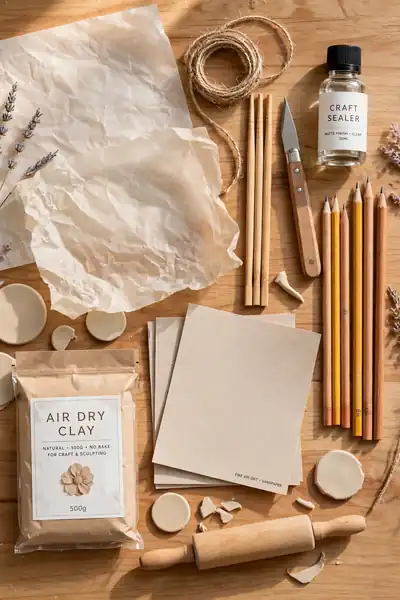
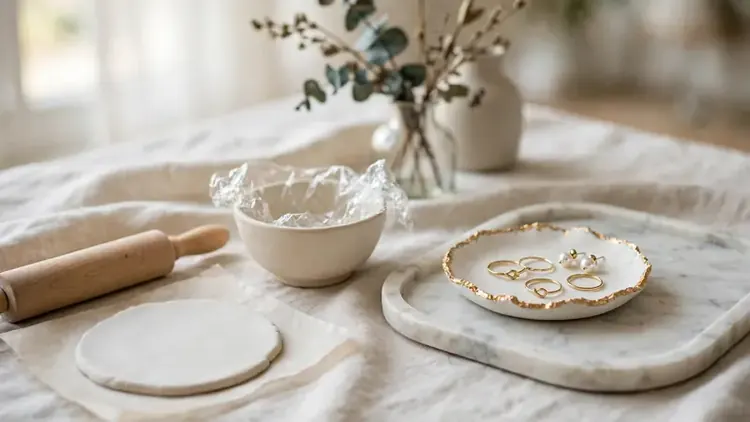
Gather everything before you touch the clay. Flower frogs are small, so the whole project moves fast once you start, and hunting for tools mid-shaping leads to dry edges. A prepared workspace keeps things calm. You probably own half of this list already.
- Air dry clay, one 500g pack: enough for two to three medium frogs. Any basic brand works.
- Rolling pin and knife: for flattening the clay and trimming clean edges.
- Round tools for holes: a chopstick, pencil, or skewer makes perfect stem holes.
- Parchment paper and a flat board: your non-stick work surface for shaping and drying.
- Fine sandpaper and waterproof sealer: for smoothing dried frogs and making them water-safe.
Also Explore:Easy Air Dry Clay Recipe From Simple Pantry Staples
Step-by-Step: Shaping Your Flower Frog
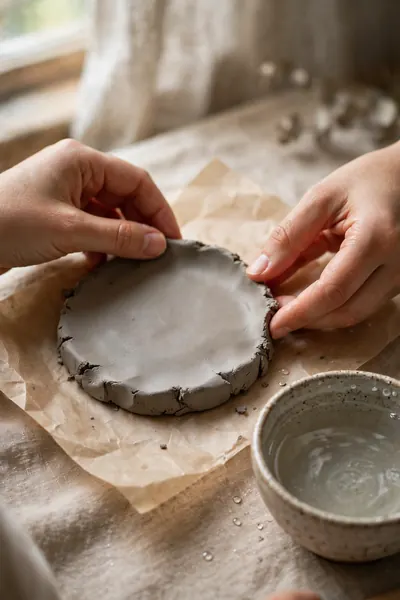
Quick Tip: Keep your clay covered with a damp cloth while you work. Air dry clay starts firming up within minutes of exposure, and dry clay cracks when shaped. Work with small portions and seal the rest in its bag between steps.
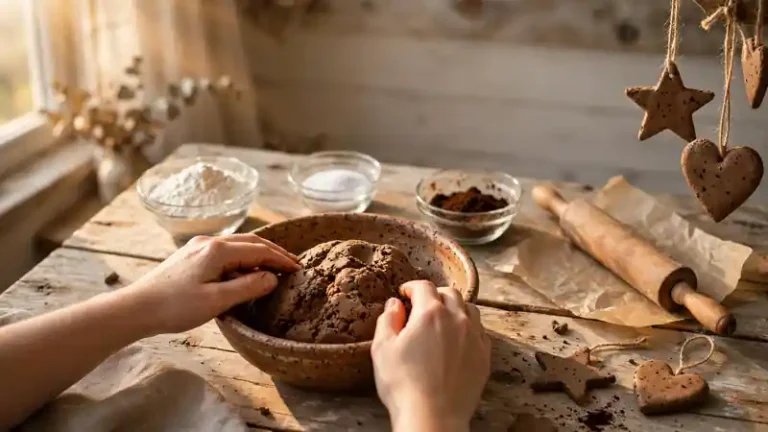
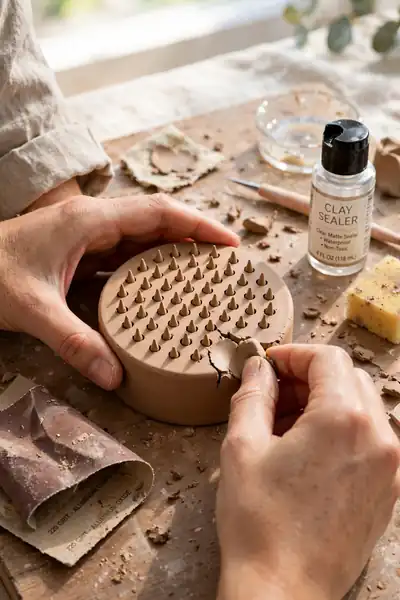
Knead a fist-sized ball of clay until soft, then flatten it into a disc about half an inch thick. Trim the edges with a knife for a clean look, and press gently to check it sits flat. Smooth the surface with a damp fingertip before moving to holes.
Getting the Holes Right: Size and Spacing
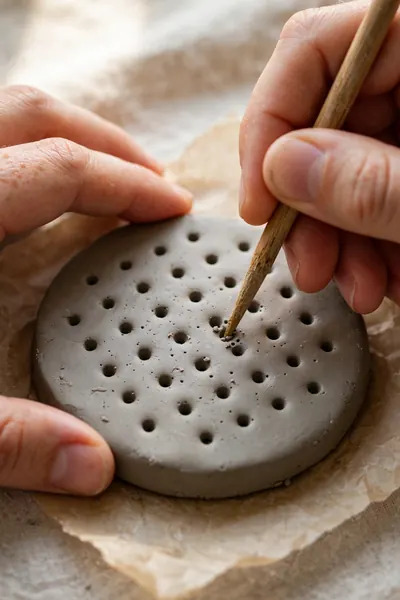
Common Mistake: Most beginners poke holes randomly with whatever is nearby, making them too wide, too shallow, or clustered in the center. Stems wobble, fall over, or slip straight through. A frog with bad holes is just a pretty paperweight.
The Fix: Plan your hole grid before poking a single one. Use a chopstick for standard stems and a skewer for thin ones, push straight down to near the base without piercing through, and space holes evenly about half an inch apart. Test each hole with a real stem as you go.
Hole depth matters as much as size: aim for three-quarters of the disc thickness so stems sit deep and stable. If a hole feels loose, let the clay firm up for ten minutes, then re-poke it slightly smaller. I have noticed this single step decides whether your frog works, so never rush it.
Drying It Properly So It Does Not Crack
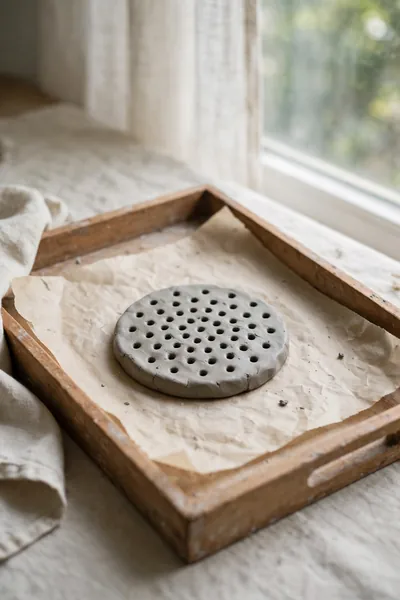
What You Need:
- Parchment-lined tray: a flat, non-stick surface where the frog dries undisturbed.
- Cool, airy spot: away from heaters and direct sun for slow, even drying.
- 24 to 48 hours: the patience window most beginners underestimate.
- Plastic wrap tent: loosely cover the frog for the first 12 hours to slow surface drying.
- A flip halfway: turn it once so the bottom dries too.
Thick clay cracks when the outside dries faster than the inside, so slow and steady wins. Keep the frog away from radiators and sunny windowsills. If tiny surface cracks appear, rub them with a damp fingertip while the clay is still leather-hard. Rushing this stage ruins more frogs than any shaping error.
Waterproofing and Sealing for Real Use
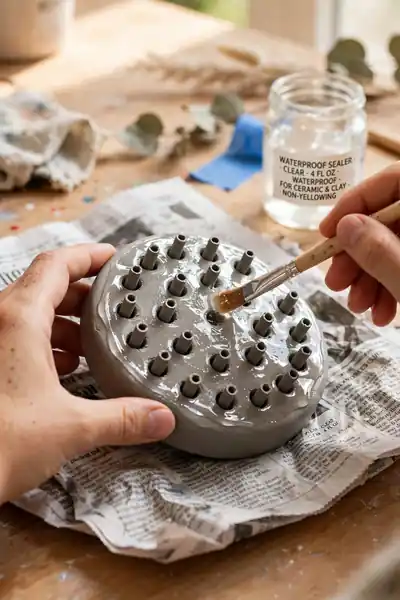
Before: An unsealed clay frog looks fine on day one, then slowly softens and crumbles after a week of sitting in water. The surface turns mushy, colors bleed, and your beautiful handmade piece falls apart. All that shaping work goes to waste.
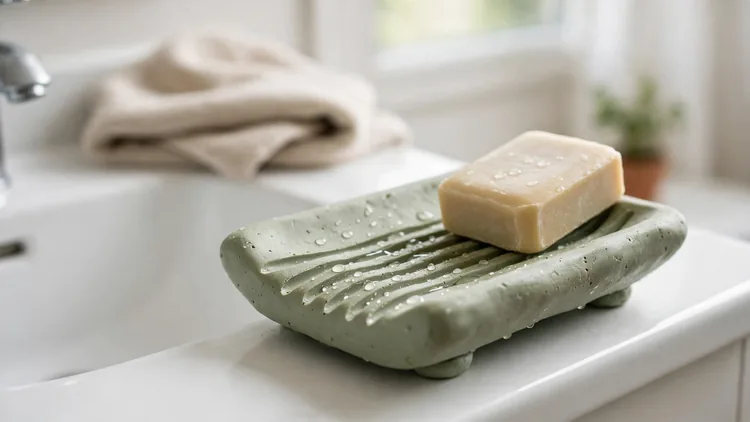
After: Two thin coats of waterproof sealer turn the same frog into a durable, water-safe tool. It survives months of arrangements, wipes clean, and looks just as good as day one. Sealing is the difference between a craft project and a real tool.
Use a clear waterproof acrylic sealer, coating every surface including the hole insides. Let the first coat dry fully, about two hours, then add a second. Experts recommend two coats because one always misses tiny spots. Test with a water drop: it should bead, not soak.
How to Use Your Flower Frog in Arrangements
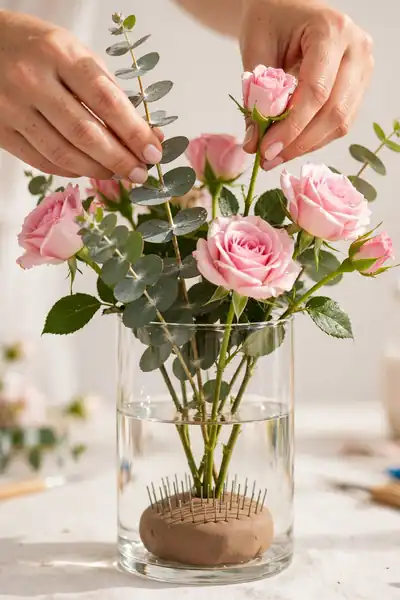
Do This:
- Place the frog in the vase first, then add water around it.
- Insert the tallest stems first to build your structure.
- Turn the vase as you work to check the arrangement from all sides.
- Trim stems at an angle so they drink water better and fit snugly.
Avoid This:
- Do not force thick branches into small holes, or they will crack the frog.
- Do not overcrowd one side; balance keeps the vase from tipping.
- Do not skip the water level check; stems must stay submerged.
- Do not arrange in a hurry; stepping back often improves the design.
Start with greenery to map your shape, then add focal flowers, then fillers last. This layering order is how florists build professional-looking bouquets. I have seen this make a real difference: patient layering turns a simple jar of flowers into something gift-worthy. Take your time and enjoy the process.
Design Variations to Try
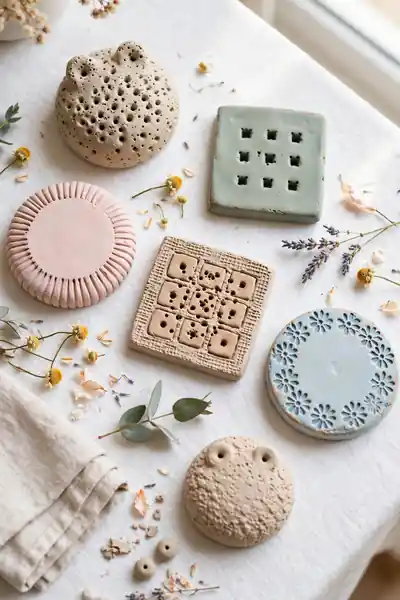
Time Needed: 20 minutes per frog | Difficulty: Easy | Cost: Under $2 per frog | Best For: Gifts and personal vases
Try a square frog for modern cube vases, or press a lace doily into the surface for texture before drying. Small footed versions lift flowers higher in deep vases. Paint sealed frogs to match your decor, since acrylics stick well to the sealed surface. Each variation teaches you something new.
Common Mistakes to Avoid
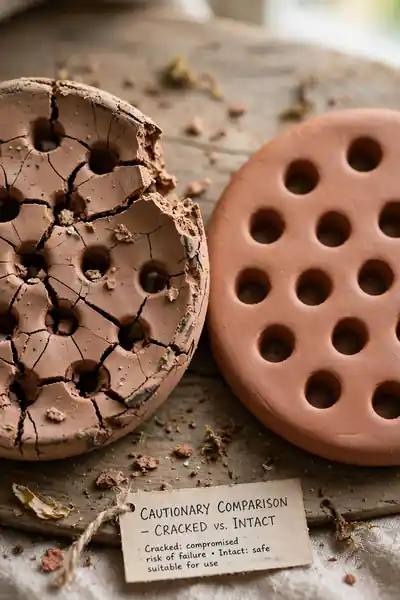
The biggest mistake is skipping the sealer and watching a week’s work dissolve in water. Next comes poking holes too close to the edge, which causes the rim to chip off during drying. Both mistakes are heartbreaking because they show up after you thought you were done.
Rushing the dry time is another classic error, as is making the disc too thin to hold stems upright. Slow down, follow each stage fully, and test before you decorate. A careful frog outlasts a fast one every single time. Your flowers deserve a solid foundation.
Storing Your Flower Frog Between Uses
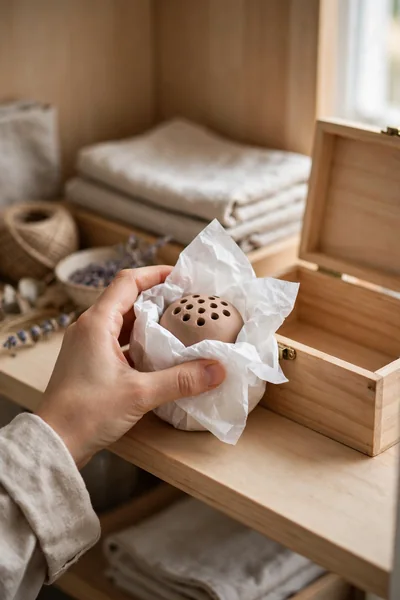
Proper storage keeps your frog ready for years of arrangements. Clay pieces chip when tossed in drawers, and leftover moisture invites odors. A little care between uses protects your work. These simple habits take seconds and save you from remaking frogs.
- Rinse gently after each use and let it air dry fully before storing.
- Wrap in soft cloth or tissue to prevent chips and scratches.
- Store flat in a dry cupboard, never stacked under heavy items.
- Check the sealer once a year; recoat if water stops beading.
Troubleshooting Quick Fixes
Quick Tip: Most frog problems trace back to three causes: holes too big, clay too thin, or missing sealer. Diagnose first, then fix. Nine times out of ten, the solution is simpler than you fear.
For loose holes, plug with a dab of fresh clay and re-poke smaller once dry. For surface cracks, sand lightly and reseal. If stems lean, your disc is too thin: remake it at half an inch. Keep notes on what works, since every vase teaches you something.
Conclusion:
You now know how to make an air dry clay flower frog that truly works, from shaping and drying to waterproofing it for real vases. Pick your favorite vase, shape a frog to fit, and arrange something beautiful this week. Save this guide on Pinterest so the steps wait for your next bouquet, and share it with a flower-loving friend. The hardest part was starting, and you already began. I have seen how making this one change, sealing properly instead of skipping it, can completely shift the result. Your arrangements are about to look florist-made.