Easy Coffee Clay Recipe With Pantry Staples You’ll Love
You want to make something beautiful with your hands, but every craft project seems to need a long shopping list. This coffee clay recipe changes that completely, because everything comes straight from your kitchen. No kiln, no expensive supplies, no experience needed.
In my experience, the best crafts are the ones you can start today, not next weekend after a store run. I have noticed that once people try coffee clay, they get hooked on how forgiving it is. Sticky? Add flour. Cracked edges? A little water fixes it. You will learn to mix, shape, dry, and finish pieces that look charming.
What Coffee Clay Is and Why Crafters Love It
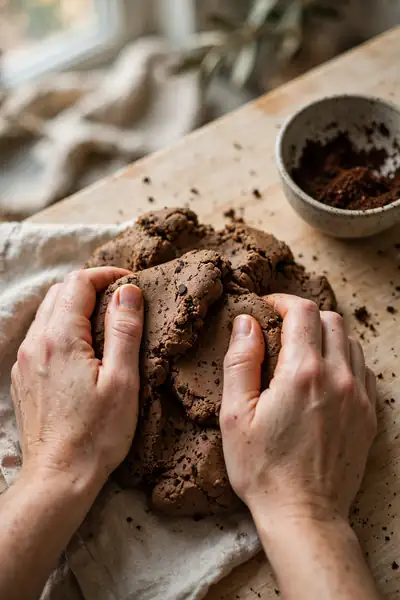
Coffee clay is a homemade modeling dough made from coffee grounds, flour, salt, and water. It air-dries into rustic, stone-like pieces with a warm brown tint and a faint coffee scent. This recipe costs almost nothing, needs no kiln, and mixes up in a single bowl.
In my experience, beginners get better results with it than with store-bought clays because the texture forgives small mistakes. You can shape it the same day you mix it, and every piece comes out looking cozy and handmade. Ornaments, gift tags, and small decor pieces are the perfect first projects.
The Pantry Staples You Already Have
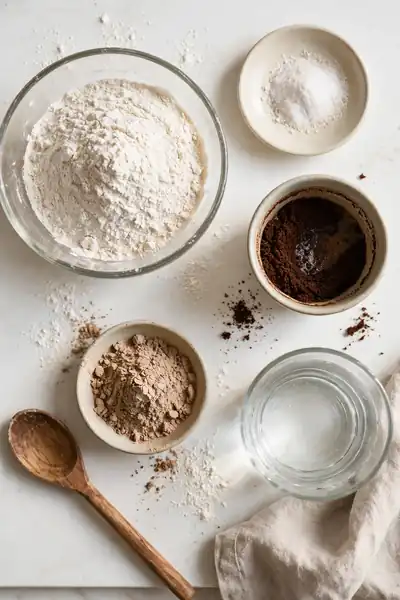
You probably own every ingredient already. This recipe uses four kitchen basics, and each one has a clear job in the dough. Understanding their roles now will help you fix texture problems later instead of guessing. Nothing here requires a special shopping trip.
- All-purpose flour, 1 cup: the binder that holds the dough together. Spoon it into the measuring cup and level it off for accuracy.
- Fine salt, 1/2 cup: preserves the dough and strengthens dried pieces. Choose fine salt, since coarse grains leave a rough finish.
- Used coffee grounds, 1/2 cup, slightly dried: brewed grounds give the best color and texture. Press them in a towel first if they feel very wet.
- Water, 1/2 cup, added gradually: brings everything together into a dough. Add one spoonful at a time so you never overshoot.
- Optional boosters: 1 to 2 tablespoons of white glue for extra strength, and 1 teaspoon of vegetable oil for a smoother finish.
Also View:Easy Air Dry Clay Recipe From Simple Pantry Staples
Tools You Will Need (Most Are Already in Your Kitchen)

Quick Tip: Set out every tool before you add water to the flour. Once liquid hits the dry ingredients, the dough starts firming up fast, and hunting for a missing rolling pin mid-recipe leads to stiff, hard-to-shape clay. A clear counter keeps the whole process calm and fun.
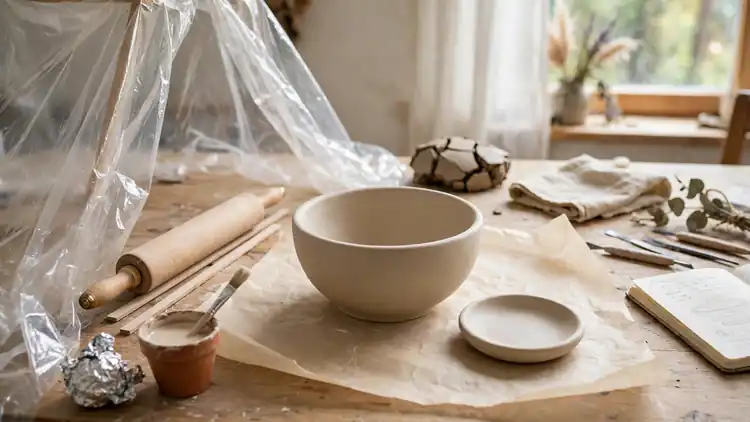
You need a large mixing bowl, a sturdy spoon, measuring cups, a rolling pin, parchment paper, and cookie cutters or a knife for shapes. A straw or skewer pokes hanging holes, and a wire rack helps pieces dry evenly. That is the whole list, and most kitchens already hold every item.
Step-by-Step: Mixing Your First Batch
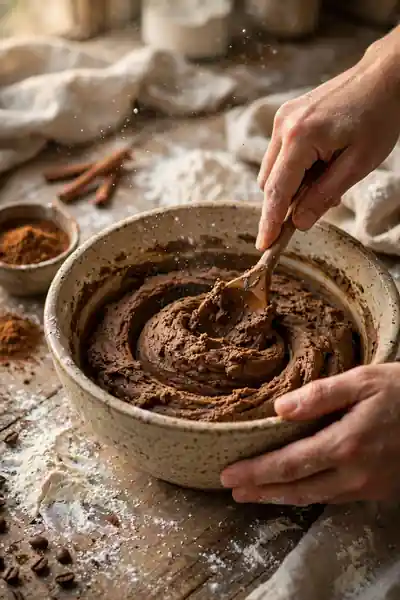
Common Mistake: Most people rush this coffee clay recipe and dump in all the water at once. The dough turns into a sticky soup, then they keep adding flour to rescue it, which throws off the whole balance and wastes ingredients.
The Fix: Add water one spoonful at a time, mixing well after each addition. Stop the moment the dough pulls away from the bowl and holds together when squeezed. You can always add more water, but you cannot take it back out.
Stir the flour, salt, and coffee grounds together until the color looks even. Add water a spoonful at a time, then knead for 3 to 4 minutes until smooth and slightly grainy. If it sticks to your hands, dust them with flour and keep going. Rest the dough for 15 minutes before shaping.
Getting the Texture Just Right

What You Need:
- Firm but pliable: the dough should hold its shape when pressed without slumping.
- Slightly grainy: you should feel the coffee grounds, but the surface stays smooth overall.
- Not sticky: it should release cleanly from your hands and the counter.
- No cracks at the edges: when you roll it out, the edges should stay smooth, not split.
- Holds detail: pressed patterns and cut edges should stay sharp, not blur or sag.
Test a small ball by flattening it in your palm. If cracks form around the edges, knead in a teaspoon of water. If it sticks to your fingers, work in a tablespoon of flour. In my experience, most texture problems come from rushing the water step, so adjust slowly and test again after each fix.
Shaping Basics for Beginners
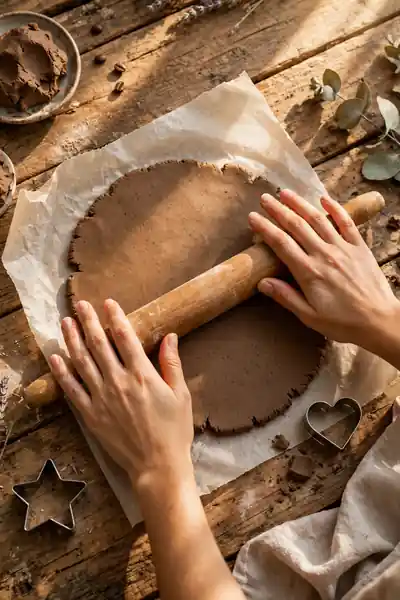
Before: Shaping feels intimidating when the dough sticks to the rolling pin, tears at the edges, and every circle comes out lopsided. Many beginners press too hard and roll too thin, ending up with fragile pieces that warp while drying.
After: With parchment paper and even pressure, the dough rolls out smoothly to a perfect quarter inch. Clean cuts and sharp edges lift off the cutters easily, and every shape sits flat and sturdy, ready for drying.
Place the dough between two sheets of parchment paper and roll from the center outward, turning often for even thickness. Aim for about 1/4 inch: thinner pieces dry faster but break easily. Cut shapes with cookie cutters and poke hanging holes now with a straw, before the surface firms up.
Drying Methods Compared: Air Dry vs Oven

Do This:
- Air-dry pieces on a wire rack so air reaches both sides evenly.
- Flip each piece once a day to prevent warping as moisture leaves.
- For oven drying, use the lowest setting (around 200°F) and check every 30 minutes.
- Let pieces cool fully before handling, since warm clay feels softer than it is.
Avoid This:
- Do not place wet pieces in direct sunlight, which dries the surface too fast and cracks it.
- Do not stack pieces while drying, or they will stick and deform.
- Do not rush with high oven heat, which bakes the outside while the inside stays soft.
- Do not seal or paint before pieces feel bone-dry all the way through.
Air drying takes 24 to 48 hours depending on thickness, and it gives the most even results with zero effort. Oven drying cuts that to 2 to 3 hours but needs watching. I have seen patient air drying almost never crack, while rushed oven batches often do.
How to Prevent Cracks and Make It Stronger
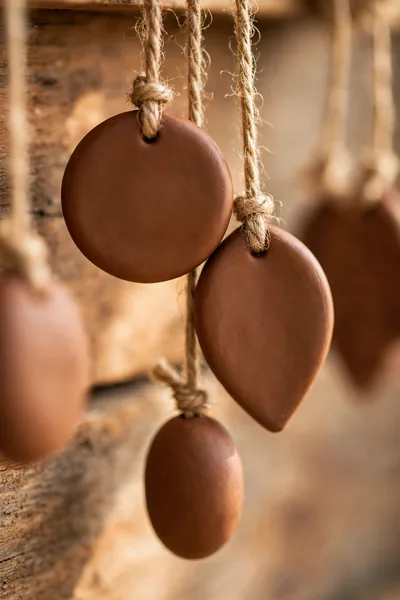
Time Needed: 5 extra minutes during prep | Difficulty: Easy | Cost: Free, uses what you have | Result: Pieces that survive handling and hanging
Cracks happen when the outside dries faster than the inside, so even thickness is your best defense. Roll uniformly, avoid thin edges, and dry pieces slowly away from heat. That optional spoonful of glue also helps. Experts recommend slow drying because gentle patience beats every quick fix.
Painting and Sealing Your Finished Pieces

Wait until pieces are completely dry before painting, then start with a coat of white acrylic primer so colors pop against the brown clay. Acrylic craft paints stick best and dry fast, while watercolors look washed out on the grainy surface. Two thin coats always beat one thick coat.
Once paint dries, seal with a clear matte acrylic sealer to protect the color and add water resistance. Hold the can 8 inches away and spray in light passes to avoid drips. Sealed pieces keep their finish for years, even on a Christmas tree or gift tag that gets handled often.
Easy Project Ideas to Try First

Start small and you will finish with pieces you actually want to display. These beginner-friendly projects use basic shapes, dry reliably, and teach you the core skills. Each one takes under an hour of hands-on time. Pick the one that excites you most and go.
- Hanging ornaments: roll, cut star or heart shapes, poke a hole with a straw, and thread twine through after drying. Perfect for holidays or gift wrapping.
- Gift tags: cut small rectangles, stamp a letter or pattern, and poke a corner hole. They look far more special than paper tags.
- Mini plant markers: shape small stakes, press in a leaf print or write herb names with a toothpick before drying. Cute and useful in pots.
- Decorative bowls: press the dough over an upturned bowl lined with plastic wrap, let it dry, then lift it off. Great for keys or trinkets.
Also Explore:How to Make an Air Dry Clay Flower Frog That Works
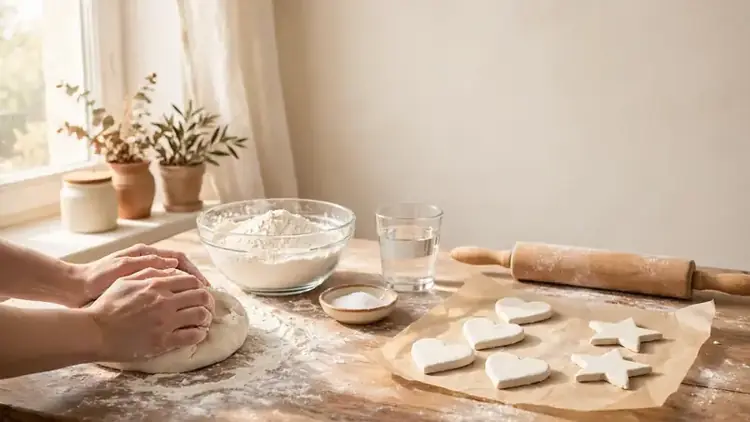
Coffee Clay vs Salt Dough: Which Should You Make?

Quick Tip: Choose based on the look you want, not habit. Coffee clay gives a rustic, speckled brown finish with a faint scent, while salt dough dries pale and smooth, ready for bright paint. If you love farmhouse style, coffee clay wins; for colorful kid crafts, salt dough takes the lead.
Both use the same mix, shape, and air-dry method, so skills transfer directly. Salt dough is slightly stronger for thin pieces, but coffee clay hides fingerprints better thanks to its texture. Most crafters try salt dough first, then switch once they see the charming natural finish.
How Much Does It Cost? Real Budget Breakdown

Common Mistake: People assume homemade means expensive once they list every ingredient. They price full bags of flour and salt, then conclude store-bought clay is cheaper, which misses the point entirely.
The Fix: Price only what you actually use per batch. One batch needs a cup of flour, half a cup of salt, and grounds you were going to throw away. That is the honest math.
A single batch costs well under a dollar, since the coffee grounds are free and the rest are pantry basics. A small pack of store-bought air-dry clay runs several dollars for less material. For families and classrooms the savings multiply fast, with the bonus fun of making the clay itself.
Storing Leftover Clay the Right Way
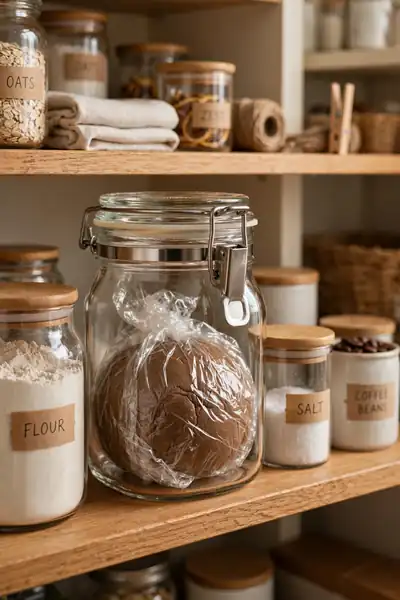
What You Need:
- Plastic wrap: press it directly onto the dough surface to block air.
- Airtight container or zip bag: the second layer of protection against drying.
- Cool spot: a pantry shelf works; avoid warm places that speed up drying.
- A water sprinkle: if edges feel firm next time, knead in a few drops.
- Label with the date: use within a week for the best texture.
Wrap the dough tightly the moment you finish shaping, since even an hour of exposure forms a dry skin. Stored well, leftover clay stays soft and workable for 5 to 7 days. If it stiffens, do not throw it away: knead in water a teaspoon at a time until it softens again.
Pro Tips and Troubleshooting Quick Fixes
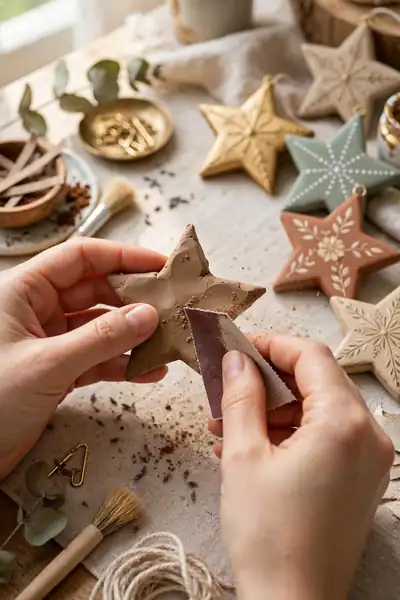
Before: Beginners often finish pieces that look homemade in the wrong way: rough edges, visible fingerprints, and dull paint that chips within weeks. Small oversights during shaping and sealing quietly ruin an otherwise lovely project.
After: A few professional habits change everything: smooth edges, clean surfaces, and sealed colors that stay rich for years. Your finished pieces look like boutique decor instead of a first attempt.
Sand dried edges lightly with fine-grit sandpaper before painting for a polished feel. Wipe pieces with a dry cloth so paint grips better. When troubleshooting, remember your fixes: water for cracks, flour for stickiness, patience for drying. I have seen this turn first-timers into confident crafters in one weekend.
Conclusion:
You now hold a coffee clay recipe that turns pantry basics into charming handmade pieces. Mix a batch this weekend, shape something small, and watch how quickly confidence grows. Save this guide on Pinterest so it is waiting when inspiration strikes, and share it with a friend who loves budget-friendly crafts. The hardest part is starting, and you have already done the reading. I have seen how making this one change, crafting with what you already own, can completely shift the result. Your next favorite decor piece is already sitting in your kitchen.