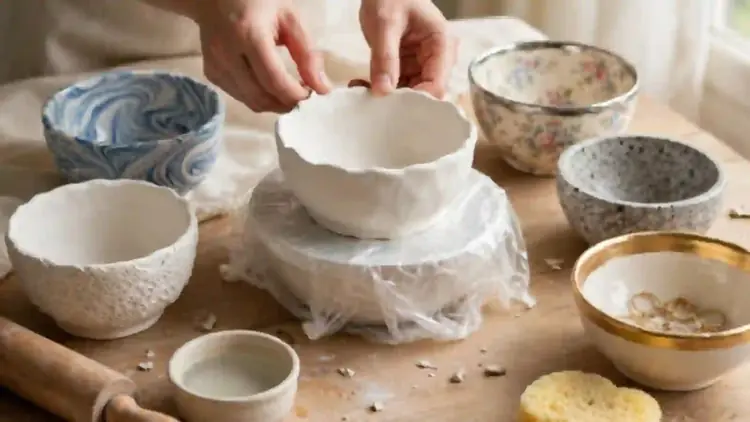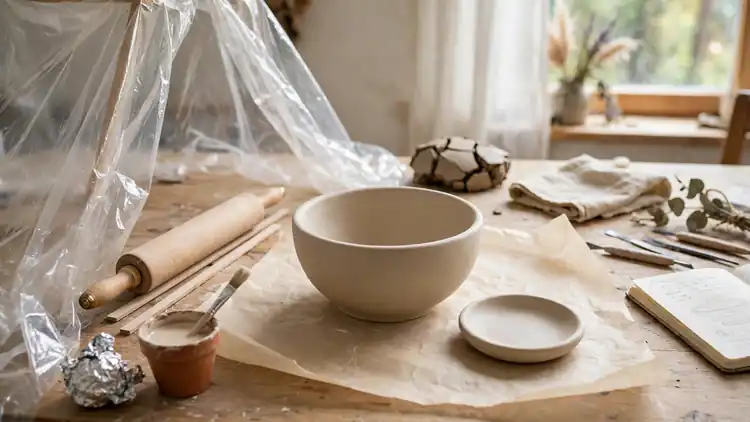
How to Keep Air Dry Clay From Ever Cracking It Again
You did everything right, and the crack still came. Learning to avoid cracks air dry clay dishes develop starts with one simple truth: the piece was never the problem, the drying was.
Most beginners blame their hands or their clay, then give up after the second broken bowl. I did the same, until I learned that cracks follow rules, and rules can be managed. This guide walks through every one of them: fresh clay, even thickness, gentle water, slow air, and daily turning.
Follow them, and the next piece you set down to dry is the one that stays whole. No special tools, no expensive clay, just a calmer way of working.
Why Air Dry Clay Cracks While It Dries
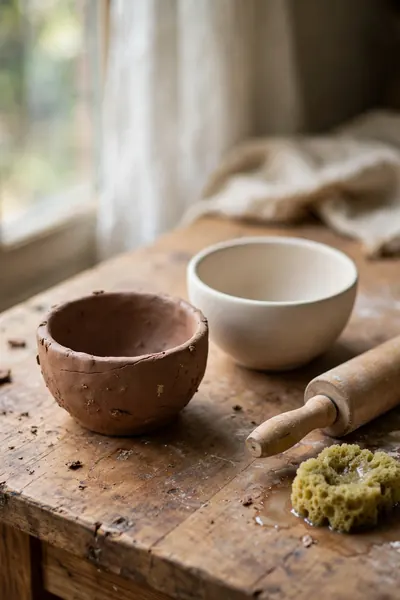
A crack is not bad luck, it is water leaving in a hurry. Air dry clay shrinks as it dries, and the surface always gives up its moisture first. The dry skin pulls tight while the wet core underneath is still full size. Something has to give, and it does.
Edges, rims, and thin spots lose water fastest, so cracks open there first, while thick bases and covered bottoms stay damp for days. Once the whole piece loses water at the same pace, you avoid cracks air dry clay is known for, and drying turns calm instead of stressful.
Start With Fresh, Soft Clay Instead of Old, Dry Clay
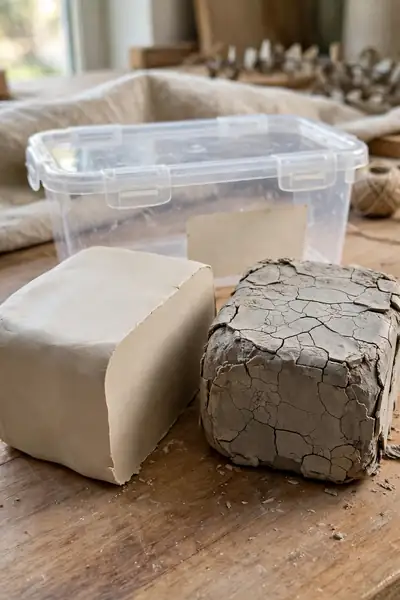
Old clay is the quiet cause behind many first cracks. A block that has sat open loses moisture around its edges, and that stiff skin folds into every new piece as weak seams. Fresh clay feels cool, soft, and slightly tacky. It bends without tearing.
- Squeeze the block before you buy or open it. Fresh clay gives a little under your fingers, while old stock feels firm and springy like a rubber eraser.
- Cut a slice and look at the face. A fresh cut is one even color, with no pale dry rim around the outside edge.
- Stretch a small piece between your fingers. Fresh clay stretches into a smooth ribbon, while tired clay tears with rough, crumbly edges.
- Soften borderline clay by kneading in a few drops of water at a time, then rest it sealed overnight and test it again before a real project.
- If clay stays gritty after kneading, keep it for practice only. I’ve noticed old stock ruins more beginner pieces than any drying mistake.
Also View: 23 Essential Air Dry Clay Tips Beginners Always Miss
Knead the Clay Until It Feels Warm, Soft, and Stretchy
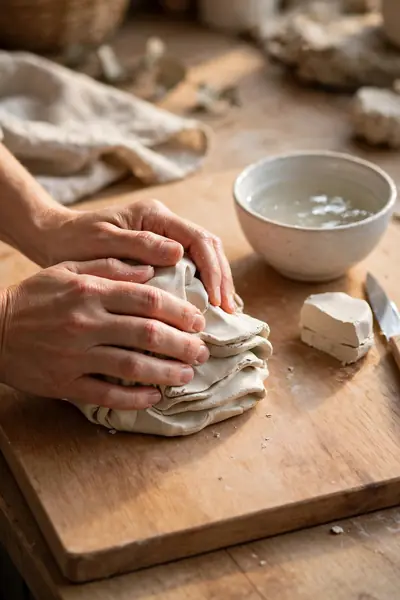
Quick Tip:
Knead in short sessions rather than one long one. Two minutes of folding, a minute of rest, then two more minutes warms the clay evenly without tiring your hands or drying the surface.
Trapped air is the hidden troublemaker here. Every fold presses out pockets that would later expand, pull, and split the surface as moisture leaves. Well kneaded clay rolls out silk smooth, joins cleanly, and holds its shape through drying. Stop when the ball stretches without tearing and no dry lines show on the folds.
Keep Every Piece One Even Thickness

Common Mistake: Rolling the middle thin and leaving the edges thick, or judging thickness by eye alone. Most beginners press harder in the center, so the slab ends up shaped like a shallow bowl before it is even cut.
The Fix: Lay a guide stick on each side of the clay and let the rolling pin ride on them. Every pass then stops at the same height, and the slab comes out level from edge to edge.
Aim for a quarter inch for most dishes, trays, and ornaments. Thinner than that, pieces turn fragile and dry before you finish shaping them. Much thicker, and the core stays wet long after the surface feels done, which is exactly where deep cracks begin quietly.
Give Thick Pieces a Light Core So the Inside Can Dry

What You Need:
- Aluminum foil, torn into sheets you can crumple tight
- A rough idea of your finished size before you start
- Clay rolled to an even quarter inch shell
- A damp finger or a little slip for sealing the seam
- Patience to pack the foil firmly, with no loose pockets
Big solid pieces are the worst crackers of all, because the inside can stay wet for a week while the outside hardens in a day. A foil core leaves only a shell to dry, so moisture escapes evenly and the piece stays light. In my experience, anything wider than a tennis ball deserves a core.
Go Easy on Water and Smooth With a Damp Finger
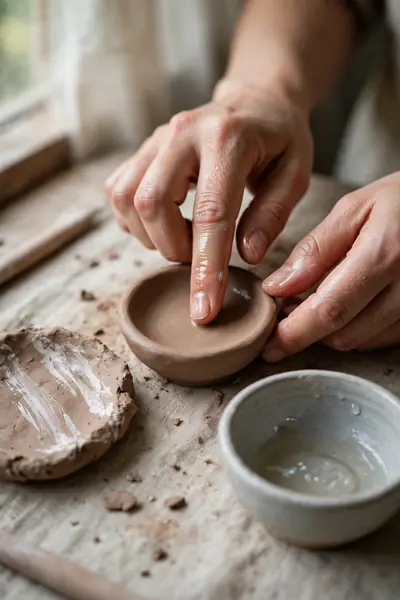
Before: The bowl of water sits right beside the work, and every rough spot gets a wet finger dragged across it. The surface turns slick, then slumps, and the extra water soaks deep into the walls.
After: The water bowl moves to the edge of the table, and only a fingertip gets dipped, then almost wiped dry. Strokes stay short, the surface turns satin smooth, and the walls keep their shape and strength.
Here is the rule that saves the most pieces: every drop you add must dry back out again. Wet clay shrinks harder as that water leaves, and hard shrinking is what tears seams and rims apart. Damp smoothing gives the same finish with a fraction of the water, and the piece dries gentler for it.
Dry Pieces on a Surface That Breathes Underneath
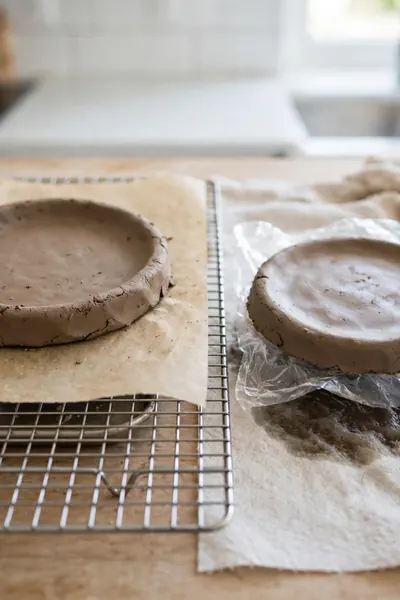
Do This:
- Rest flat pieces on parchment paper, so the bottom can breathe and release moisture
- Slide a wire rack or a mesh tray under larger pieces for airflow on both sides
- Lift and shift each piece a few inches once a day so no spot stays sealed
- Check the underside daily; it should lighten in color at the same pace as the top
Avoid This:
- Never dry pieces directly on plastic wrap, glass, or a sealed tray
- Never leave a piece sitting in one spot for the whole drying time
- Never set fresh work on newspaper, which sticks and tears the base
The bottom of a piece is the last place to dry and the first place to split. Trapped moisture keeps the base soft and swollen while the top shrinks over it, and that fight opens the classic ring crack underneath. Breathable surfaces end the fight before it starts.
Score and Slip Every Join So Seams Stay Closed

Tools Required: Needle tool and a small pot of slip | Time: Two minutes per join | Difficulty: Easy | Result: Seams that dry as one solid piece
A join fails because two smooth edges only touch, they never truly grip. Scoring cuts trenches on both sides, slip fills them like glue, and the two pieces lock together as they dry. Press the join, wipe the slip away, then cover the piece so the seam dries at the same pace as the rest.
Set Up a Slow, Shaded Drying Spot Away From Drafts
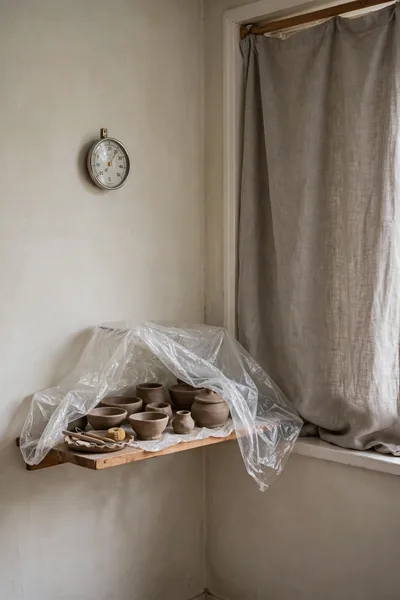
Where a piece dries matters almost as much as how it was made. Sun through a window bakes one side, a fan strips the surface, and a vent pushes warm air over the same edge all day. Each one creates a dry patch that pulls against the rest.
Pick an inside wall, away from windows and heating vents, where the air barely moves. A shelf in a hallway or a spare room corner works well for most homes. Room temperature, still air, and shade let moisture leave slowly and evenly, which is all a drying piece ever asks for.
Cover Pieces Loosely and Uncover Them in Stages

Bare air is greedy. It pulls moisture off a fresh piece in hours, long before the inside can catch up, and that gap is where most drying cracks are born. A loose cover slows the air down and gives the whole piece time to shrink together.
- Drape a thin plastic sheet or an opened dry cleaning bag over the piece, tent style, so it never touches the surface.
- Leave one corner lifted a finger width for the first two days. The air inside should feel slightly humid, never wet.
- From day three, lift the cover higher each morning, and fold it back for a few hours in the evening.
- Remove the cover fully once the color has lightened evenly and the piece feels room temperature all over, not cool.
- Keep a simple note of the day you covered it. In my experience, most pieces need the cover for about half of their total drying time.
Turn Pieces Over Gently While They Dry
Quick Tip:
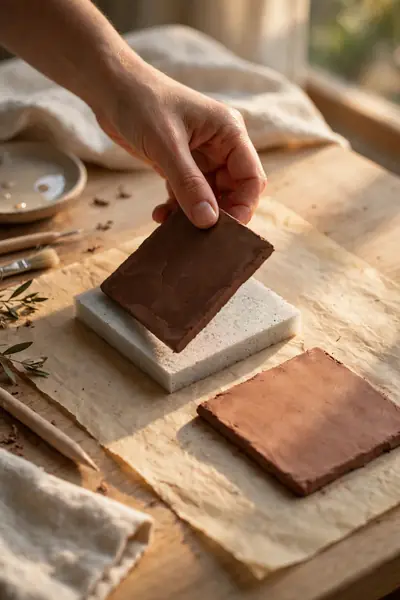
Turn pieces on the same schedule as you water houseplants, once a day at the same time. Regular small turns beat one big flip at the end, and a set routine means no piece gets forgotten face down for a week.
The side facing down dries last, because air cannot reach it and moisture pools against the surface. Turning shares that slow side with the air, so both faces shrink together and flat pieces stay flat instead of curling. Support the middle with your palm or a foam pad, and edges will survive every turn unmarked.
Match Drying Time to Thickness and Test Before You Touch
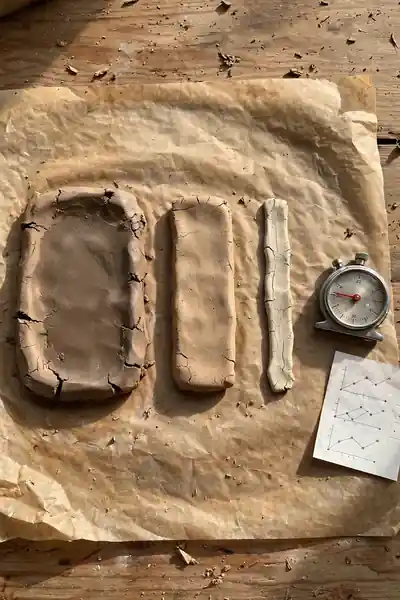
Common Mistake: Trusting the number of days printed on the clay packet. That number assumes a thin piece in a dry room, and it sends beginners to sand and paint pieces that are still wet in the middle.
The Fix: Dry by thickness instead. Give every quarter inch of clay a full day of drying, then add a day, and test before you touch: dry clay feels room temperature and light in color, while a cool feel means water is still inside.
Thickness decides the schedule, not hope. A quarter inch ornament may be ready in two days, while a one inch base can need a week or more under cover. I’ve seen this work well in many cases: weigh larger pieces, and when the weight stops changing for a full day, the water is finally gone.
Change the Plan When the Weather Is Very Dry or Very Humid
What You Need:
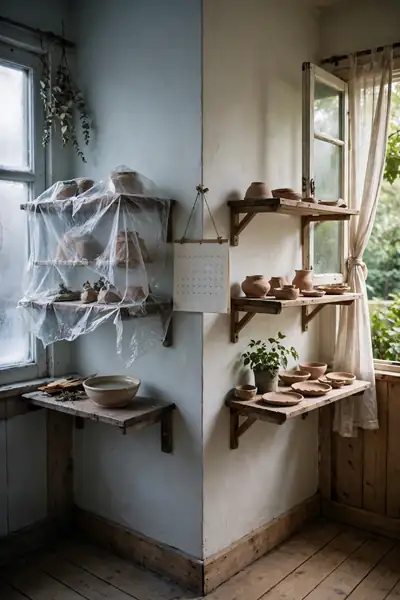
- A simple indoor thermometer or humidity gauge on the drying shelf
- Extra plastic sheeting for dry, heated winter weeks
- A spray bottle, for misting the inside of the cover only
- Moving room air for humid weeks, from a fan faced at the wall
- Extra days in your plan whenever the weather turns extreme
Weather changes the rules because dry air steals moisture and humid air refuses to take it. In a heated winter room, pieces need the cover longer and a slower reveal. In a sticky summer week, they need more open air and extra days, or the middle stays wet while you wait.
Fix Hairline Cracks While the Piece Is Still Damp

Before: The bowl looked perfect at bedtime, but by morning a hairline crack has opened along the rim. It is thin as a thread, and the clay around it still feels cool and slightly soft.
After: A fingertip dipped in slip presses along the line, a pinch of fresh clay is worked into the widest part, and the surface is smoothed over. By evening the line has vanished, and the rim dries as one piece again.
Damp repairs hold because new clay and old clay still share moisture, so they shrink together as one. Check every piece once a day while it dries, in good light, turning it in your hands. A crack caught at hairline size takes two minutes to heal; the same crack ignored becomes next week’s repair job.
Repair Dried Cracks, Seal the Finish, and Know When to Start Over
Do This:
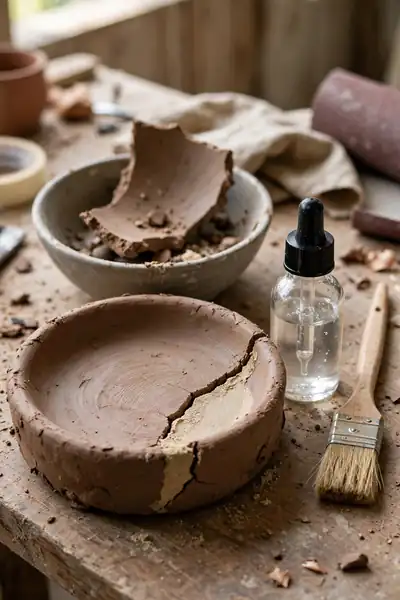
- Fill dried cracks with a thick paste of clay and water, pressed deep with a modeling tool
- Let the fill dry fully, then sand it level with fine sandpaper before painting
- Seal the finished piece with two thin coats of varnish or a clear craft sealer
- Start over when a crack runs through a join or splits the piece into moving parts
Avoid This:
- Never paint over an open crack, because paint skins over it and the split keeps growing
- Never soak a dried piece in water to soften it, which weakens the whole surface
- Never seal a piece that still feels cool, since trapped moisture clouds the finish
A dried crack is a repair job, not a disaster, as long as the piece still holds together. Filling, drying, sanding, and sealing can make a shallow crack disappear completely under paint. Save your starting over for cracks that move when you press them, because those pieces have already told you they cannot be trusted.
Also Explore: How to Seal Air Dry Clay for a Waterproof Pro Finish
Frequently Asked Questions
1. Can you completely prevent cracks in air dry clay?
Almost, but not every single time. Even careful makers get a hairline crack now and then, because clay, weather, and thickness change from piece to piece. These methods remove every common cause, so cracks become rare, small, and easy to heal while the piece is still damp.
2. Why does my clay crack at the bottom?
The bottom is the last place to dry. Moisture gets trapped where the piece touches the surface, so the base stays swollen while the top shrinks over it. Drying on parchment or a rack, and turning the piece daily, lets the underside dry at the same pace.
3. Is cracking a sign of bad quality clay?
Usually not. Most cracks come from uneven thickness, fast drying, or too much water, not from the brand in the packet. Old, half dried clay causes more trouble than cheap clay does. Fresh budget clay, dried slowly, often finishes cleaner than expensive clay rushed in the sun.
4. Can I add glue to prevent cracking?
A little white glue stirred into slip can make repairs grip better, but mixing glue through the whole batch is not the answer. It changes the feel of the clay and still cannot protect a piece that dries too fast. Slow, even drying prevents far more cracks than any additive.
5. How long should air dry clay take to dry?
Work by thickness, not by the packet. Thin flat pieces often dry in a day or two, a quarter inch piece needs about two days, and a thick base can need five days to a week. The piece is ready when it feels room temperature, looks evenly light, and stops losing weight.
Conclusion
Cracks feel personal, but they are physics, and physics can be planned for. Fresh clay, one even thickness, gentle water, slow air, and a daily turn are small habits, yet together they change everything about how your pieces finish. You now know how to avoid cracks air dry clay projects suffer from, and how to heal the one that still slips through. I’ve seen how making this one change, slowing the drying down, can completely shift the result from heartbreak to pride. Save this guide for your next clay day, try the slow drying setup on one piece first, and share it with a friend whose bowls keep breaking.