Craft an Air Dry Clay Incense Holder for Calm Corners
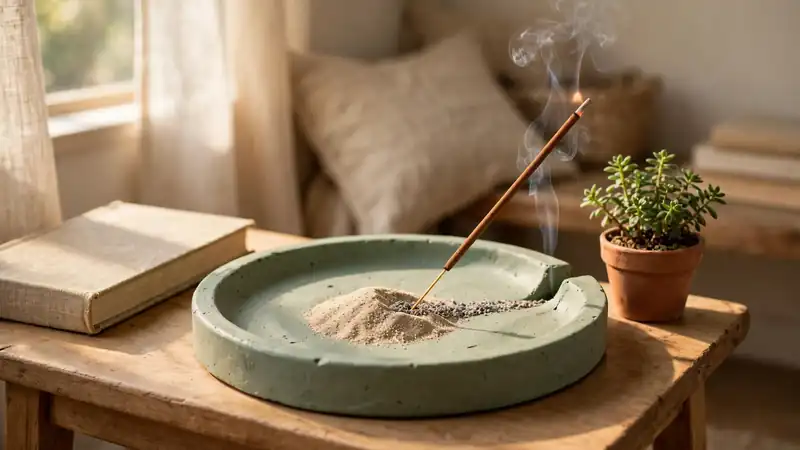
Your incense stick deserves better than the edge of a plate and a trail of ash across the table. This air dry clay incense holder is a long tray that grips the stick, leans it over the dish, and catches every bit of ash before it lands.
In my experience, the two details that decide everything are the angle of the hole and a small layer of sand under the tip. This guide walks you through both, plus the exact size to roll, a full 48 hour drying plan, and calm paint finishes.
By tonight, your calm corner can have a holder that was made for it.
Why a Handmade Holder Beats a Loose Stick on a Plate
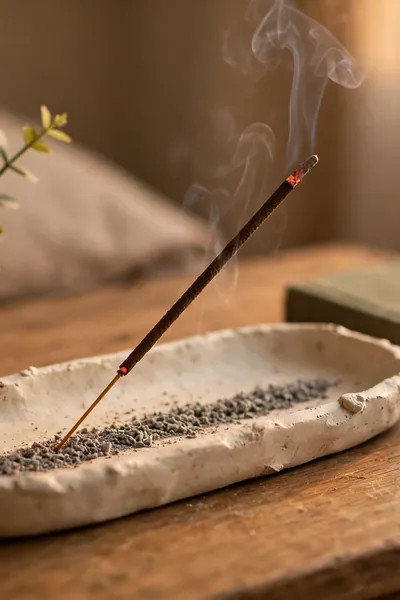
A burning stick balanced on a plate looks calm for about two minutes. Then ash starts landing on the table, the stick rolls as it burns down, and the last inch smolders wherever it stops. The scent was supposed to relax you, not hand you a cleanup job.
A holder fixes all three problems at once: a hole that grips the stick, a long dish that catches the ash, and enough weight to stay put. This clay version takes about half an hour of hands-on time, and it leans the stick over the dish, so ash falls where it belongs.
What You Will Make: An Angled Dish Sized to Your Stick
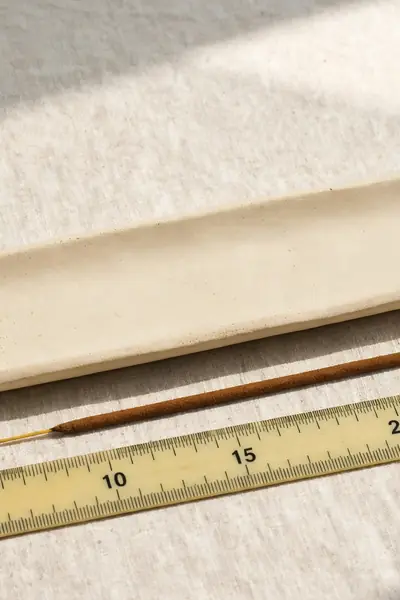
Most holders fail on one simple point: they are shorter than the stick. A standard incense stick is about 8 and a half inches long, and ash drops along most of that length. This dish is built to match, so the ash lands on clay, not furniture.
- You will roll a tray 8 inches long and 3 inches wide, with the clay a quarter inch thick all over.
- The edges lift into a shallow rim about half an inch high, which keeps ash in and gives the dish its finished shape.
- The stick hole sits three quarters of an inch from one end and tilts toward the center, so the stick leans over the dish as it burns.
- A teaspoon of sand under the tip finishes it, so the hot end never touches clay, paint, or sealer.
Also View:DIY Clay Trinket Dish Tutorial for Stunning Results
Every Supply With the Exact Amounts
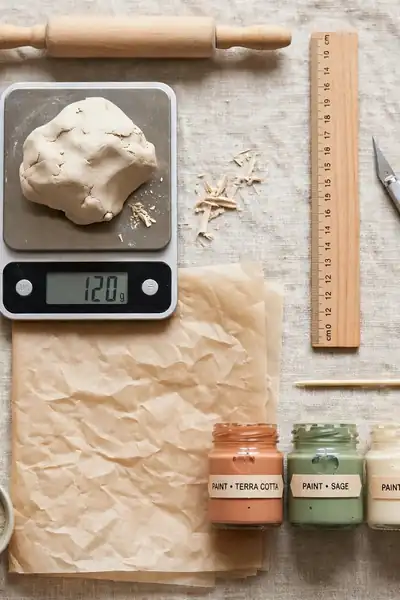
Quick Tip: Weigh the clay before you start. About 150 grams gives you the full 8 inch tray with enough spare for a practice piece and small repairs. Working from a weighed chunk also keeps the thickness even, because you are not guessing how much to roll out.
The rest of the list is short and mostly at home: rolling pin or bottle, ruler, craft knife, a skewer for the hole, parchment paper, fine sandpaper, acrylic paint, and water based sealer. The unusual item is a teaspoon of sand for the heat spot. Total cost stays under two dollars from a clay block.
Roll, Cut, and Shape the Tray With a Raised Rim
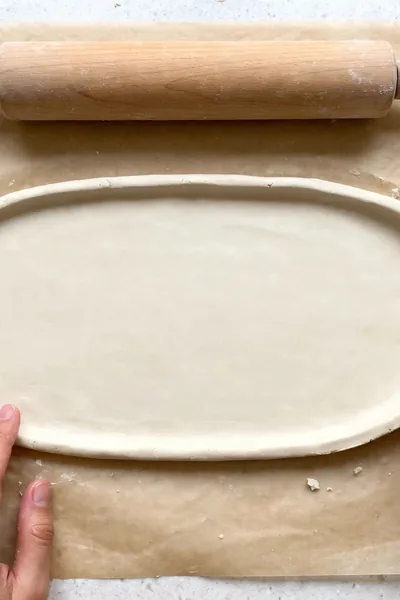
Common Mistake: Rolling the clay thinner in the middle than at the edges. Most beginners press hardest at the center of each pass, so the tray ends up a quarter inch at the rim and paper thin where the stick will rest. That thin center is exactly where cracks start during drying.
The Fix: Roll from the center outward, turn the clay a quarter turn after every two passes, and check the thickness with a ruler at three spots. Keep the slab on parchment so you can lift and rotate it without stretching the shape.
Cut the oval with a craft knife in one slow pass, then lift the outer half inch all around with your fingertips to form the rim. Smooth the cut edge with a barely damp finger, press the base flat on the table, and your tray is shaped.
Make the Angled Hole So Ash Falls on the Dish
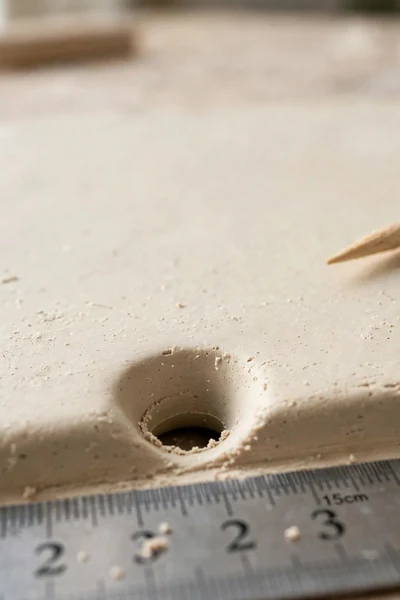
What You Need:
- A wooden skewer or the incense stick itself, which makes a hole in exactly the right size.
- A ruler, to place the hole three quarters of an inch from the end of the tray.
- A soft cloth under the tray, so the base does not slide while you push the skewer.
- A fingertip of water, to smooth the clay around the finished hole.
Push the skewer through at a gentle tilt, aiming the top toward the far end of the tray, then wiggle it once, slightly, to widen the opening. Test with a stick: it should lean over the dish and hold without forcing. I’ve noticed this one angle decides whether a holder works or just looks nice.
Dry It Flat Without Cracks or Warping
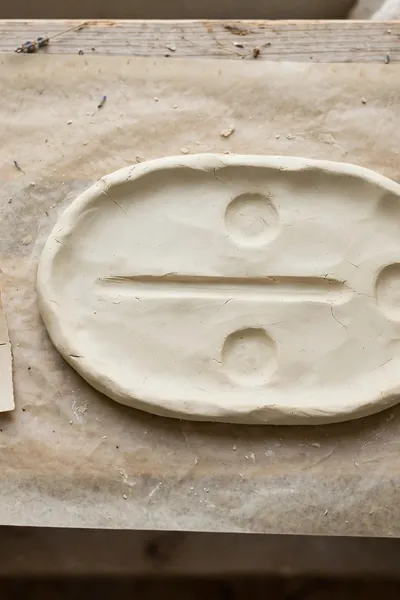
Before: A fresh tray set on a sunny windowsill or near a heater dries on top within hours while the underside stays damp. The top shrinks, the edges curl up, and by the next morning the rim has a crack and the base no longer sits flat.
After: The same tray resting on parchment in a normal room, flipped once at 24 hours, dries evenly over the full 48 hours. It comes off the paper flat, firm, and crack free, with the rim exactly where you shaped it.
Even thickness is what makes this work, because thin and thick areas give up moisture at different speeds. Keep the tray away from drafts and direct sun, and do not be tempted to sand or paint early. A surface that feels dry can still hide a damp center.
Sand and Smooth for a Clean, Finished Surface
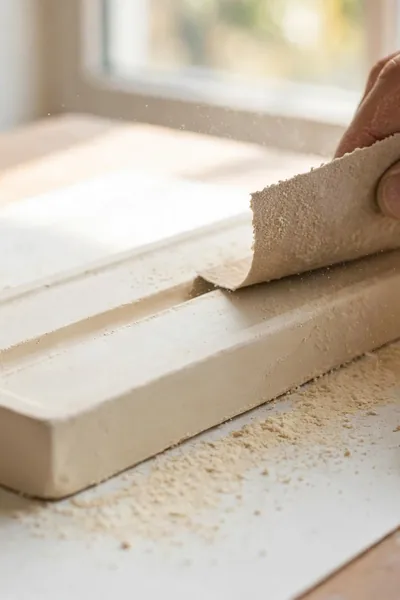
Do This:
- Sand the outer edge and rim first with fine grit paper, around 220 to 320, using light circles.
- Sand the underside until the tray sits on the table without any rocking.
- Wipe all dust away with a soft dry cloth before you judge the surface.
- Run a barely damp finger inside the rim to soften any sharp sanding lines.
Avoid This:
- Do not sand before the full 48 hours are up, because the damp center tears instead of smoothing.
- Do not press hard in one spot, which digs a flat patch into the curve of the rim.
- Do not sand over the stick hole edges roughly, or the opening crumbles wider.
- Do not breathe the dust or sand indoors without opening a window first.
Sanding is where the holder stops looking homemade in the rough sense and starts looking handmade in the good sense. Work slowly, check the surface against the light, and stop as soon as the edges feel soft. The rim should keep its gentle handmade curve, just without the rough spots.
Paint and Seal While Keeping the Heat Spot Bare
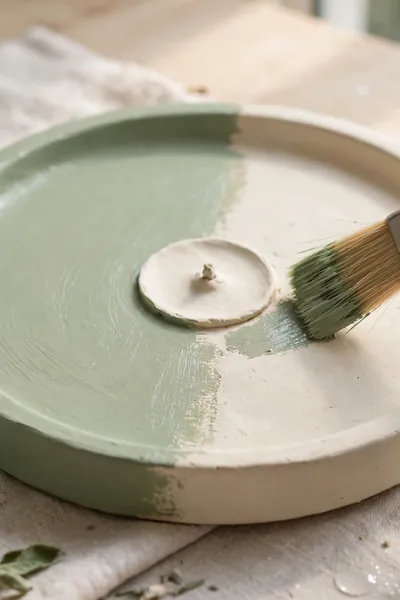
Time Needed: 20 minutes of painting, plus drying time between coats
Difficulty: Easy | Cost: Under a dollar of paint and sealer per holder
Coats: Two thin paint coats, then two thin sealer coats
Pro Tip: Leave a small bare circle of clay around the stick hole, where no paint or sealer goes
Calm colors suit this piece best: warm cream, sage, soft terracotta, or pale gray, each in thin coats so the handmade texture still shows. Let the first coat dry fully before the second, because clay drinks paint unevenly and a rushed second coat turns patchy instead of smooth.
Also Explore:How to Seal Air Dry Clay for a Waterproof Pro Finish
Add the Sand Bed, the Small Safety Layer Most Holders Miss
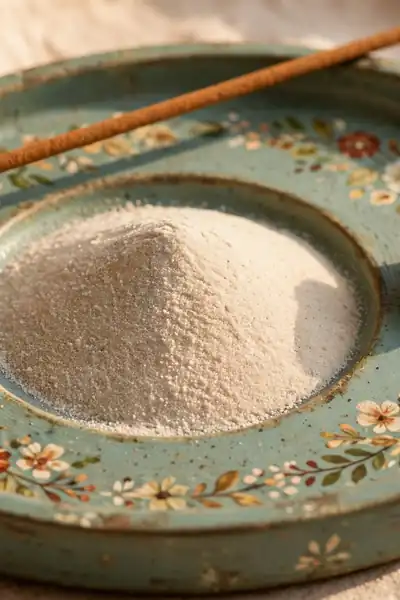
Air dry clay is a craft material, but it is not fireproof, and neither are acrylic paint and sealer. The burning tip of a stick never touches the holder in normal use, yet the butt end smolders at the hole. That one small spot deserves a layer that heat cannot harm.
Pour one teaspoon of sand into a mound over the hole area, or set a small metal insert, like a brass eyelet cup, into the hole while the clay is still wet. Sand costs almost nothing, never burns, and brushes out with the ash when you clean the dish.
Use It Safely Every Single Time
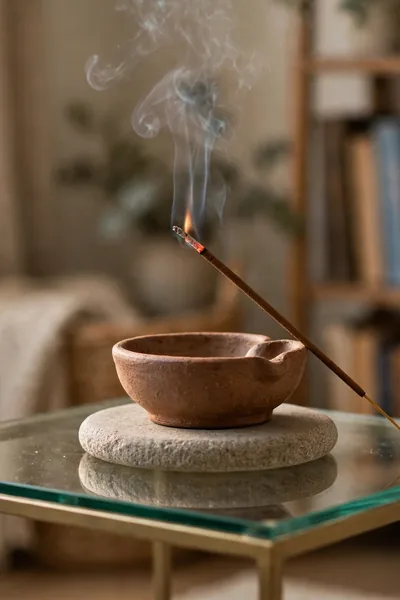
The holder itself is only half of safe incense burning; where you put it and what sits near it matter just as much. Two minutes of setup before you light the stick is what separates a calm corner from a scorched shelf or worse.
- Set the holder on a heat safe surface like stone, ceramic, or metal, never directly on bare polished wood.
- Keep curtains, paper, books, and plant leaves at least a hand’s width away from the burning stick.
- Light the stick, let the flame catch for a few seconds, then blow it out gently so only the ember glows.
- Stay in the room while it burns, and keep the holder where pets and small children cannot reach it.
- Let the ash cool fully before you tip it into the bin, and brush the dish out over the sink.
Try the Cone Version in Five Extra Minutes
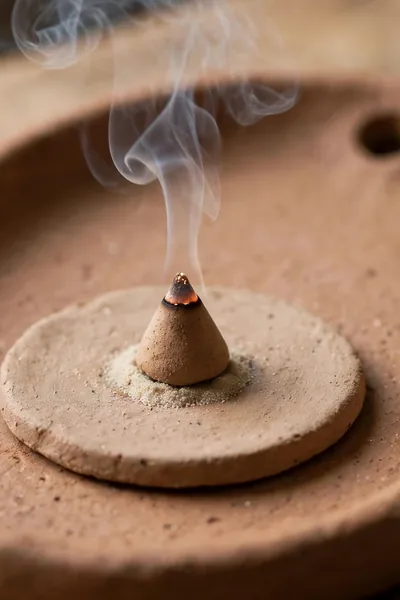
Quick Tip: You do not need a second project for cones. Before the tray dries, press a pea sized ball of clay flat in the center of the dish and smooth its edges into the base. That small flat pad is the cone rest, and the rim already around it catches the ash.
A cone burns hotter at its base than a stick does, so the sand rule matters even more here: set the cone on a pinch of sand on the pad, never straight on paint or sealer. Give the cone version its first test outdoors or by an open window, since cones smoke more.
Texture and Shape Ideas Beyond Paint
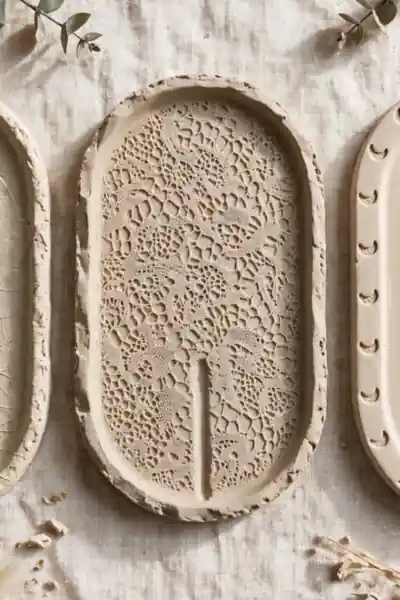
Common Mistake: Decorating only with paint because it feels like the safe option. Paint sits on the surface, so a painted holder can look flat and a little plain next to real handmade pieces. The texture that makes people pick a holder up and turn it over has to be pressed in while the clay is wet.
The Fix: Choose one texture before you roll the clay. Press a real leaf into the slab and lift it away for a leaf print, roll the slab over lace for a soft pattern, or stamp a row of tiny moons along the rim with the end of a straw.
Shapes can change too: a long wave edged tray, a simple leaf outline, or a wide rounded rectangle for two sticks at once. Keep the same rules in every shape: a quarter inch thick, the hole angled and clear of the edge, and a rim that actually holds ash.
Make a Matched Set for Bedside, Bath, and Desk
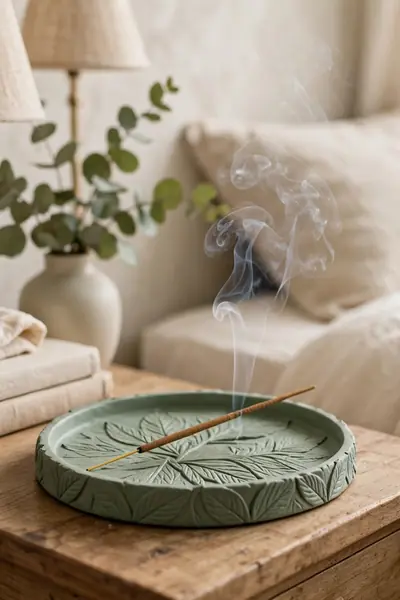
What You Need:
- About 450 grams of clay, enough for three trays with a little spare for repairs.
- One paint color shared across the set, so the three pieces read as a family.
- Three sizes of the same tray: 8 inches for the desk, 7 for the bedside, and 6 for the bath, with shorter sticks matched to the smaller two.
- The same texture on all three, like the leaf print, stamped before any of them dry.
- A small label or date penciled on each underside before drying, a quiet maker’s mark.
Make all three trays in one session while the clay and tools are already out; shaping takes about 15 minutes each once the first is done. Dry them together on one shelf, paint them in one sitting, and the set looks planned instead of collected by accident over months.
Mistakes That Crack, Scorch, or Spill Ash
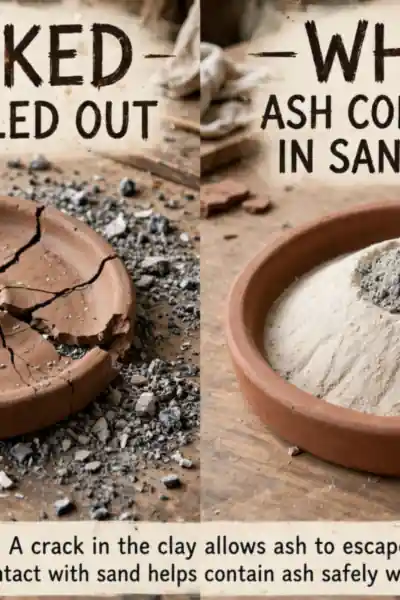
Do This:
- Keep the hole three quarters of an inch from the end, with clay all around it at full thickness.
- Press your thumb under the tray while the skewer goes through, so the base stays flat and supported.
- Refresh the sand mound every few burns, before the gray ash mixes into it.
- Test a new stick size in the hole while the clay is still wet, not after drying.
Avoid This:
- Do not widen a dry hole with force, because dried clay chips instead of stretching.
- Do not skip the sand and let the butt end smolder directly on paint or sealer.
- Do not use a tray shorter than your stick, or the far ash lands on the table.
- Do not soak a cracked holder in water to clean it, which softens the clay and spreads the crack.
Most holder failures trace back to the same ten minutes: the hole placed in a hurry, the sand skipped, or the size guessed. Slow down at those three points and the tray does its job quietly for years. When something does go wrong, the fix is almost always in the section where it started.
Frequently Asked Questions
1. Will any incense stick fit the hole in my air dry clay incense holder?
Yes, if you made the hole with a skewer or the stick itself, standard sticks fit with a gentle lean. Very thick sticks need the hole widened slightly while the clay is wet, and very thin sticks sit fine with a tiny wedge of sand packed beside them in the hole.
2. Can I use the holder outdoors?
You can, on a calm day and on a heat safe surface, but bring it back inside afterward. Air dry clay and its sealer dislike rain and long damp weather, and even a light breeze outdoors blows fine ash off the dish and onto everything around it.
3. Why did a crack appear next to the hole?
The hole was most likely too close to the end of the tray, or the clay around it was thinner than the rest. Fill a hairline crack with a fingertip of fresh clay, smooth it, and let it dry again. Next time, keep three quarters of an inch of clay around the hole.
4. How do I clean ash out of the dish?
Wait until the ash is fully cold, tip it into the bin, and brush the dish with a dry soft brush. Refresh the sand mound whenever it looks gray or thin. Never rinse a painted holder under the tap, because water finds every unsealed edge and softens the clay.
5. How long will a handmade clay holder last?
Years, with gentle handling. The weak points are the rim and the area around the hole, so lift the tray by its base, keep it dry, and store it flat. A dropped holder usually chips rather than shatters, and small chips sand smooth in a minute.
Conclusion
You came here with ash on the table and a stick balanced on a plate, and you are leaving with a complete air dry clay incense holder: sized to your stick, angled so ash falls on the dish, and guarded by a simple layer of sand. I’ve seen how making this one change can completely shift the result. Save this guide on Pinterest before your next craft session, make your first tray this week, and share it with the friend whose incense still lives on a saucer. Your calm corner is one small tray away from finally feeling finished.