
How to Make an Air Dry Clay Paint Palette So Easily
If your plastic paint palette is stained, warped, and sliding all over your desk, you are not alone. I used to dread cleanup until I made my first handmade palette, and it changed how I paint.
This guide walks you through every step, from picking the right clay to sealing it so water and paint cannot ruin it. In my experience, beginners succeed on the first try when they follow the drying and sealing steps carefully.
By the end, you will hold a sturdy, beautiful palette made by your own hands. One you will actually reach for every time you paint, and one pretty enough to gift.
Why Make Your Own Air Dry Clay Paint Palette?

A plastic palette from the craft store does the job, but only just. It slides across the table, stains after one use, and the wells are never quite deep enough. A clay palette you make yourself feels steady and solid, and every well sits exactly where you want it.
The cost is another win. One block of clay makes two or three palettes, so you can gift the extras to friends who paint. If you want a tool that is useful, personal, and pretty on your desk, it is worth the afternoon it takes.
Supplies You’ll Need to Get Started

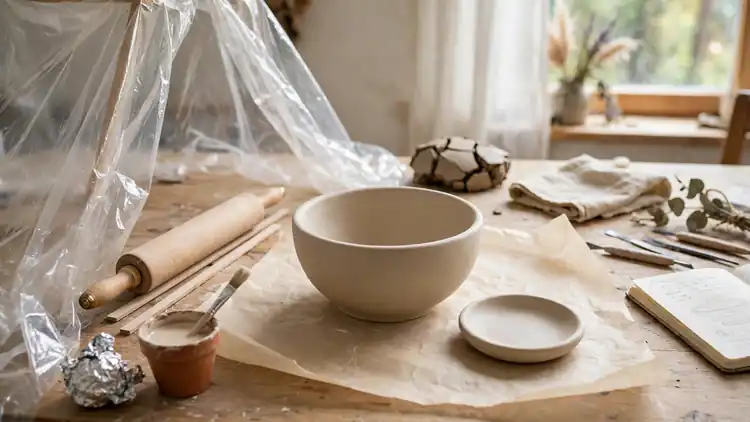
You need less than you think for this project. Most supplies are everyday kitchen items, so gather them before you open the clay. Working without interruptions keeps the clay from drying out while you hunt for tools. A little prep now saves frustration later.
- Buy one 2.2-pound block of white air dry clay. White keeps paint colors true, and one block makes two full palettes.
- Find a rolling pin or a smooth bottle. You will roll the clay into a slab about a quarter inch thick.
- Grab a butter knife for cutting the shape. Its straight edge makes clean cuts through soft clay.
- Set out a small bowl of water plus a sponge. You will use them to smooth every edge and well.
- Lay parchment paper over your table. It stops sticking and makes cleanup fast.
Also View:Easy Air Dry Clay Recipe From Simple Pantry Staples
Picking the Best Air Dry Clay for the Job
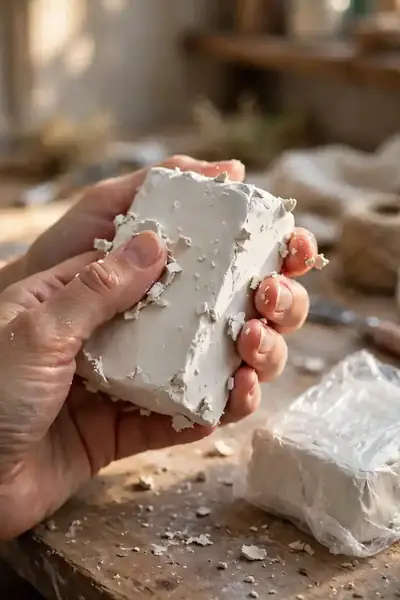
Quick Tip: Pick a trusted sculpting clay like DAS, Jovi, or Crayola Air-Dry. Avoid soft modeling clays made for toddlers, since they dry powdery and weaken when wet. I’ve noticed firmer clay blocks always produce sturdier finished pieces.
Your clay choice decides how long the palette survives daily use. Cheap clays shrink while drying and leave hairline cracks across the wells. Check the label for words like sculpting or modeling, then knead the clay for two full minutes. This pushes out trapped air that causes bubbles later.
Shaping Your Palette Step by Step
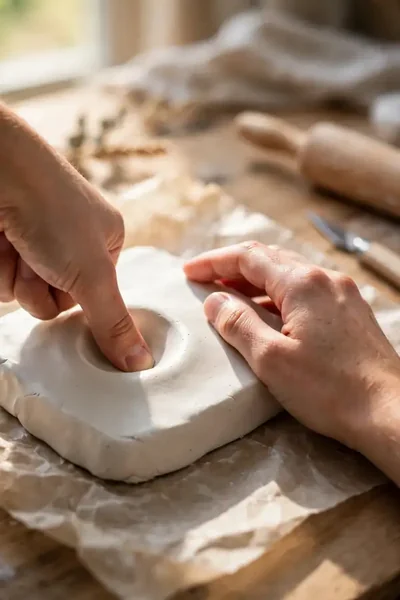
Common Mistake: Many beginners roll the slab too thin because a delicate palette looks prettier in photos. Thin areas dry faster than thick ones, so the palette warps and cracks right under the paint wells. Others press the wells too deep, leaving a paper-thin base that snaps later.
The Fix: Roll the clay to an even quarter inch and check it with a ruler in several spots. Shape the wells with gentle thumb pressure instead of digging them out, so the base keeps its strength. This way it dries flat and stays strong for years.
Cut the outer shape with slow, steady strokes of your knife. A kidney or oval shape rests nicely in your hand, while a rectangle suits a desk better. Do not rush this part. Clean up the cut edges with a damp finger before the clay starts to firm up.
Smoothing the Edges and Wells

What You Need:
- A bowl of clean water. Wet your finger before touching the clay for a drag-free glide.
- A damp sponge. It erases fingerprints and small bumps in seconds.
- A soft paintbrush. Its damp tip smooths corners your finger cannot reach.
- A dry paper towel. Blot off extra water so the clay never turns soggy.
Use only a drop of water at a time and work in small circles. Flooding the surface turns it to mush and weakens the finished piece. When each well feels silky and the edges look rounded, you are done. I’ve seen this make a real difference in the final look.
Drying Your Palette Without Cracks

Before: Fresh from shaping, the palette is soft and easy to dent. Placing it near a heater or in direct sun dries the top too fast while the bottom stays wet. That uneven drying pulls the clay apart and leaves deep cracks.
After: After slow, even drying, the palette feels light and rings slightly hard when tapped. It lies perfectly flat with no wobble on the table. Now it is ready for the sealer that makes it truly waterproof.
Give it 48 to 72 hours on a shaded shelf at room temperature. Flip it once a day so moisture escapes from both sides equally. If an edge curls up, rest a heavy book on it overnight. Patience here saves you from starting over completely.
Sealing It So Paint and Water Don’t Ruin It

Do This:
- Brush on two thin coats of water-based polyurethane or acrylic sealer.
- Let the first coat dry fully for two hours before adding the second.
- Seal the wells and the underside, not just the top surface.
- Work in a ventilated room and use smooth, even brush strokes.
Avoid This:
- Do not use oil-based sealers; they yellow the white clay over time.
- Do not skip the wells, since pooled water will soften unsealed clay.
- Do not apply one thick coat; it drips and dries cloudy.
- Do not use the palette until the sealer has cured for a full day.
Sealing is the step that turns a pretty clay shape into a real working tool. Unsealed clay absorbs water and paint, which stains it and weakens the surface. Two thin coats take little time and protect your work for years. In my experience, most beginners skip this step, and regret it.
Also Explore:How to Glaze Polymer Clay for a Perfect Glassy Shine
Simple Ways to Decorate Your Palette

Best For: Gifting or matching your studio colors | Tools Required: Acrylic paints, fine brush, sealer | Difficulty: Easy | Pro Tip: Decorate only the rim and underside, never inside the wells
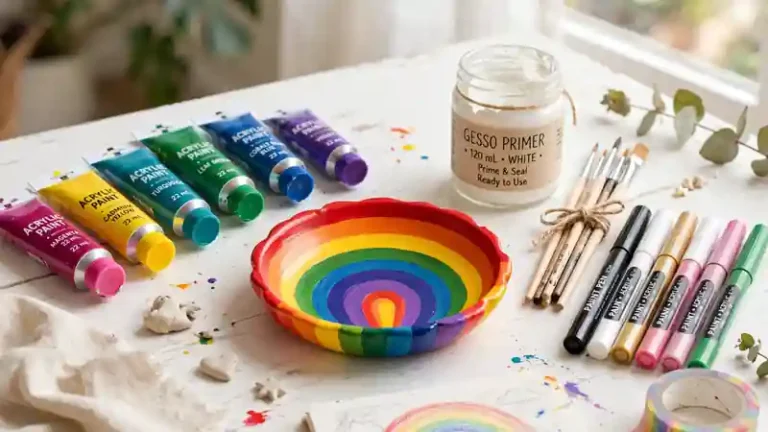
A little decoration makes your palette feel truly yours. Paint small flowers, dots, or your initials around the rim with acrylics, then seal over them. Keep the wells plain so paint colors mix true. Let each layer dry before adding the next, and your design will stay crisp.
Mistakes Beginners Always Make
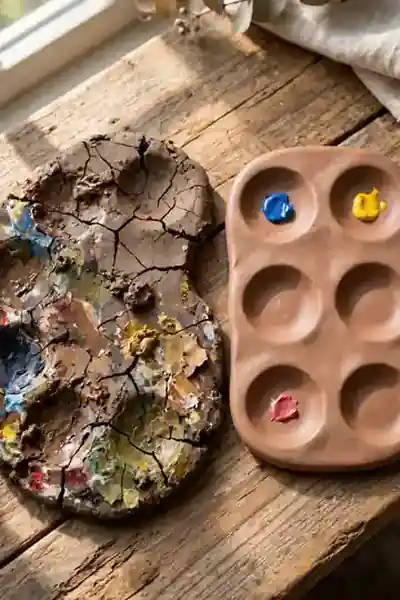
The most common mistake is rushing the drying time. A palette that feels dry on the outside can still hold moisture deep inside, and sealing it too early traps that dampness. The result is a soft center that dents the first time you press a brush into it.
The second mistake is skipping the sealer to save time. Without it, the first wash soaks straight into the clay and leaves permanent stains. Take the extra day to seal and cure it properly. Your future self, scrubbing off dried acrylics, will thank you.
How to Clean and Store Your Palette
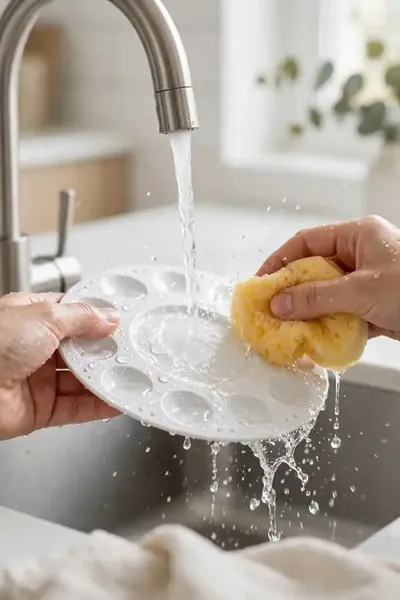
A sealed palette cleans up in seconds if you do it right. Rinse it before paint dries hard, and store it somewhere safe from drops. These small habits keep your handmade tool looking new for years. Think of it like caring for a good paintbrush.
- Rinse the palette under lukewarm water right after painting. Dried acrylic is much harder to remove than wet paint.
- Wipe each well with a soft sponge, not a scrub pad. Harsh scrubbing wears down the sealer over time.
- Pat it dry with a towel and let it air dry fully. Never leave it soaking in water.
- Store it flat on a shelf or hang it on a peg. Keep heavy objects off it to avoid chips.
Pro Tips for a Palette That Lasts

Quick Tip: Make a small test tile from leftover clay and seal it the same way. Use it to trial new paints and cleaning methods before touching your finished piece. I’ve noticed this tiny habit saves more palettes than any other trick.
For extra strength, add a second sealer coat every year if you paint daily. Store the palette away from direct sun so the sealer never yellows. Follow these small habits and your air dry clay paint palette will outlast every plastic one you have ever owned.
Conclusion
You now have everything you need to create a palette that is truly yours. From the first roll of clay to the final coat of sealer, each step brings you closer to a tool you will love using. Your finished air dry clay paint palette will make every painting session feel a little more special. I’ve seen how making this one change can completely shift the result. So pin this guide on Pinterest for later, try it this weekend, and share it with a friend who paints. Your art corner deserves tools as creative as you are.


2 Comments