21 Productive Air Dry Clay Desk Projects for Creatives
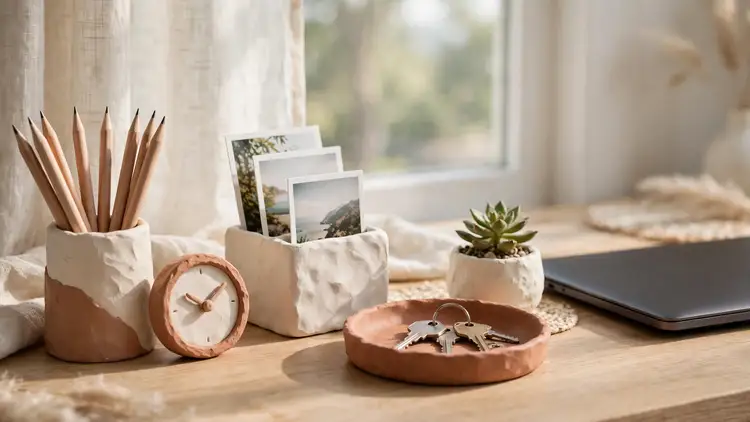
Your desk holds your whole working day, yet most of it is covered in things that wander: pens, cables, notes, glasses. These 21 air dry clay desk projects turn that daily scatter into a set of handmade helpers, each one useful, sturdy and sized for the real item it holds.
No kiln, no special tools, no experience needed. A ball of clay, a rolling pin and one free afternoon start the set, and every project ahead explains its size, its weight trick and its finish, so your first pieces work properly instead of wobbling through their first week.
I’ve noticed a handmade desk slowly changes how a workday feels: everything has a home, and reaching for it becomes calm.
What Makes a Desk Project Worth the Clay

Not every clay idea deserves desk space. The air dry clay desk projects that earn their place pass four simple tests: they sit stable, they fit the item they hold, they survive daily handling, and they finish smooth enough to look bought, not homemade.
Measure before you roll anything out. A holder built around your actual pens, phone or glasses works the first time, while a guessed size wobbles or swallows the thing it was made for. Every project ahead lists its size logic, so keep a ruler beside the clay.
Pen and Pencil Holder
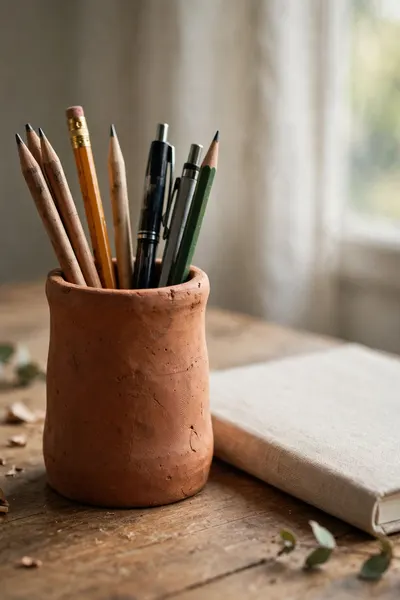
Pens multiply across a desk faster than any other tool, and a light holder tips the moment it fills. Weight is the whole secret here: a thick base and walls a finger wide make a cup that stays put when you pull a pen out one handed.
- Roll a slab about a centimeter thick and cut a circle for the base, wider than feels necessary.
- Coil or wrap a wall strip around the base edge, scoring and wetting both surfaces so they bond.
- Smooth the join inside and out, then check the cup stands level before it dries.
- Dry it upside down for the first hours so the rim stays flat and true.
Also View: 20 Inspiring Office Decorating Ideas to Boost Focus
Business Card Holder
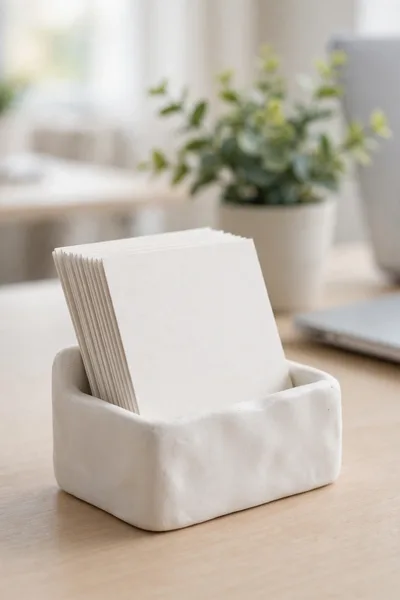
Cut the slot at a slight backward angle, not straight up. Cards lean back a few degrees, the top card’s text faces the visitor, and the whole stack reads like a tiny shop display instead of a pile waiting to slide off the front edge.
Size the base to your own cards before the clay dries, because card sizes vary more than people expect. Two grooves hold a working stack of about thirty cards, and a heavier back wall keeps the holder steady on a shared reception desk or a market stall table.
Cable Organizer
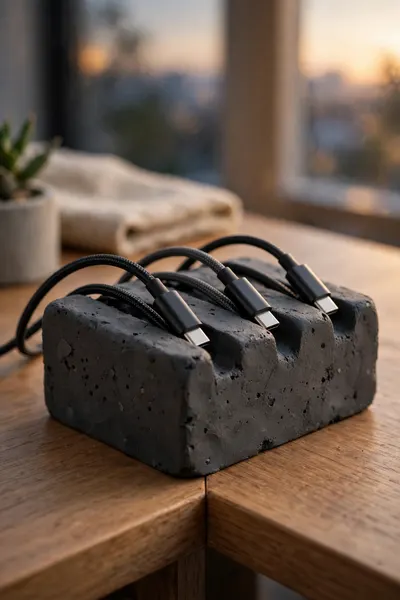
The usual mistake is building a light, pretty block with shallow grooves. The first time a stiff charging cable bends, it levers the whole organizer off the desk edge, and the cables you tamed are back on the floor by lunch.
Build it heavy and deep instead. A block at least eight centimeters long with grooves cut a full centimeter deep grips each cable by its own weight, and a flat, wide base keeps the block planted when a cable gets yanked.
Park the organizer at the desk’s back corner, where cables rise from the floor or the power strip. Two or three grooves cover most desks: one for the laptop, one for the phone, and one spare that somehow always ends up claimed within a week.
Handmade Paperweight
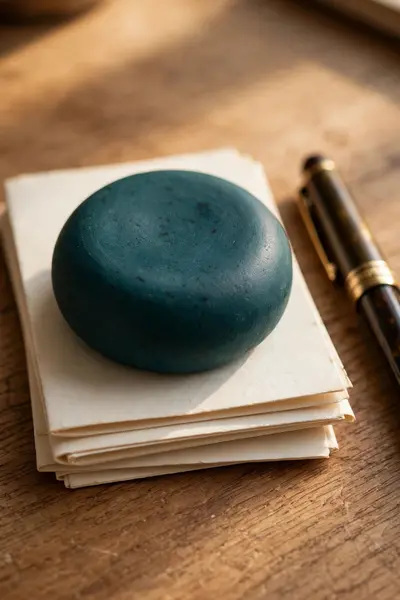
- A smooth stone or a handful of metal washers to hide inside, because clay alone is lighter than it looks.
- Enough clay for a dome about eight centimeters wide, the size that sits well in a palm.
- A flat base cut while the dome is soft, so the finished weight never rocks on the desk.
- Fine sandpaper and a sealer, since a paperweight gets handled and admired more than any other piece.
Seal the weight inside before the dome closes, or it will rattle forever. A dome shape beats a cube here: papers slide under its curve and stay, hands enjoy picking it up, and the rounded top shows paint and texture better than any flat face.
Washi Tape Dispenser
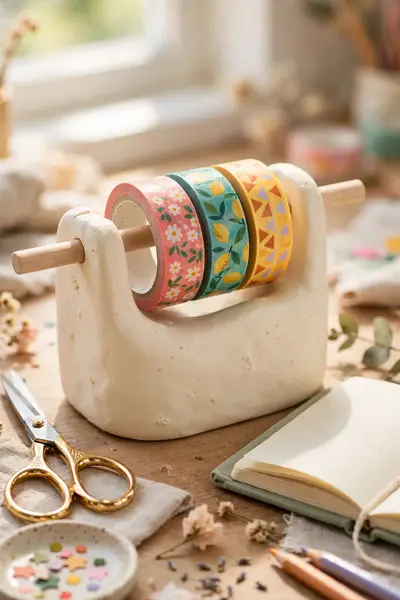
Tape rolls live in a drawer, tangled around scissors and each other. Finding the end of a roll takes longer than the small job you needed it for, and pretty washi tape bought for journals ends up forgotten because it is never in sight.
A clay dispenser keeps two or three rolls standing on a wooden dowel, ends ready, colors visible. The serrated edge from an old tape box, set into the front, cuts cleanly, and the whole thing weighs enough to use one handed without it skating away.
Make the base wide and the dowel removable, so rolls swap in seconds when a color runs out. I’ve seen this small stand turn leftover tape ends into a habit: people decorate parcels, jars and notebook covers far more once the tape sits out in the open.
Sticky Note Holder
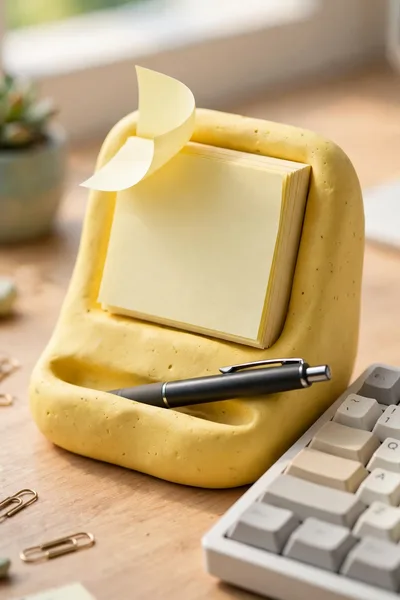
A sticky pad needs a frame that respects its size.
- Measure your pad and build the base five millimeters wider on every side.
- Add a low back lip so the pad leans slightly and peels cleanly.
- Weight the base corners so the holder stays when you pull a note.
Small errors make this simple piece annoying.
- Never guess the size from memory; pads come in more sizes than you think.
- Do not skip the lip; a flat tray lets the whole pad slide out.
- Do not dry it on a cold surface, which warps the thin base.
The best versions carry a pen groove along the front edge, so the note and the pen live together. Place it beside the keyboard, not behind the monitor, and quick thoughts get written down instead of trusted to a working memory that is already full.
Desk Planter
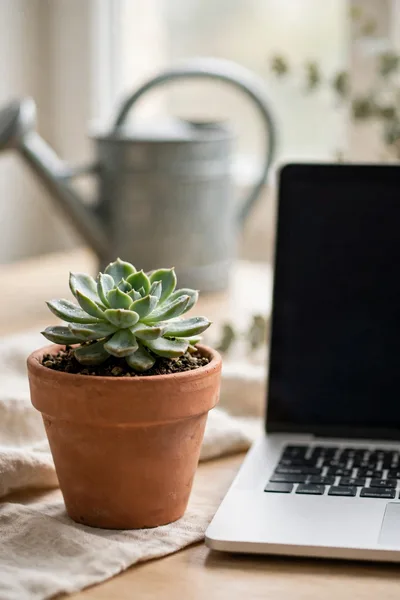
Size: 8 to 10 cm pot | Best Plants: succulents and air plants | Water Rule: seal inside and out, or use a plastic liner | Drying Time: 48 hours before sealing
Clay drinks water, so an unsealed pot slowly weakens and stains the desk it was meant to decorate. Two coats of sealer inside, or a simple liner pot slipped in, ends that problem for good, and the plant gets a home that plastic never gave it.
Bookends
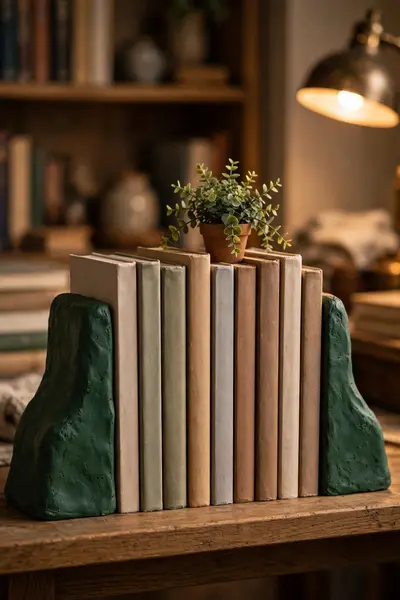
Bookends fail by sliding, not by looks. A clay pair needs real weight low down: thick L shaped bases, or a hidden core of gravel sealed inside the upright, so a row of heavy paperbacks leans on them all day without the slow sideways creep.
Build both ends in one session from the same batch, and they will dry at the same speed and take paint identically. A matched pair in one strong color looks deliberate on a shelf, and felt pads underneath protect the desk from their honest weight.
Phone and Tablet Stand
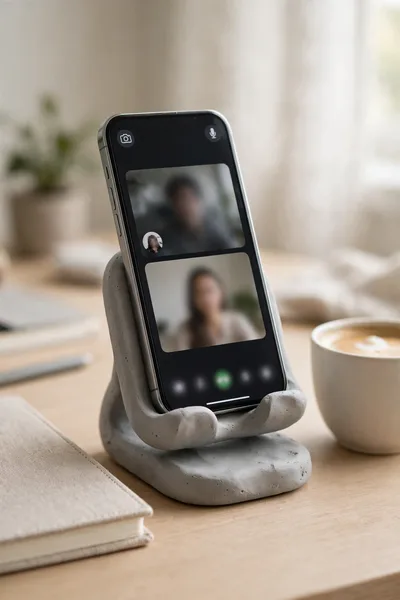
A stand built for someone else’s phone wobbles under yours. The angle and the ledge depth depend on your device’s thickness and case, which is why this is the one project where measuring first matters more than any decoration you add later.
- Prop your phone at the angle you actually use, and note it against a book or a mug.
- Roll a thick slab and cut the back panel to that angle, with a ledge strip across the bottom.
- Score, wet and join the ledge, then test the dry fit with your phone before it hardens.
- Add side cheeks or a heavier base if the device is a tablet; tablets forgive nothing.
Desk Name Plate
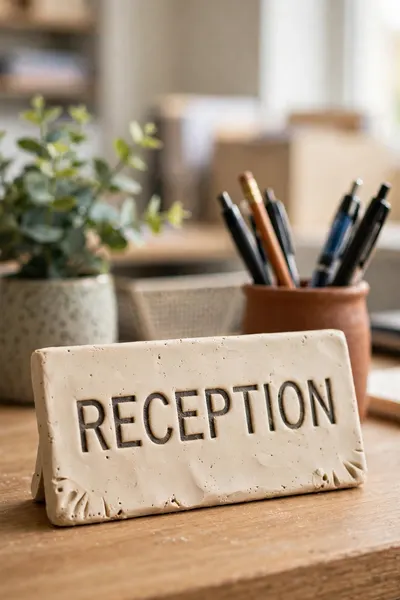
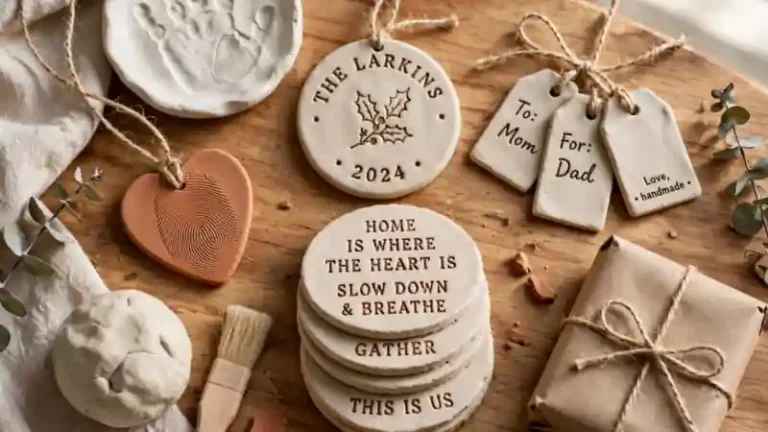
Press the letters in while the clay is leather hard, not wet. Stamps sink cleanly at that stage and the edges stay sharp, while wet clay bulges around every letter and dries looking swollen instead of carved.
Weight the base or give the plate a wide foot, because a name plate that tips forward in a draft helps nobody. Painted letters in one dark color read from across a room, and a matte sealer keeps the plate from shining under office lights.
Catch All Dish
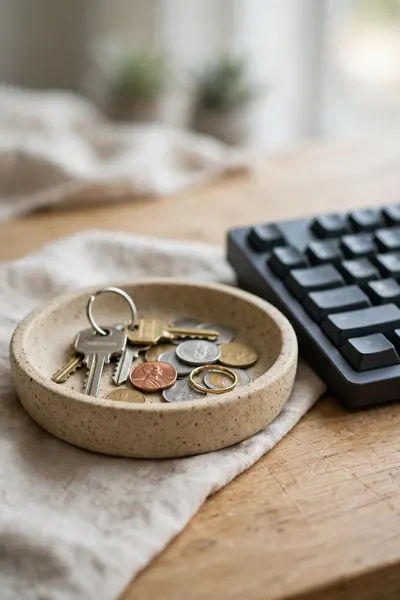
The mistake is rolling the dish too thin and too wide. A broad, thin base warps as it dries, one corner lifts, and the dish rocks every time you drop your keys in, which is often enough to make you stop using it.
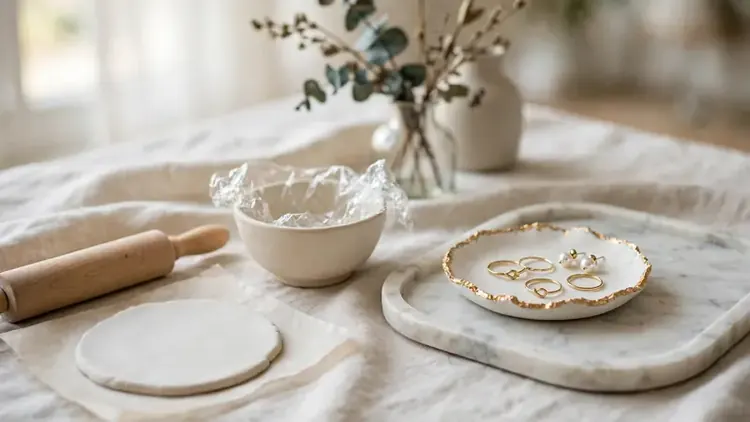
Keep the base a steady centimeter thick and the diameter modest, about twelve centimeters. Gentle sides, not tall walls, hold the small things, and drying the dish upside down over a bowl keeps the curve even and the base flat.
This is the project to make first if you have never touched clay: one slab, one bowl as a mold, one afternoon. It forgives uneven edges, takes any paint you own, and starts working on your desk the day after tomorrow, no skills required at all.
Desk Tray
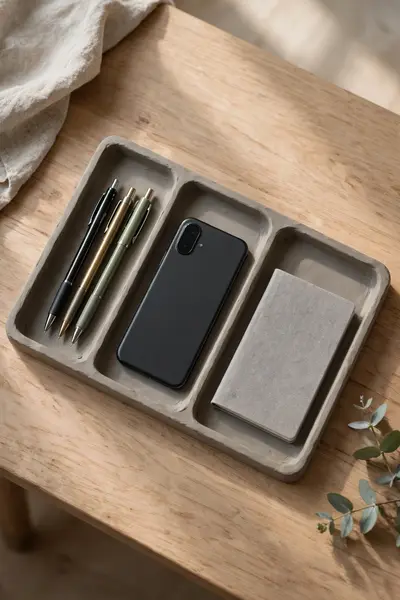
- A slab rolled evenly to one centimeter, large enough for your daily tools laid out in a row first.
- Raised edges on all four sides, pinched or coiled, high enough to stop pens rolling but low enough to reach over.
- Divided sections if your tools fight: one long lane for pens, one square for the phone.
- Felt or cork under the base, because a tray slides every time you drop something into it.
A tray works by giving the desk one rectangle of allowed mess. Everything inside it looks intentional, everything outside it looks clean, and tidying takes ten seconds at night because the tray, not the whole desk, is what really needs sorting before tomorrow starts again.
Desk Clock
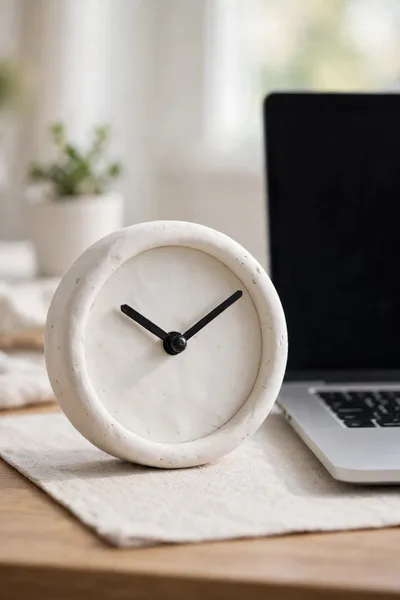
The desk has no clock, so the phone becomes the clock, and every time check ends in three notifications and a lost train of thought. A computer corner clock exists, but it hides behind windows exactly when a call runs long.
A small clay clock stands at the desk’s edge, always visible, silent and honest. One glance gives the time and nothing else, and the phone stays face down through the deep work hours it used to interrupt every ten minutes.
Buy the clock movement first and build the face around its shaft length, because that one measurement decides the clay’s thickness. A simple round face about fifteen centimeters wide suits most desks, and hands in one bold color read from across the room at a glance.
Eyeglasses Holder

Glasses deserve better than the desk surface.
- Shape a nose bridge curve or a simple notch that cradles the frame’s middle.
- Weight the base; glasses are light but the holder must not follow them when lifted.
- Line the contact points with felt once dry, so lenses and frames never scratch.
Two habits ruin this kind holder.
- Do not rest glasses lens down in it; the holder exists to prevent exactly that.
- Do not place it at the desk’s front edge, where sleeves sweep things off.
- Do not skip the felt; bare clay is gritty enough to mark a frame.
Overnight, the holder becomes the glasses’ home address, and mornings stop starting with a search. In my experience this is the project visitors ask about most, because everyone has lost the same ten minutes hunting for a pair they set down somewhere safe, at least once.
Photo and Memo Holder
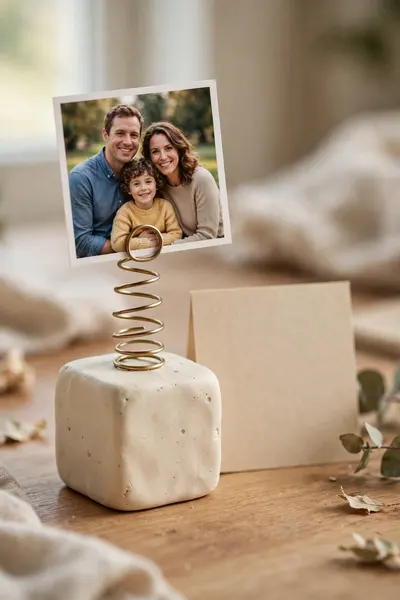
Build Time: about 30 minutes | Drying Time: 24 to 48 hours | Best Top: a wire spiral or a deep slot | Weight Trick: fill the cube with sand before sealing
A cube about five centimeters across holds a photo without leaning, and the wire top swaps pictures in seconds. Keep one memo slot for the card that matters this week, and the desk gains a small, changing display that a frame never quite gives you.
Coaster Set for Your Desk

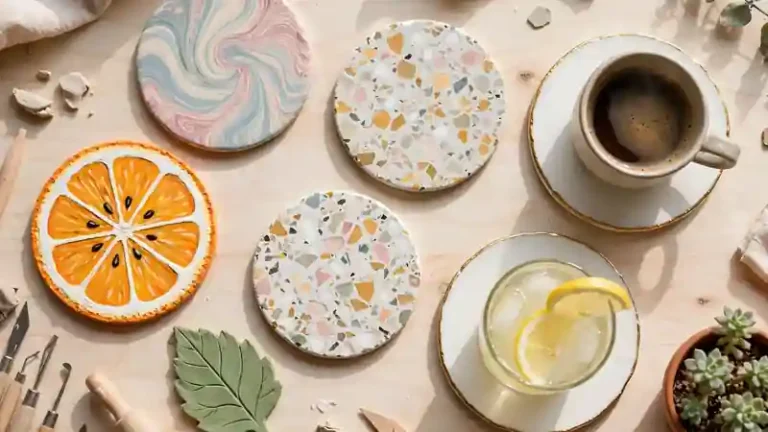
Coffee rings are the desk’s slowest damage, and a mug set down a hundred times in the same spot will mark any bare wood. A set of four clay coasters, sealed properly, stops the rings and gives the mug a home corner of its own.
Roll the coasters a steady centimeter thick and a touch wider than your biggest mug. Cork or felt underneath keeps them silent and scratch free, and two coats of heat safe sealer matter here more than anywhere, because hot drinks test a real finish daily.
Watch Stand

A watch thrown on the desk lands on its face half the time, and the crystal pays for it slowly. A curved stand keeps the watch open, visible and off the surface, and turns a nightly habit into something that looks deliberate.
- Bend a thick slab over a bottle or jar to set the curve, and let it firm up on the form.
- Attach the curved top to a heavy flat base, scoring and wetting the join well.
- Check the curve against your own watch strap; the buckle should rest without forcing.
- Seal it smoothly, because a watch stand is handled twice a day, every day.
Perpetual Calendar Holder
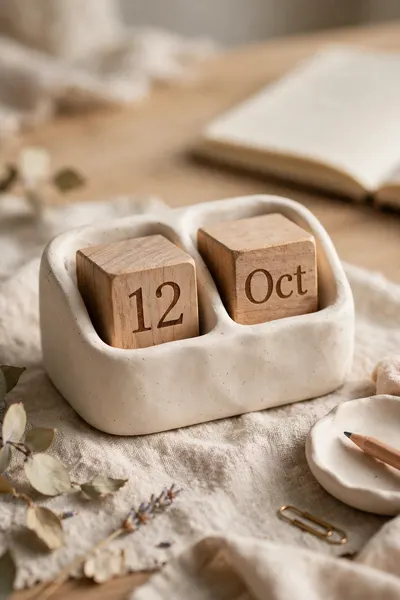
Build the holder around the cubes or cards you already own, not the other way round. A slot two millimeters too narrow will annoy you every single morning, and this is the one measurement in the whole list worth checking twice.
Flipping the date becomes a small daily morning ritual that starts the day awake, which is half the point. Paint the holder in your desk’s main color and it reads as furniture, not craft, and guests will ask where you bought it every single time.
Paperclip Dish With a Hidden Magnet
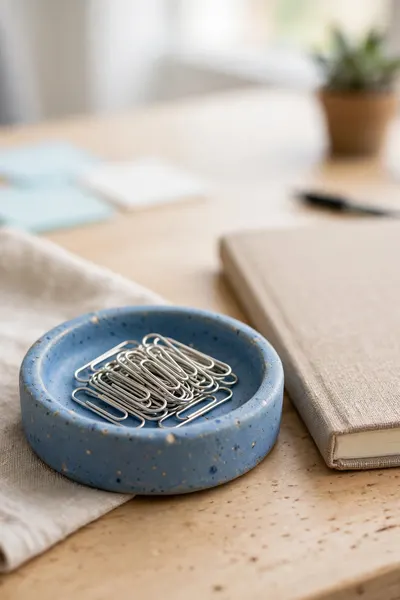
Gluing the magnet on top of the finished dish is the common shortcut, and it looks like one. The magnet shows, the paint chips around it, and clips stick to its face in a lump instead of gathering neatly in the dish.
Seal the magnet underneath instead: press it into the wet base, cover it with a thin clay disc, and let the whole thing dry as one piece. The pull still works through the clay, and the dish looks like plain clay magic.
Use a strong small magnet, the craft store kind sold for fridge doors, and test the pull through a clay scrap before you commit. Clips drift to the center on their own, and visitors will pick the dish up looking for the trick every time.
Pen and Brush Rest
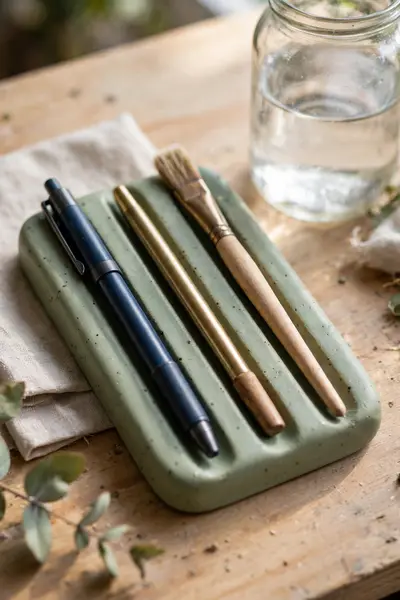
- A low bar of clay about twelve centimeters long, with grooves pressed across it using a pencil or a chopstick.
- Grooves spaced for your own tools: pens sit wider apart than fine brushes.
- A flat, heavy base so the rest never tips when a brush is laid down wet.
- A waterproof sealer on top, because brush rests meet wet paint and rinse water daily.
Mid task, a rolling pen is a small theft of attention, and a grooved rest ends it. The rest also keeps wet brush tips off the desk and out of the paint water jar, which quietly saves both the desk and the brushes over a year.
Word of the Year Desk Sign
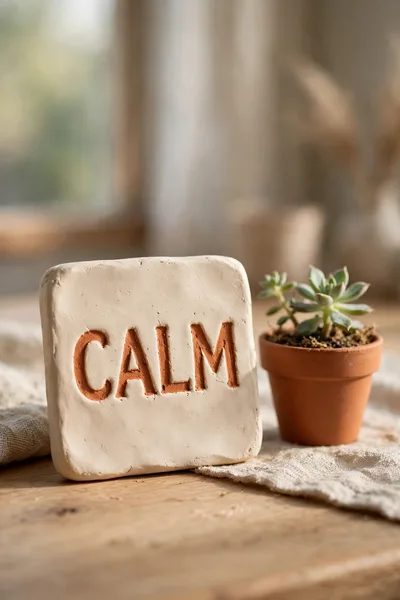
Goals written in a January notebook fade by February, buried under lists. The word you chose for the year, the one that was supposed to steer your choices, survives only as a memory you feel vaguely guilty about.
A small clay sign puts that word at eye level every working day. It weighs nothing as decor and everything as a reminder, and on the hard afternoons it quietly argues for the year you said you wanted to live.
Keep the sign small, about ten centimeters wide, with the word pressed deep and painted in one contrasting color. It pairs well beside the clock or the photo holder, and changing it each January becomes a ritual honestly worth keeping for its own sake too.
Make Them Last: Sealing and Daily Care
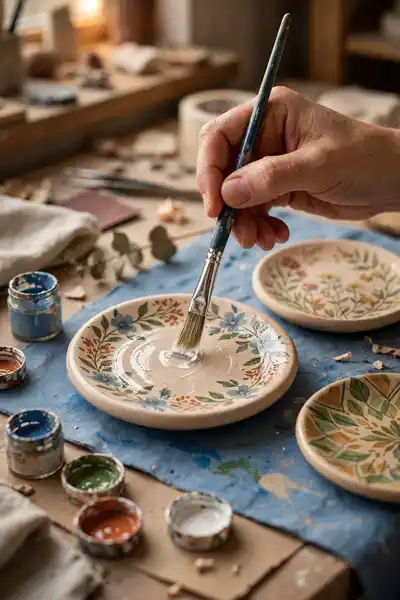
Desk pieces work for a living, so finish them like it.
- Paint in several thin coats rather than one thick one, letting each coat dry fully.
- Seal handled pieces with two coats, and give dishes and planters the strongest sealer you own.
- Dust with a dry cloth and keep pieces out of standing water and harsh sun.
Shortcuts show within a month.
- Do not seal a piece that still feels cool or damp inside; trapped moisture lifts paint.
- Do not use a steaming mug as a test for an unsealed coaster.
- Do not scrub clay with soaking water; wipe it, always.
A sealed piece shrugs off coffee splashes, pencil marks and daily handling for years. The extra evening spent sealing feels slow at the time, but it is the difference between a desk set that ages gracefully and one that chips its way to the bin.
Also Explore: 22 Must-Have Air Dry Clay Tools for Flawless Results
Keep Desk Pieces From Cracking
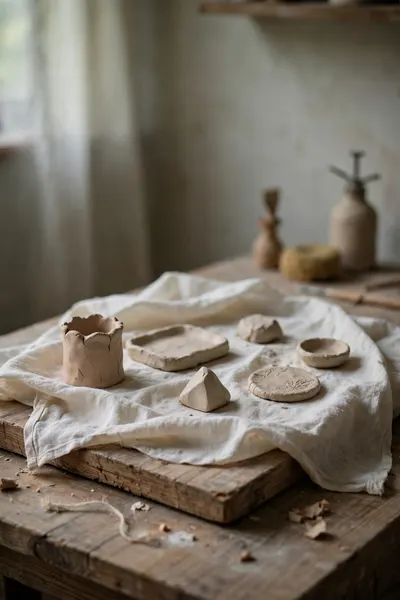
Main Cause: uneven thickness | Drying Rule: slow, away from heat and sun | Safe Window: 24 to 72 hours by thickness | Rescue: fill hairline cracks with fresh clay slip
Most cracks are born at the making stage, not the drying stage: a thin rim on a thick base dries at two speeds and tears itself apart. Roll evenly, dry slowly under a loose cloth, and the pieces in this list will reach the paint stage whole.
Four Ways to Decorate Your Desk Set
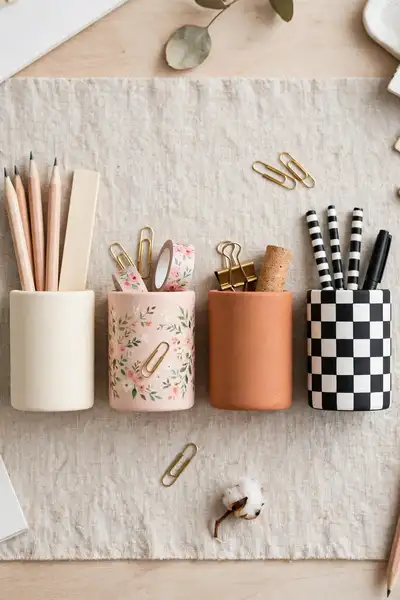
One finish across the whole set makes twenty one separate pieces read as one designed desk. Neutral minimal suits most offices: warm whites, one soft grey, no pattern. Soft feminine leans on blush, cream and tiny pressed dried flowers sealed under the top coat.
Terracotta earthy keeps the clay’s own color with a clear matte sealer and pairs beautifully with wood and plants. Modern black and white is the boldest: split the set between the two, keep shapes simple, and let the contrast do all the decorating work for you.
Which Project Should You Make First?
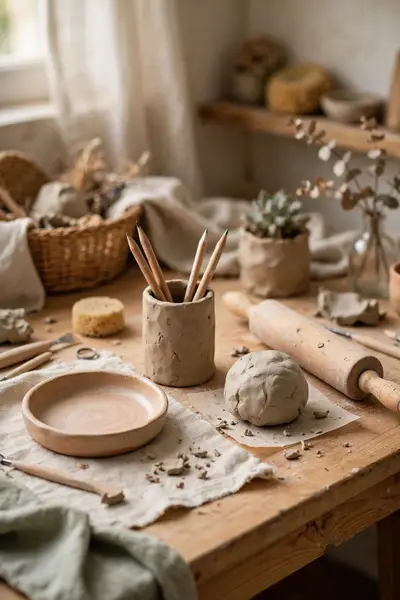
Start where success is fastest, because the first finished piece teaches your hands more than any reading. The honest order below goes from the most forgiving project to the ones that punish uneven drying, so confidence and skill grow together instead of colliding.
- Make the catch all dish first: one slab, one bowl mold, results by the day after tomorrow.
- Follow with the pen holder, which teaches walls, joins and level bases in one piece.
- Try the sticky note holder or the photo cube next, where measuring becomes the lesson.
- Save the phone stand and bookends for last; angles and weight forgive nothing, and by then you will know drying well.
Frequently Asked Questions
1. Can I use air dry clay for desk organizers?
Yes, and it suits them well. Desk pieces are handled, not load bearing, so clay that is rolled evenly, dried slowly and sealed properly stays strong for years of daily use.
2. Do I have to paint air dry clay?
No. Many makers keep the natural clay color under a clear matte sealer, especially in terracotta and earthy styles. Paint is a choice for color and extra surface protection, not a requirement.
3. How do I make air dry clay stronger?
Keep the thickness even, avoid thin edges, dry pieces slowly away from heat, and seal them once fully dry. Hidden weight inside bases, like gravel or washers, also stops tipping and sliding.
4. Can I make a phone stand from air dry clay?
Yes. Use a thick slab, cut the ledge to your own phone and case, and test the fit before the clay hardens. A heavier base or side cheeks make it steady enough for video calls.
5. Can I make a planter from air dry clay?
Yes, with one condition: seal the inside and outside well, or slip a plastic liner pot inside. Unsealed clay drinks water, weakens slowly and can stain the desk beneath it.
6. How long do air dry clay desk accessories take to dry?
Thin pieces dry in about 24 hours, and thick bases or bookends need 48 to 72 hours. A piece is ready to paint when it feels room temperature and light for its size, not cool.
7. Can I use these projects with kids?
Yes. The dish, the paperweight and the photo holder are good first projects for children with supervision. Keep the sharp cutting tools and the sealing step for adults, and let drying teach the patience.
Conclusion
A desk built from your own hands works differently. These air dry clay desk projects give every wandering tool a home, and they do it with pieces that carry your sizes, your colors and your habits in a way no shop bought set ever quite manages.
Start with the dish this week, save this list on Pinterest for the projects you will grow into, and share it with a friend whose desk needs the same kindness. I’ve seen how small changes like these can completely shift the way a workspace feels, one honest handmade piece at a time.