DIY Bug Repellent Lotion Bars for Bite-Free Summer
The first mosquito of summer always finds me through the spray I just put on, usually at my ankles, usually at a barbecue. These bug repellent lotion bars ended that pattern: a solid bar that rubs on like moisturizer and stays where spray gives up.
The recipe is a beginner one: three base ingredients, sixty drops of plant oils, six bars from one small batch. You will learn the exact ratio, the melting order that protects the scent, and the firmer version that survives a hot beach bag in July.
I’ve noticed that once a tin lives in the garden tote, people actually use it, and that quiet habit is what turns one small batch into a whole bite free season.
What Lotion Bars Are and Why They Beat Sprays in Summer
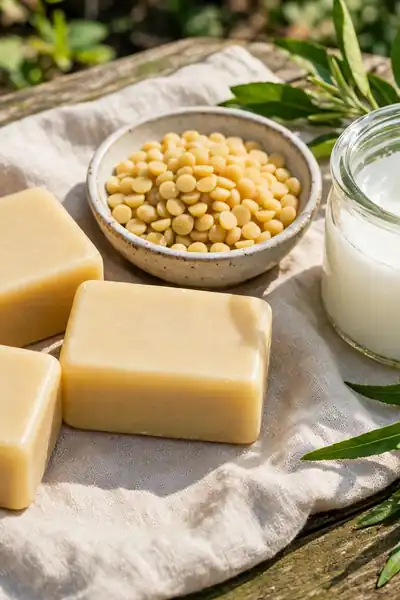
A lotion bar looks like a bar of soap, but it melts the moment it touches warm skin. These bug repellent lotion bars carry plant oils that mosquitoes dislike inside a base of beeswax, coconut oil and shea butter, so protection rubs on like a moisturizer, with nothing to spray and nothing to spill.
Sprays fail in summer for simple reasons: sweat thins them, wind steals them, and the bottle always leaks in the beach bag. A solid bar stays where you put it, survives a hot car far better, and one batch of six covers a family for weeks.
Do Natural Bug Repellents Actually Work?
Honesty first: no plant oil gives the all day shield a strong chemical spray promises, and any recipe claiming that is not being straight with you. What these oils genuinely do is make your skin smell wrong to a mosquito, and that works well for a few hours.
- Citronella and lemongrass mask the scents mosquitoes hunt by, mainly your sweat and breath, so bites drop sharply in the first hour.
- Cedarwood and eucalyptus add a second layer mosquitoes dislike, which is why blends outlast any single oil.
- The wax base matters too: it holds the oils on the skin instead of letting them evaporate in minutes.
- Expect about two hours of good cover, then reapply, sooner after swimming or heavy sweating.
Also View: DIY Natural Bug Spray That Actually Keeps Bugs Away
The Four Benefits That Make Bars Worth Making
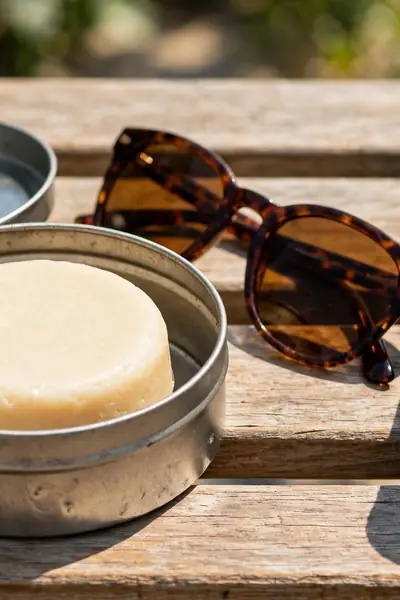
The benefit nobody expects is the moisturizing. Shea butter and coconut oil leave skin soft instead of sticky, so the bar you rub on for the bugs quietly replaces the lotion you would have packed anyway, and one small tin does both jobs on a trip.
There is no spray cloud to breathe in, no bottle to leak over a swimsuit, and no greasy film on your hands. Bars travel in a pocket or a purse, pass airport rules without a second thought, and the scent blend is yours to change with every new batch you pour.
Ingredients and What Each One Does
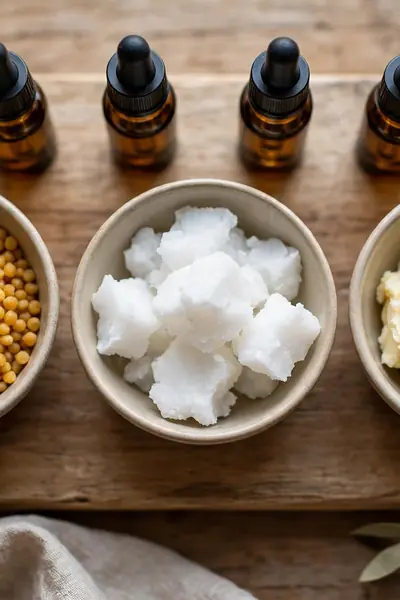
The mistake is treating the three base ingredients as interchangeable. Swap the shea butter for more coconut oil and the bar melts in your hand; use cheap refined wax with no scent and the whole batch smells flat. Each part has a job, and skipping one shows up in the first week.
Keep the trio together. Beeswax gives the bar its body and slows the melt on skin. Coconut oil lets it glide and spread. Shea butter brings the softness that makes people actually enjoy using it, and the essential oils ride on top of all three.
Buy the wax as pellets or pastilles if you can; they melt evenly and weigh honestly, unlike a hard block you have to grate. Unrefined shea smells faintly nutty, which suits these blends, and virgin coconut oil keeps the tropical note the summer scents are built around anyway.
Tools From Your Kitchen Drawer
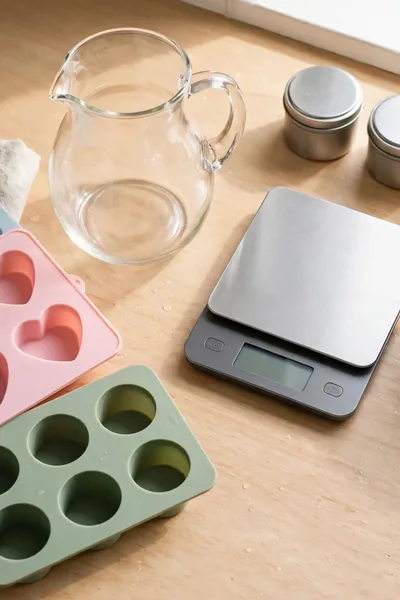
- A heat safe jug or an old tin can, for melting everything over simmering water without scorching it.
- Silicone molds in any shape you like; muffin sized molds give bars that fit a palm and a tin.
- A kitchen scale, because wax behaves best by weight, though cup measures work for a first batch.
- A small saucepan for the water bath, plus a spoon you do not mind dedicating to wax.
- Storage tins or small jars with lids, one per bar, ready before you pour.
Nothing on this list needs buying new. Most kitchens already hold every item, and the molds can be a silicone ice tray the first time. The only tool worth adding later is a second jug, because wax residue is stubborn and a spare saves real scrubbing.
Exact Measurements for a Six Bar Batch

Guess the amounts and every batch behaves differently: one pours out greasy, the next sets like a candle, and you never learn which change caused it. Most failed first batches trace back to scooping wax by eye.
Weigh the recipe once and it turns repeatable. A third of a cup each of beeswax, coconut oil and shea butter, roughly equal by weight, gives six firm bars that glide instead of dragging, and every later batch lands the same.
Write your numbers on the mold box or a phone note the first time. In my experience, the makers who record the first batch are the ones whose fifth batch comes out perfect, because they changed one thing at a time instead of starting over blindly each summer.
Step One: Melt the Base Low and Slow

Low, slow heat is the whole secret of this step.
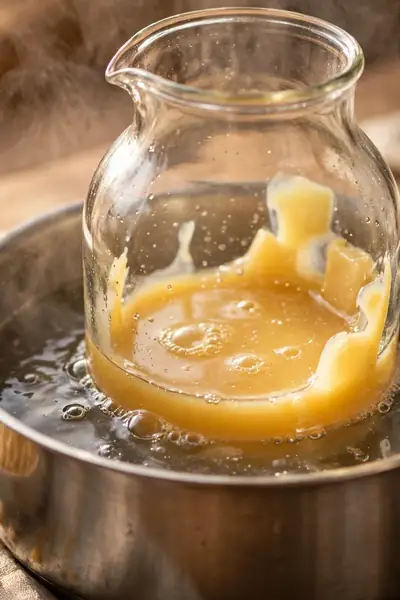
- Set the jug in a saucepan of simmering water, never over a direct flame.
- Stir now and then while the wax pellets melt into the oils.
- Wait until the mix turns completely clear, with no floating wax bits.
Heat mistakes ruin more batches than bad recipes do.
- Never microwave the wax in bursts; it overheats in spots and scorches.
- Do not leave the pan alone; melted wax is flammable like any oil.
- Do not rush it on high heat to save five minutes.
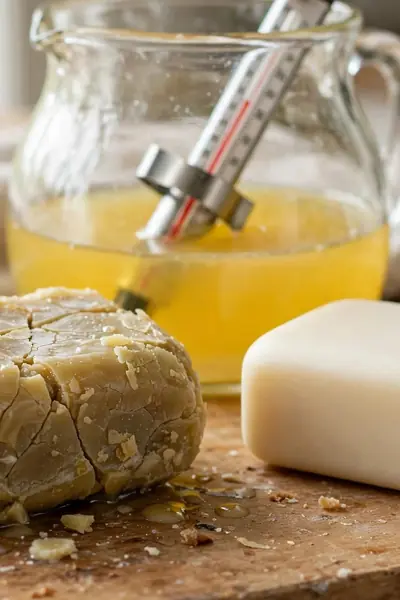
The melt takes about ten minutes at a gentle simmer, and the mix should look like pale golden oil when it is ready. Take the jug off the water the moment it clears, because the next step needs it warm, not hot, to protect the scent oils.
Step Two: Cool Slightly and Add the Essential Oils
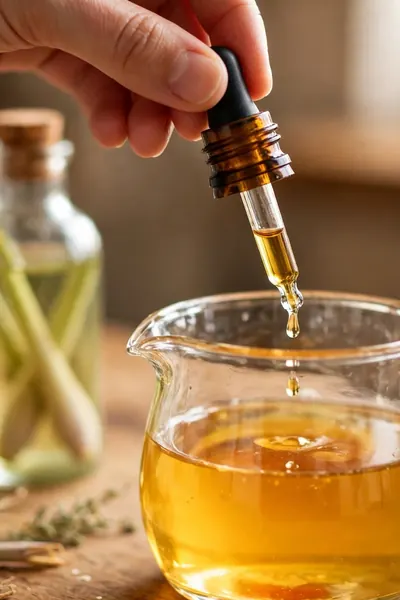
Cooling Time: about 5 minutes off the heat | Total Drops: 60 for the batch | Blend Used Here: citronella 25, lemongrass 20, cedarwood 15 | Golden Rule: oils go in warm, never hot
Heat is the enemy of scent. Essential oils are volatile, which means a boiling base sends half your drops into the air as steam instead of into the bar. Five patient minutes of cooling keeps the smell in the wax, where it can reach your skin later.
Step Three: Pour Into Molds and Let Them Set
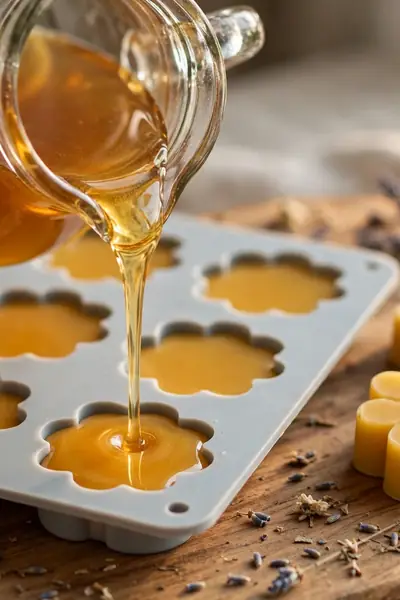
Pour while the mix is still fully liquid, filling each mold in one slow, steady go. A small jug with a spout saves drips, and any spill wipes off the counter easily once it hardens, so do not panic over a messy first pour.
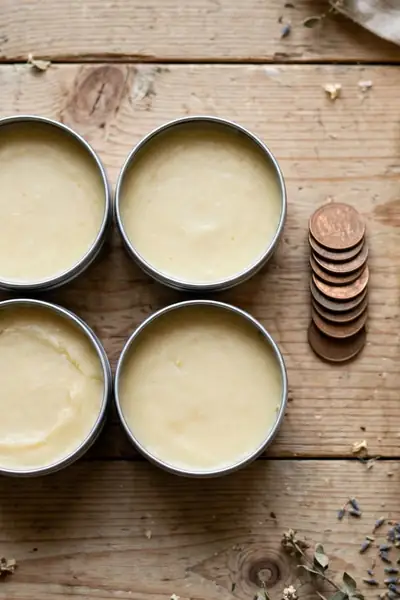
Leave the filled molds on a level surface for two to three hours at room temperature, or about forty minutes in the fridge on a warm afternoon. Set bars turn opaque and firm, and they pop out cleanly with one gentle flex of the silicone.
How to Apply a Lotion Bar So It Actually Lasts
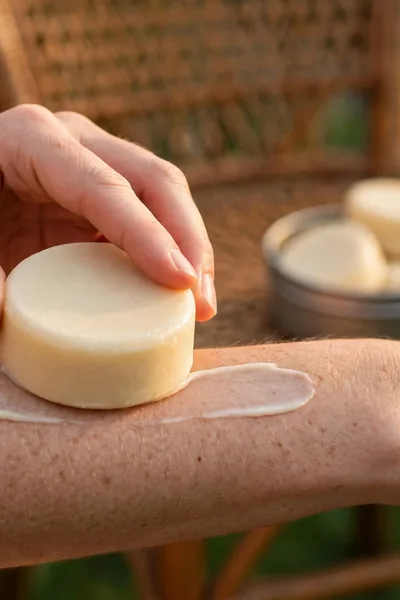
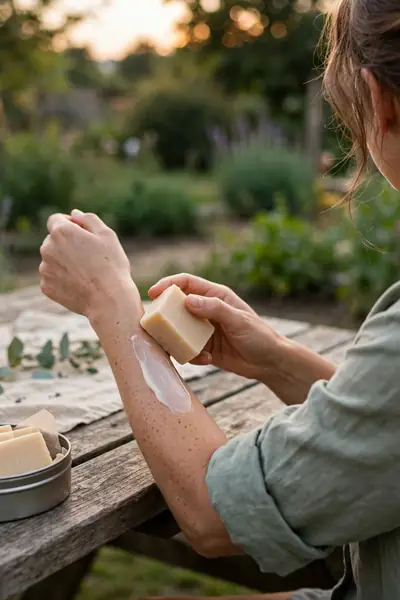
A bar protects only the skin it actually touches, and thin, patchy coverage is why many people decide natural bars do not work. Warmth is the trick: body heat melts a thin layer as you glide, so slow passes lay down far more than quick dabs.
- Warm the bar between your palms for a few seconds until the surface turns glossy.
- Glide it slowly over arms, legs, ankles and the back of the neck, the places mosquitoes find first.
- Rub in lightly with your hands to spread the layer evenly, especially around wrists and sandals lines.
- Reapply about every two hours, and always after swimming, toweling off or heavy sweating.
Three Scent Blends for Different Summer Days

One base, three moods: the recipe never changes, only the drops do. Keep each blend at sixty drops per batch so the strength stays honest, and label every tin with the blend name and the date, because the three bars look identical once they set.
The family blend leans on citronella and lemongrass with cedarwood underneath, gentle enough for everyday garden time. The camping blend swaps in eucalyptus for a stronger edge on trails and lakesides, and the evening blend brings lavender forward for patios where you want the scent softer and the company relaxed.
Keeping Bars Firm in Summer Heat
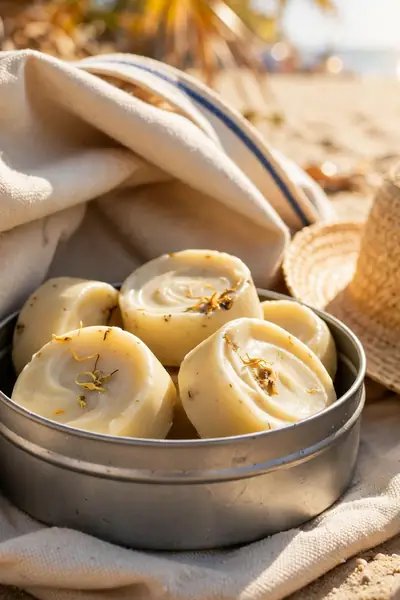
The common mistake is blaming the recipe when a bar slumps in a hot bag. Standard bars are built for room temperature skin contact, and a car dashboard or a sunny tote in July will soften any wax blend that was poured for a mild spring day.
For high summer, raise the beeswax by one extra tablespoon per batch and skip the fridge set, which can trap condensation. The firmer bar melts a touch slower on skin, a fair trade for one that survives the beach bag and still glides.
Store the tin upright and out of direct sun, and a heat firm bar keeps its edges all season. I’ve noticed the bars that melt are almost always stored loose in a bag pocket against a warm leg, not kept in their tin in the shade.
Storage and Shelf Life
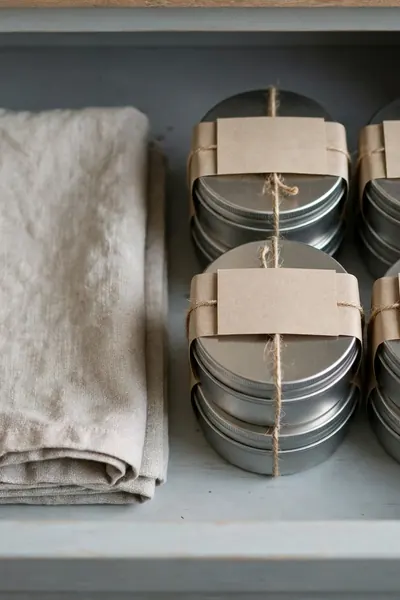
- A clean tin or small jar with a tight lid for every bar, labeled with the blend and the pouring date.
- A cool drawer or cupboard away from the stove and sunny windows, where temperatures stay steady.
- A fridge shelf for long storage between seasons, which stretches a batch comfortably past summer.
- Dry hands or a small cloth when handling bars, since water in the tin shortens their life.
Kept this way, a batch stays good for about six months, and the scent holds for most of that time. The oils fade before the base ever spoils, so an older bar still moisturizes well even when its bug protection has grown quieter with age.
Safety for Kids, Pregnant Women and Sensitive Skin
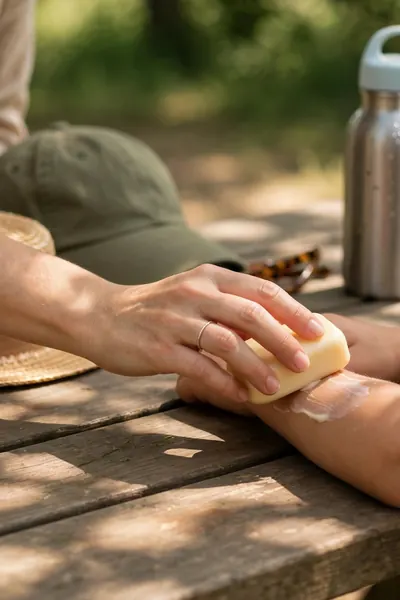
Handing a full strength adult bar to a small child feels harmless because it is natural, but young skin is thinner and essential oils are concentrated plant chemicals. Natural never automatically means gentle at any dose, for any age.
Diluted properly, the same recipe becomes a sensible family product: half the drops for children over three, a patch test on the inner arm first, and no bars at all for babies, whose skin and breathing need plain shade and nets instead.
Pregnant readers should check with their own doctor before regular use, and anyone with sensitive skin should start with the gentlest blend. A twenty four hour patch test sounds slow, but it is the cheapest insurance in this whole recipe, and it takes one minute.
What One Batch Costs vs Store Bought Cream
The numbers are kind to homemade batches.
- Price the base honestly: about $1.20 of beeswax, $0.60 of coconut oil and $1.10 of shea butter per batch.
- Add roughly $0.90 for the sixty essential oil drops, less once your bottles are open and in use.
- Count the tins once; they wash and refill for years, so they cost pennies per batch after that.
Store prices tell the other half of the story.
- A single natural lotion bar at a summer market often costs $6 to $9, before any shipping.
- Branded natural creams charge for the label and the tube as much as for what is inside.
- Buying single oils at gift shop prices doubles your batch cost; craft suppliers are far cheaper.
All in, one batch of six bars lands near $3.80, about sixty five cents a bar, and the bars work out cheaper every time you refill the same tins. That gap is exactly why a double batch for gifts costs less than one bought bar.
Also Explore: DIY Mason Jar Mosquito Candles for Bite-Free Nights
Mistakes That Weaken a Bar
Too Many Drops: scent turns harsh and skin complains | Overheated Base: the oils cook off before pouring | Wrong Ratio: bars set greasy or rock hard | Skipped Patch Test: the one mistake you cannot undo
Every one of these shows up in the first batch of almost every maker, including mine. The good news is that a failed bar is rarely wasted: remelt it gently, correct the ratio or the drops, and pour it again, because wax forgives a second try.
Fixes for Soft, Hard or Weak Smelling Bars
A soft bar needs more wax, not more fridge time. Remelt the batch gently, stir in one extra heaped tablespoon of beeswax pellets until they vanish, and pour it again; the bars will set firmer by the next morning without losing their glide on skin.
A rock hard bar takes the opposite fix: remelt and add a teaspoon of coconut oil at a time until a cooled drop spreads instead of snapping. For a scent that faded, remelt once more and add ten fresh drops off the heat, no more.
Frequently Asked Questions
1. Do homemade lotion bars really keep mosquitoes away?
Yes, for about two hours at a time. The oils make your skin smell wrong to a mosquito, and the wax holds them in place far longer than a spray. Reapply after swimming or heavy sweating.
2. Can I make these bars without beeswax?
Yes. Candelilla wax is the usual plant based swap, and it sets harder than beeswax, so use about half the amount and expect a firmer bar. The texture changes slightly, but the recipe still works.
3. Which essential oil works best against mosquitoes?
Citronella is the classic, with lemongrass close behind. Blends beat single oils because each scent fades at a different speed, so the cover lasts longer when two or three oils share the work.
4. Will the bars melt in a hot car?
They will soften, yes. Keep the tin out of direct sun, and for very hot months use the firmer version with one extra tablespoon of beeswax per batch, which holds its shape far better.
5. How long does one bar last?
Used daily on arms and legs, one bar lasts roughly three to four weeks. A batch of six, stored in tins in a cool drawer, covers a family through most of the summer season.
6. Can I use the bars on my face?
You can use a light layer on cheeks and forehead, but keep the bar away from your eyes and lips, where scented oils sting. For faces, the gentlest family blend is the sensible choice.
Conclusion
You now hold a recipe that turns three pantry ingredients into a summer of calmer evenings: bars that glide on, smell clean, and cost pennies beside the store shelf. Make one batch of bug repellent lotion bars this week, keep a tin by the door and one in the garden tote, and reapply without thinking twice. Save this recipe on Pinterest so the ratio is beside you at the stove, and share it with the friend who gets eaten alive every July. I’ve seen how making this one change can completely shift the result of a whole season outdoors.