Make Your Own Non-Sticky Lip Gloss With Natural Oils
Your hair sticks to your lips in the slightest breeze, and the gloss costs more than lunch. Sound familiar? That tacky film is exactly why so many of us start searching for a diy lip gloss recipe we can trust, one built on natural oils instead of syrup and glue.
I’ve tried the sticky store tubes for years, and the fix turned out to be simple oil balance. This guide gives you the exact base ratio, the melting and filling steps, five variations, honest costs, and the storage rules that keep every tube fresh.
Why Store-Bought Gloss Feels Sticky
Wind catches a strand of hair, and it sticks straight to your mouth. That tacky drag is not bad luck. Most store glosses are built on thick, syrupy bases and heavy sweeteners that sit on top of your lips like glue, grabbing dust and hair all day.
The shine in those tubes comes from film formers, not from anything your lips actually need. An oil based gloss works the other way around. The oils soak in slightly, leave a thin glossy layer behind, and move with your lips instead of clinging to everything else.

What Makes a Gloss Non-Sticky: The Oil Balance
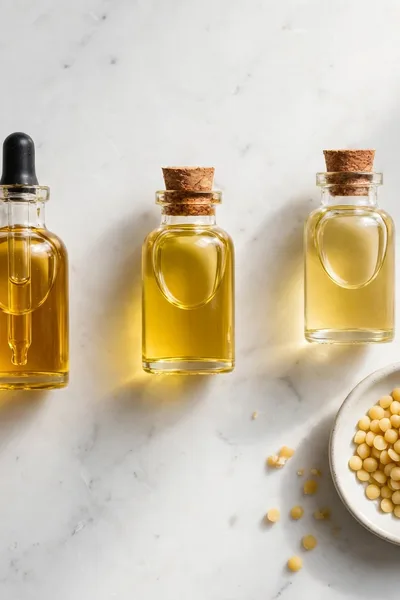
Stickiness is really a thickness problem. Heavy waxes and syrupy additives coat the lips and stay put, while light oils spread thin and keep moving. Get the balance right and the gloss shines like glass, feels like a lip oil, and never grabs your hair.
- Lead with castor oil, about half the oil blend, because it is the one natural oil that gives real glassy shine.
- Add a light carrier like fractionated coconut oil or jojoba for the rest, since both soak in fast and leave no tacky film.
- Keep beeswax small, just enough to body the oils, because wax past a spoonful turns gloss into balm.
- Skip honey, syrups, and glycerin-heavy sweeteners entirely, since sugars are what make a gloss grab and cling.
In my experience, the moment a recipe leans on castor and one light carrier, the stickiness complaints disappear. Thick oils like regular coconut oil have their place in balms, but in gloss they drag. Keep the blend light and the finish stays clean through coffee, wind, and a whole afternoon out.
Also View: Moisturizing Oatmeal Honey Soap for Dry Winter Skin
What You Need: Natural Oils, Wax, and Simple Tools
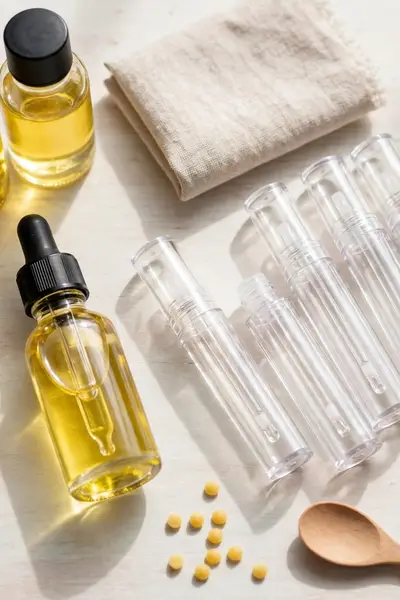
Quick Tip: Buy empty wand tubes before you make anything. A finished gloss with nowhere to go ends up in a messy jar, and half the batch gets wasted on spoons and funnels. Five tubes cost very little and make the whole project feel finished.
What You Need:
- Castor oil: the shine oil, half the blend, found in any pharmacy or beauty supply shelf.
- Fractionated coconut oil or jojoba oil: the light carrier that keeps the gloss smooth and quick to absorb.
- Beeswax pellets, or candelilla wax for a vegan batch: a small amount gives the oils body.
- Vitamin E oil: a few drops help the oils stay fresh longer and feel extra soft on lips.
- Empty wand tubes, a small heatproof jug, a spoon, and a syringe: the simple tools for melting and filling.
Everything here is a one time buy, and the oils keep for months in a cool drawer. That small kit is all a beginner needs for a first diy lip gloss batch, plus whatever color or flavor you pick in the later steps. Nothing on the list needs a specialty store.
The Base Recipe: Ratios That Stay Smooth, Never Tacky
Common Mistake: Most first recipes online are written for sticky gloss. They load the base with thickeners and sweet flavor syrups, so the batch feels tacky before any color even goes in, and no amount of stirring fixes a base that started wrong.
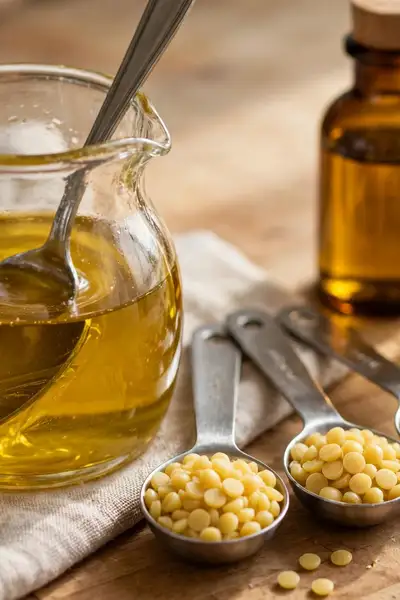
The Fix: Build the base from oils first. For a small batch, melt 1 teaspoon of beeswax pellets into 2 tablespoons of castor oil and 2 tablespoons of fractionated coconut oil or jojoba, then add 3 to 4 drops of vitamin E. That ratio stays fluid, glossy, and light.
This batch fills about four standard wand tubes, which is plenty for a first try and a gift or two. Write the amounts on a sticky note the first time. Once your hands know the ratio, later batches take minutes and the base pours like warm honey.
Step One: Melt the Wax and Warm the Oils

What You Need:
- A small heatproof glass jug or measuring cup: everything melts in this one container.
- A saucepan with two inches of water: the gentle water bath that melts wax without scorching.
- Beeswax pellets and the measured oils from the base recipe: pellets melt far faster than a solid block.
- A spoon and a folded towel: stirring, plus a safe grip for the hot jug.
Set the jug in the simmering water and stir until the wax vanishes and the liquid turns clear, about five minutes. Grainy gloss almost always starts here, with wax that looked melted but was not. Clear liquid at this stage means a smooth finish later.
Step Two: Whisk in the Shine Oils Off the Heat
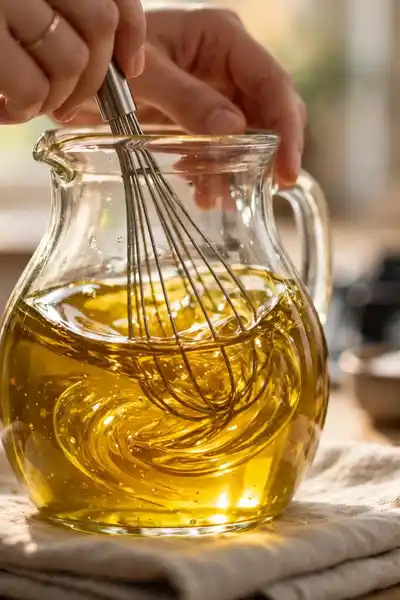
Before: Oils whisked in while the jug still sits over the heat keep cooking. The blend can turn dull, and delicate oils lose the soft feel that made you choose them in the first place.
After: Off the heat, the shine oils fold into the warm base and stay glossy. The mixture cools slowly and evenly, so it pours smooth and sets with that glassy surface you want on lips.
Give the jug a full minute of slow stirring once the oils go in. I’ve noticed that rushed stirring traps tiny air bubbles that cloud the finished tubes later on. A calm minute now saves you from cloudy gloss that looks homemade in the wrong way.
Step Three: Add Natural Color
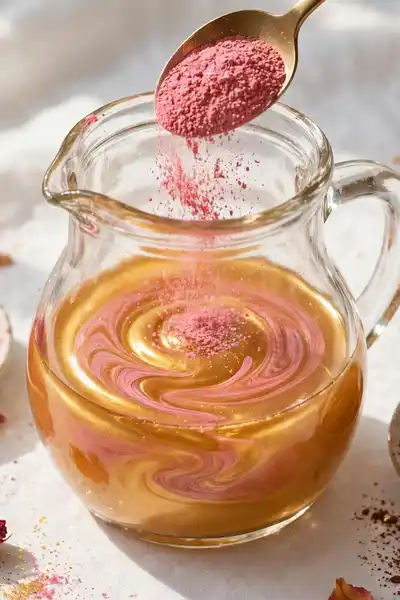
Do This:
- Start with a pea sized amount of mica powder and stir well before adding more.
- Use beetroot powder for a soft pink and cocoa powder for a warm nude brown.
- Test each shade on the back of your hand under daylight before filling any tube.
Avoid This:
- Never add food coloring drops straight from the bottle, since water based color beads up in oil.
- Never judge the shade in the jug, because gloss always looks darker before it spreads thin.
- Never chase a lipstick level of color, because gloss tints are meant to stay sheer.
Most beginners add color three times too fast and end up with a shade nobody wants to wear. Small additions keep you in control, and the hand test never lies. A soft tint that flatters bare lips gets used daily, while a bold mistake sits in a drawer.
Step Four: Add Flavor Without the Sticky Sweeteners

Quick Facts: Best Flavor Sources: lip safe flavor oils | Sweetener to Skip: honey and syrups | Amount: 2 to 3 drops per batch | Taste Test: one drop on a fingertip
Flavor oils made for lip products give scent and a hint of taste with no sugar at all, so nothing turns tacky. Vanilla and strawberry are the forgiving starters. Add drops one at a time and taste between them, because flavor grows stronger as the gloss cools.
Step Five: A Pinch of Shimmer, Only If You Want It
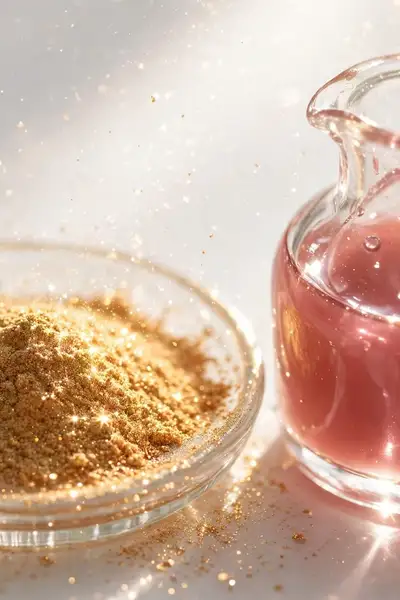
Shimmer is the step you can skip and still have a lovely gloss. When you want it, cosmetic grade mica with a fine shimmer finish is the safe choice, the same mineral pigment already used for color. A quarter teaspoon per batch is plenty.
Stir the shimmer in last, while the gloss is still warm and pourable, so the particles spread evenly instead of sinking. Craft glitter never belongs here. Its edges are cut for paper, not skin, and no sparkle is worth sore lips.
Fill the Tubes Without the Mess
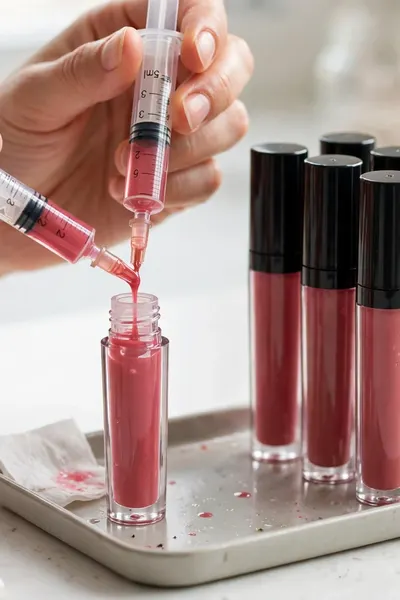
Warm gloss pours like honey, which sounds easy until it strings across the counter and coats the outside of every tube. A syringe changes everything. It draws the gloss up cleanly and places it exactly where it belongs, with the wands staying spotless.
- Fill while the gloss is warm and pourable, but not hot, so it flows without melting the tube plastic.
- Draw the gloss slowly into a wide mouth syringe, then rest the tip at the tube opening.
- Fill each tube to just below the neck, since gloss expands a little as it settles and cools.
- Push the wand stopper in straight away, wipe the rim with a tissue, and stand tubes upright overnight.
If a string of gloss lands on a tube anyway, a cotton pad with a drop of plain oil wipes it clean in seconds. Work over a tray, not the bare counter, and cleanup stays a two minute job instead of a sticky half hour.
Five Variations: Clear, Tinted, Berry, Shimmer, and Overnight Moisture

Quick Tip: Make the plain base first and split it into small cups before adding color or flavor. One melt becomes five different glosses in a single session, and a failed experiment costs you a spoonful, not the whole batch.
Clear stays plain for everyday shine. Tinted gets the rose mica. Berry takes beetroot plus a drop of strawberry flavor. Shimmer carries the fine gold mica. Overnight moisture swaps in extra jojoba and skips color, so lips drink it in while you sleep each night at home.
How Long It Lasts and How to Store It
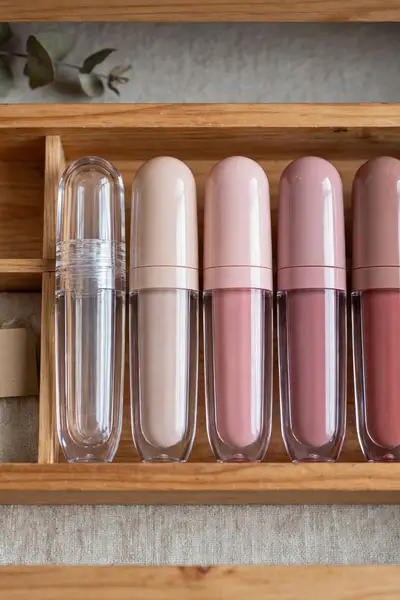
Common Mistake: A fresh batch gets tossed into a steamy bathroom cabinet and forgotten for a year. Heat, light, and the wand going back and forth slowly turn good oils stale, and the gloss starts to smell like an old crayon.
The Fix: Store tubes in a cool, dark drawer and write the making date on a tiny label. Used with clean hands and closed right after each use, a batch stays fresh for about three months.
Vitamin E slows the oils from turning, but it is not a preservative, so the three month guide matters. Small batches are the real answer. You finish each set while it is at its best, and making the next one becomes a happy little ritual.
Mistakes That Make Gloss Sticky, Grainy, or Runny

Do This:
- Measure the wax instead of guessing, since a heavy hand is the top cause of drag.
- Melt the wax fully until the liquid runs clear, because half melted wax sets grainy.
- Wash and dry every tool before you start, since water drops cloud the whole batch.
Avoid This:
- Never fix a runny batch by pouring in extra oil, because that only makes it separate.
- Never add color a spoonful at a time, because pigment races past the shade you wanted.
- Never fill tubes with gloss too hot, because heat warps thin plastic and ruins the seal.
Nearly every failed batch traces back to one of these six habits, and every one of them is easy to drop. Slow down at the melting and measuring stages and the gloss behaves. Rushing is the only ingredient that never improves a recipe at all.
What One Batch Costs vs the Store Tube

Before: A single drugstore gloss costs five to eight dollars and lasts a few weeks of daily use. Buy four shades across a season and the drawer holds thirty dollars of mostly sticky tubes.
After: One homemade batch fills four tubes for roughly two to three dollars of oils and wax total, once the starter bottles are on your shelf. That is under a dollar a tube, in the exact shade you wanted.
Honestly, the starter bottles feel like the big spend, but they cover batch after batch for months. I have seen the per tube math change minds faster than any beauty claim. Cheap, light, and yours is a hard trio for a store tube to beat.
Gifting and Selling: Labels, Rules, and Pretty Packaging
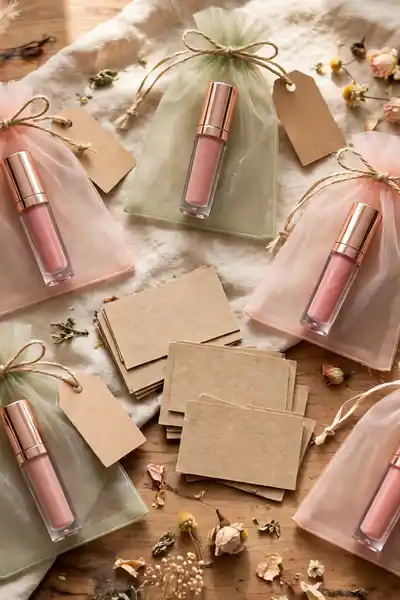
What You Need:
- Small labels or a fine paint pen: every gifted tube needs its shade name and the date it was made.
- Tiny organza bags or kraft boxes: simple wrapping that makes a two dollar tube feel like a boutique gift.
- An ingredient list card: anyone receiving or buying a tube should know exactly what touches their lips.
- A batch notebook: write each recipe down, so the shade a friend loves can be made again exactly.
For gifts, that little card and date do the trust building for you. Selling asks more, since lip products are cosmetics with labeling rules that vary by state and country. Check your local rules first, keep batches small, and let happy gift receivers become your first customers.
Also Explore: DIY Coffee Sugar Scrub for Silky Smooth Glowing Skin
Frequently Asked Questions
1. Is homemade lip gloss safe to use?
Yes, when you use cosmetic grade color and flavor made for lips, keep tools clean, and patch test a new ingredient on your wrist first. Skip anything that smells off, and remake a batch that changes color or texture.
2. Can I make this gloss without Versagel?
That is exactly what this recipe does. The body comes from a small amount of beeswax melted into the oils instead of a gel base, so the gloss stays pourable, light, and fully oil based from start to finish.
3. How long does a homemade batch stay fresh?
About three months in a cool, dark drawer, thanks to the vitamin E slowing the oils down. There is no preservative in the recipe, so small batches you finish on time always beat one big batch stored for a year.
4. Why did my gloss turn out sticky?
Too much wax, a heavy oil like regular coconut oil, or a sweet syrup in the mix are the usual causes. Rebuild the balance from the oil section, lead with castor, and keep sweeteners out entirely.
5. Can I use food coloring to tint it?
Water based food coloring beads up in oil and will not blend, so the color comes out spotty. Mica, beetroot powder, and cocoa powder mix in smoothly and are the better route to a shade that lasts.
Conclusion
You now hold the whole method: light oils in the right balance, a small wax anchor, color and flavor added slowly, and tubes filled without the mess. That is all a good diy lip gloss ever needed. No syrup, no tacky film, no hair stuck to your mouth on a windy day.
I’ve seen how making this one change can completely shift the result, from a tube you avoid to one you reach for daily. Save this guide on Pinterest before your next supply run, make the clear batch first this weekend, and share it with a friend who is tired of sticky gloss too.