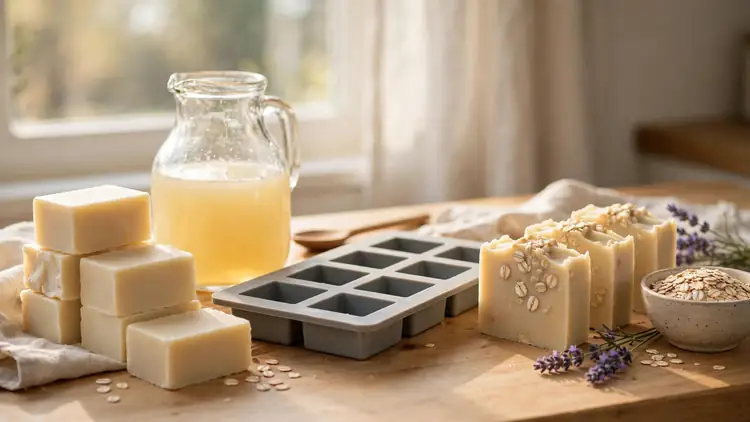
Easy Beginner Soap Making Guide Without Any Lye Stress
You want to make your own soap, but every guide seems to start with lye, goggles and a warning. This soap making for beginners guide skips all of that: melt and pour base arrives ready made, so your first bars need no chemicals, no cure wait and no courage.
Inside, you will choose the right first base, melt it without bubbles, scent it at the moment the scent survives, and unmold bars that look bought. The tools are already in your kitchen, and the whole first batch takes about an hour of gentle, unhurried work.
Why Melt and Pour Is the No Lye Starting Point
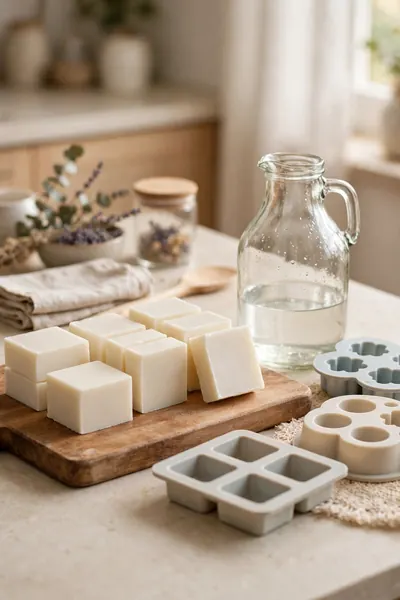
Here is the honest relief at the heart of soap making for beginners: with melt and pour base, the lye part is already finished. The base maker handled the chemistry in a factory, so what reaches your kitchen is plain soap, ready to melt.
That one fact removes the gloves, the goggles, the ventilation worries and the four week cure wait in a single stroke. Your whole job becomes the enjoyable part: choosing a scent, a color and a mold, then watching plain base turn into bars that look shop made.
Melt and Pour vs Cold Process at a Glance
Both methods end in real soap, but they ask very different things from a beginner. Cold process means weighing lye, wearing protection and waiting a month to cure; melt and pour means melting a ready base and using your bars the next day.
- Choose melt and pour if this is your first batch, your kitchen is small, or children will help.
- Choose melt and pour for gifts on a deadline; bars set in hours, not weeks.
- Consider cold process later, once you enjoy the craft and want full control of the oils.
- Either way, the scent, color and mold skills you learn first carry straight over.
Also View: Easy Lavender Soap Recipe for Calm Relaxing Showers
The Three Bases and Which to Buy First
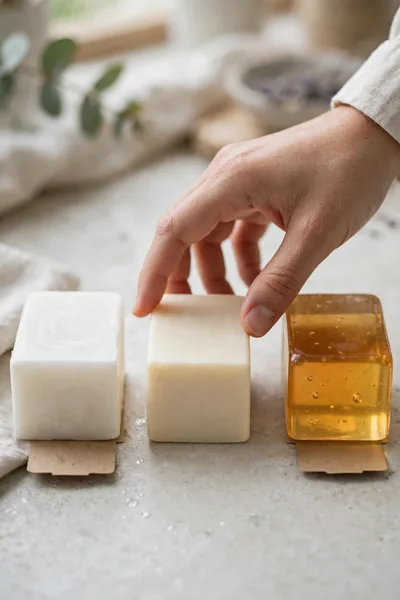
Start with a shea butter base. It melts smoothly, releases from molds kindly, feels creamy on skin and forgives the small timing mistakes every first batch includes. It is the base most likely to make a beginner feel skilled on day one.
Goat milk base is the close second: rich, gentle and lovely for dry skin, though it can soften in warm rooms. Clear base is the prettiest for colors and embeds, but it shows every bubble and streak, so save it for batch three, when your pouring hand is steady.
Ingredients for Your First Batch
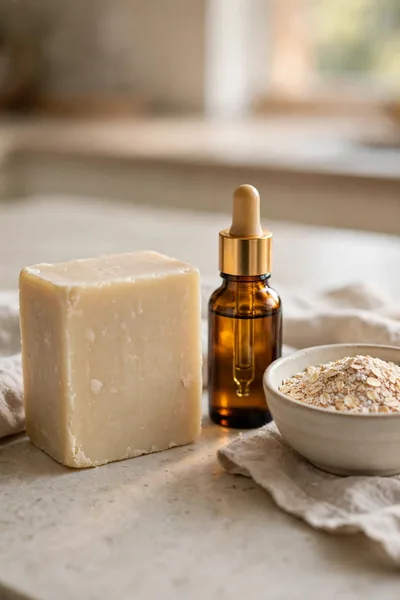
The common first shop is a basket of everything: three scents, four colors, glitter, dried flowers and two kinds of mold. Most of it waits in a cupboard for a year, and the first batch gets worse, not better, because too many new things went in at once.
Buy for one batch only: one pound of shea base, one essential oil you already love the smell of, and one simple add in like finely ground oats. That short list makes four honest bars and teaches you the whole process with nothing wasted.
Cost honesty helps: that first pound of base, one small bottle of oil and a mold you will reuse for years lands near the price of two shop bought bars. Every batch after it costs less, because the tools and the oil are already in your kitchen.
Tools From Your Kitchen
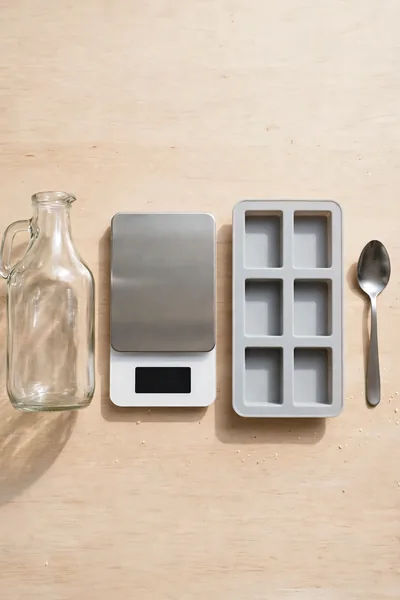
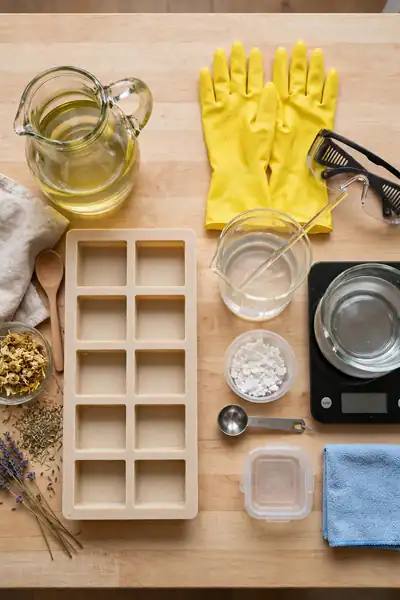
- A heat safe glass jug for melting, the kind already used for sauces and custards.
- A kitchen scale, because soap amounts behave better weighed than guessed.
- One silicone mold; silicone releases finished bars without oil, force or swearing.
- A thermometer if you own one; helpful for the cooling step, not a deal breaker.
- A plain spoon for skimming bubbles off the poured surface before it sets.
Notice what is missing: no safety suit, no special pots, nothing that cannot go back to cooking tomorrow. Wash everything in hot soapy water afterwards, because your tools are making soap with soap, the friendliest cleanup in all of crafting. That is the whole list.
Step One: Cut and Melt the Base Low and Slow
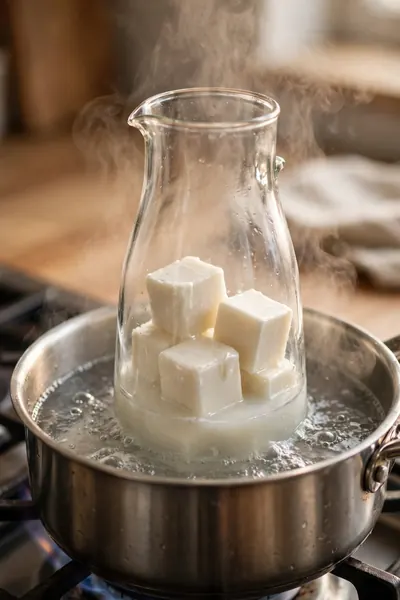
A whole block dropped into a pan melts unevenly: scorched edges, a solid middle, and a base that turns yellow and smells cooked before it ever reaches the mold. Boiling is worse; it fills the base with bubbles that never leave.
Cut into even cubes, the base melts gently and evenly in a water bath or short microwave bursts, staying clear, smooth and calm. The liquid looks like warm honey and pours like it too, which is exactly the texture every later step depends on.
Stir slowly and rarely while it melts; fast stirring whips in the very bubbles you are avoiding. In my experience, the water bath is the beginner’s friend: it cannot rush, it cannot scorch, and it gives you time to lay out the mold and the scent.
Step Two: Cool Slightly Before You Add Anything
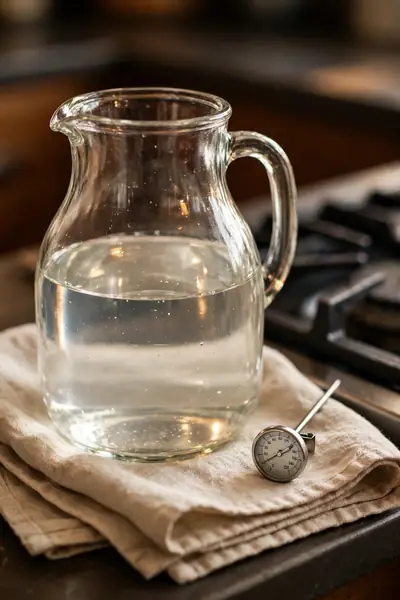
Hot base is a scent thief.
- Rest the jug off the heat for three to five minutes before adding anything.
- Stir once, slowly, and watch the surface lose its shimmer; that is your cue.
- Aim for warm and pourable, roughly the feel of a hot bath, never steaming.
Impatience costs fragrance.
- Do not scent a steaming base; the lightest scent notes burn off first.
- Do not wait too long either; a skin forming on top means reheating gently.
- Do not add cold extras to hot base; the shock clouds the finished bar.
This short pause is the difference between a bar that smells lovely for months and one that smells of almost nothing by next week. The scent you paid for should end up in the bar, not lost in the hot steam above the stove for good.
Step Three: Add Scent and Color in the Right Order
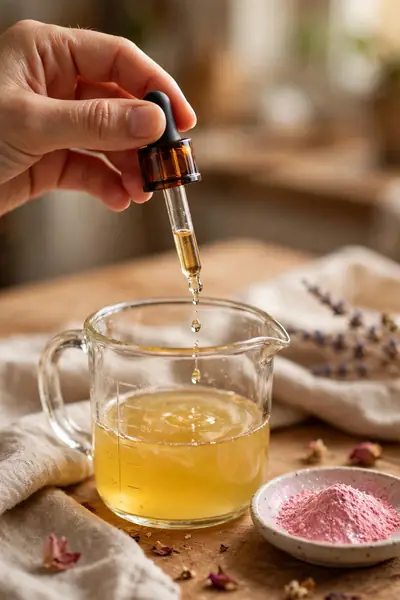
Scent Dose: 1 teaspoon essential oil per pound of base, start with half | Color Dose: a few drops or a pinch of mica at a time | Order: scent first, color second, add ins last | Test: one drop on a cold plate sets and shows the true color
Add ins like oats or dried buds go in at the very end, stirred through the cooling base so they hang suspended instead of sinking. A bar should look as considered as it smells, and even distribution is what makes a homemade bar read as handmade with pride.
Step Four: Pour, Clear the Bubbles and Let It Set
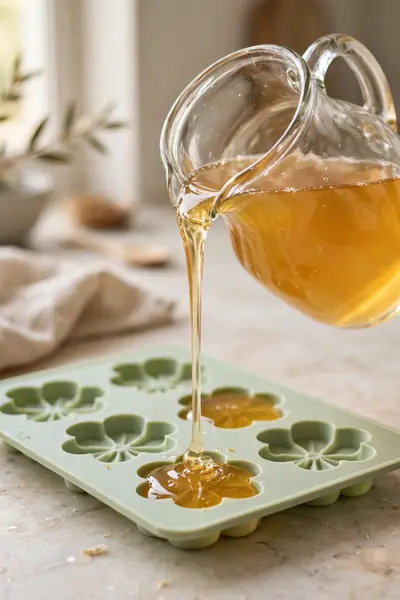
Pour slowly in one steady stream, filling each mold cavity to just below the rim. A slow pour traps far less air than a splashy one, and any bubbles that do rise can be skimmed off with a warm spoon in the first minute.
Then hands off. Leave the mold on a level surface where nobody will bump the counter, and let time do the work: small bars feel firm in about an hour, large loaf molds need three to four hours before they are ready to move at all.
Step Five: Unmold, Trim and Wrap Your Bars
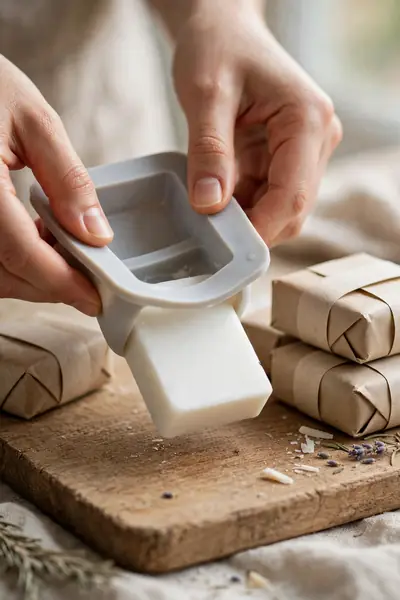
A set bar tells you it is ready: the mold feels room temperature, the surface no longer gives under a fingertip, and the edges look matte instead of glossy. Trust those signs over the clock, because room warmth changes setting times a lot.
- Flex the silicone gently and press the base of each cavity; bars release with a soft pop.
- If a bar resists, give it another hour rather than forcing it and denting a corner.
- Trim rough edges with a vegetable peeler or a knife, saving the shavings for a later remelt.
- Wrap finished bars in paper or film within a day, so they stay dust free and hold their scent.
Variations Worth Trying on Batch Two
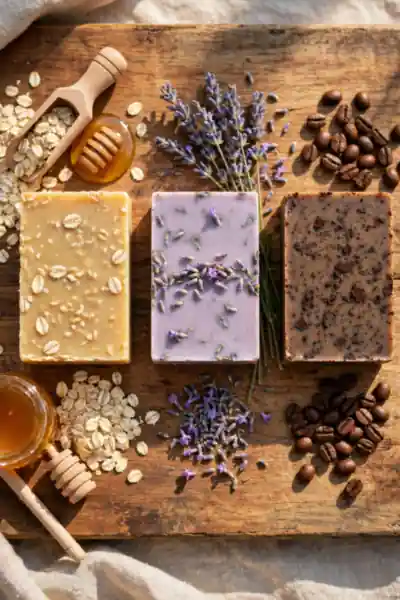
Change one thing per batch, never three. A second batch that alters only the scent teaches you exactly what that scent does; a batch that changes scent, color and add in at once teaches you nothing you can repeat on purpose.
Three beginner safe variations cover most tastes: honey and oats in a shea base for a gentle scrub, lavender buds in goat milk base for a calm evening bar, and finely ground coffee in clear base for a kitchen hand bar that eats garlic smells.
Also Explore: Moisturizing Oatmeal Honey Soap for Dry Winter Skin
Storage and Shelf Life
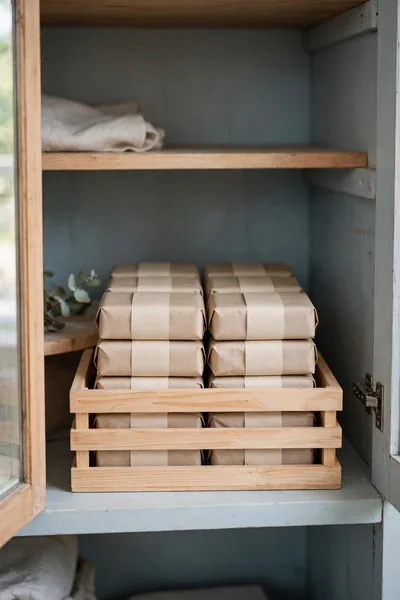
The common storage mistake is sealing fresh bars in an airtight box the day they are made and forgetting them in a warm bathroom. Melt and pour bars sweat in trapped humidity, and a good batch can turn sticky and dull in a fortnight.
Wrap each bar, then store the wrapped bars in a cool, dry cupboard away from steam and sun. Air around the box is fine; moisture is the enemy. Kept that way, bars hold their scent and finish for about six months.
Label every batch with its scent and its date, even if you swear you will remember. Three batches in, all white bars look alike, and the label is the only difference between handing a guest the lavender and handing them the coffee scrub by mistake.
Mistakes That Ruin a First Batch
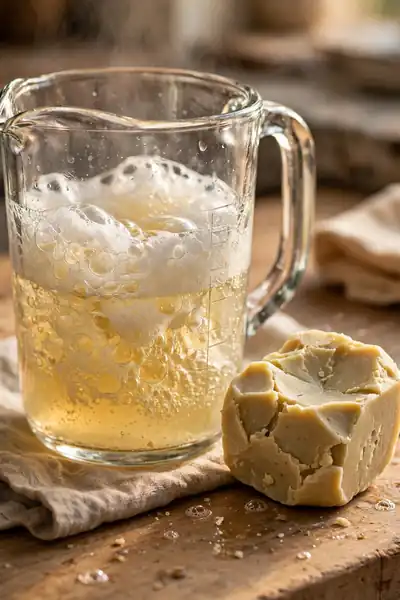
- Boiling the base, which fills it with bubbles and can turn it yellow and scorched smelling.
- Adding scent while the base steams, so the fragrance cooks off before the bar sets.
- Unmolding too early, which dents corners and tears details that patience would have kept.
- Skipping the scale and guessing amounts, the quiet cause of bars that feel greasy or brittle.
- Leaving finished bars unwrapped in a steamy bathroom, where they sweat and fade.
Every mistake on this list has the same shape: it trades five saved minutes for a spoiled batch. Slow down at the melting and the unmolding, the two moments where patience does the real work, and a first batch usually behaves beautifully from start to finish.
Troubleshooting Soft, Sweaty or Cloudy Bars
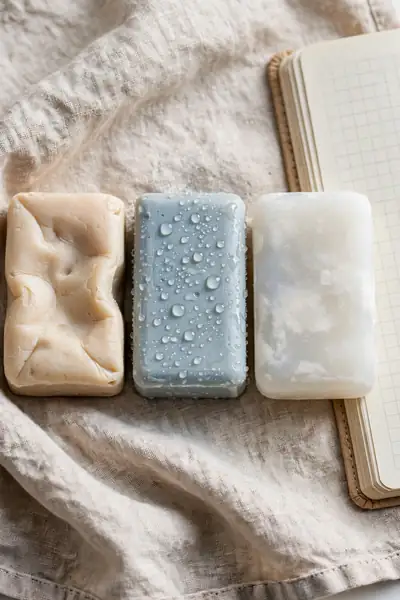
A soft bar, a sweating bar or a cloudy bar feels like failure, and many first batches get thrown away at this point. That is a waste: nearly every melt and pour fault is a temperature or timing problem wearing a disguise.
Read the fault and the fix is usually simple. Soft bars need a harder base blend or a longer set; sweating bars need dry storage and wrapping; cloudy bars need gentler melting and slower, calmer stirring next time round.
The rescue almost nobody tells beginners: a failed melt and pour batch can simply be remelted and poured again. Keep your first attempts, however ugly, because they are practice material you already own, and the second pour is nearly always the good one in the end.
Frequently Asked Questions
1. Is melt and pour soap really handmade?
Yes. The base is factory made, but the scent, color, add ins, mold choice and finish are all yours. Every bar you pour is shaped and scented by your own hands, which is the part people mean by handmade.
2. How long does a first batch take from start to finish?
About an hour of gentle work, most of it waiting. Melting takes ten minutes, scenting and pouring ten more, and small bars set within one to two hours. You can wash with your first bar the same evening.
3. Can kids help make melt and pour soap?
Yes, with an adult handling the hot jug. Children are good at choosing scents and colors, stirring the cooling base and pressing bars out of silicone molds. There is no lye to keep them away from, which is the point.
4. How many bars does one pound of base make?
About four bars of roughly four ounces each, depending on your mold. Loaf molds give even slices, and individual cavity molds give shaped bars. Weigh the base first and the count stays predictable every time.
5. Why does my soap sweat, and is it still safe to use?
The glycerin in the base pulls moisture from the air, so beads form on the surface in humid rooms. The bar is completely safe to use. Blot it dry, wrap it, and store the next batch somewhere cooler and drier.
6. Do melt and pour bars need to cure like cold process soap?
No. There is no cure wait at all, because the base was fully finished before you bought it. Once a bar is set and unmolded, it is ready to use the same day, which is the method’s biggest gift to beginners.
Conclusion
You came in worried about lye, and you are leaving with a method that never asks you to touch it. That is the quiet gift of soap making for beginners done the melt and pour way: real bars, your scents, your colors, finished in an afternoon and ready to use the same day.
Save this guide on Pinterest for your first batch, pick one base and one scent this week, and share it with the friend who keeps saying she wants to try. I’ve seen how making this one change can completely shift the result, from feared project to favorite afternoon.