24 Charming Front Porch Ideas for Instant Curb Appeal
Your porch is the first thing guests see, and most days it is not saying much. A bare slab, a faded mat, and a door that blends into the house do not invite anyone closer. These front porch ideas change that without a remodel, starting with the few pieces that shape what the street sees first.
In my experience, the porches people love share the same pattern: something soft underfoot, something alive, and something warm after dark. You will learn how to measure first, lay out three simple zones, and build three budget setups from under $50 to under $300. By the end, you will know exactly what to buy, what to skip, and where every piece goes.
Why Most Porches Look Bare, Not Welcoming

Most front porch ideas fail at the same point. They start with shopping, not with looking. Stand at the curb and study what a visitor sees first: a bare slab, a lone mat, one tired pot. Nothing invites you closer, so the porch reads as empty even when clean.
In my experience, the fix is rarely more stuff. It is three things working together: something underfoot, something alive, and something at eye level. Get those three right and the porch starts to feel like a welcome instead of a walkway. The rest of this guide builds that feeling.
Measure First: Three Numbers Before You Buy Anything
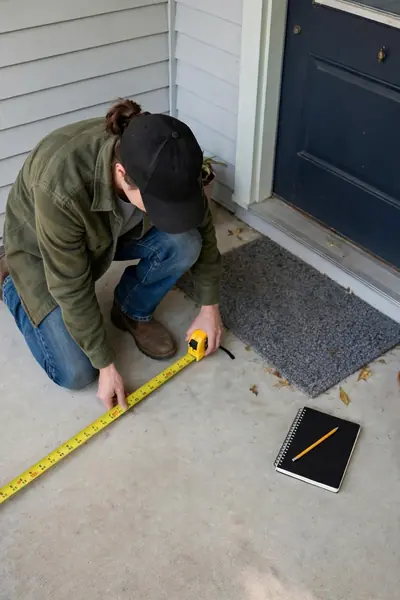
A porch that looks generous in a photo can shrink to nothing once furniture arrives. Measuring first keeps every later choice honest, because a bench that blocks the door or a rug that swims on the slab wastes money and patience. Three numbers tell you almost everything you need.
- Measure the width of the porch from wall to edge, then subtract two feet for a clear walkway. What is left is your true decorating width.
- Measure the depth from the door to the top step, and check the door swing so nothing you place gets hit. Write both numbers down instead of guessing later.
- Measure the height from the slab to the ceiling or overhang if you plan to hang anything. A swing or hanging chair needs that number plus the joist spacing.
- Walk the path a visitor takes, from the sidewalk to the door, and note where feet naturally land. That path stays clear in every layout you try.
Also View:25 Warm Fall Home Decor Ideas for a Cozy Autumn Season
The Small Porch Layout: Three Zones in Any Space

Quick Tip: Give every piece one zone to live in, and never let zones overlap. A chair that creeps into the walkway makes the whole porch feel crowded, even when the porch is not small.
Think of the porch as three zones: welcome, sit, and store. The welcome zone holds the mat and door decor. The sit zone holds one chair and a small table. The store zone holds a basket or a bench with room underneath. When each zone has its own corner, even a tiny slab feels planned.
Start With the Floor: A Rug That Fits the Porch

Common Mistake: Most people buy a rug sized for a doorway and drop it in front of the door. It looks lost on a wide slab, slides underfoot, and curls at the corners within a week.
The Fix: Size the rug to the porch, not the door. Leave six inches of bare floor on each side so the rug frames the space, and add a non-slip pad made for outdoor use.
Pick a flat-weave or low-pile rug in a weatherproof material, since thick rugs hold rain and take days to dry. A simple pattern hides dirt better than a solid color. Shake it out weekly, hose it down once a month, and it will carry the whole porch for seasons.
Layer the Doormat: Mat Plus Rug

What You Need:
- A flat outdoor rug: the base layer that sets the size and color of the entry.
- A smaller coir doormat: the top layer that scrapes shoes and adds texture.
- A non-slip rug pad: keeps both layers from sliding when feet hit them wet.
- A stiff broom: shakes loose dirt off the mat in seconds before guests arrive.
- A hose or bucket: rinses the coir mat clean without moving the whole setup.
Lay the rug first, then center the mat on top with a hand-width of rug showing on three sides. The mat should sit fully on the rug, never half on and half off. Step on it twice to test for sliding, then leave it. The layered look reads styled because it is clearly on purpose.
Paint the Door, Not the Whole Porch

Before: The door blends into the house and the porch has no focal point. Visitors hesitate at the walkway, unsure which door is yours, and the whole entry looks tired even when it is swept.
After: One painted door pulls the eye straight to the entry and makes every other piece look placed on purpose. The porch reads welcoming from the street, and guests walk up knowing exactly where to go.
Pick a color that suits the house, not just the trend of the month. Deep green, navy, and warm black suit most brick and siding. Clean the door, sand lightly, and use exterior paint with primer built in. Two thin coats beat one thick coat every time.
House Numbers, Mailbox, and the Package Spot
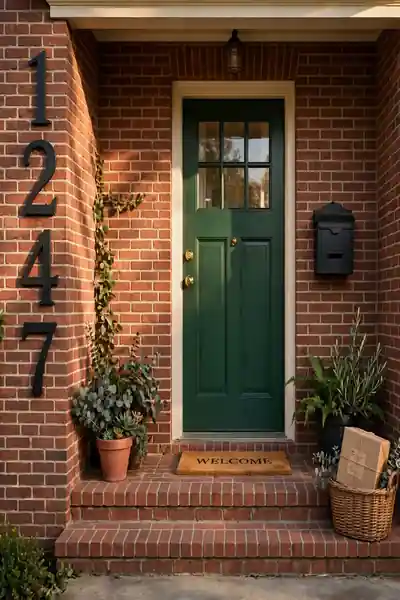
Do This:
- Mount house numbers at eye level where the street can read them from a car.
- Match the mailbox finish to the door hardware so the entry reads as one set.
- Mark a clear package spot beside the door with a basket or a small bench.
- Light the numbers at night so visitors and deliveries find the house after dark.
Avoid This:
- Avoid tiny numbers that vanish against dark siding or bright brick.
- Avoid a mailbox that blocks the walkway or crowds the door swing.
- Avoid leaving packages on open steps where rain and porch thieves find them first.
- Avoid mixing three metal finishes that fight each other across one small entry.
These three details do quiet work for curb appeal. Guests arrive relaxed when the number is easy to spot, drivers leave packages in the right place, and the entry looks finished instead of half done. Handle them early, because they cost little and shape the first impression more than any single decoration.
Also Explore:21 Creepy-Cute Halloween Flower Pots for Your Porch
Plants That Survive Real Porch Weather
Time Needed: 30 minutes to pot | Difficulty: Easy | Cost: Low
Best For: Sunny or shaded porches | Tools Required: Pots, potting soil, watering can
Pro Tip: Check the sun on your porch at three times of day before you buy a single plant.
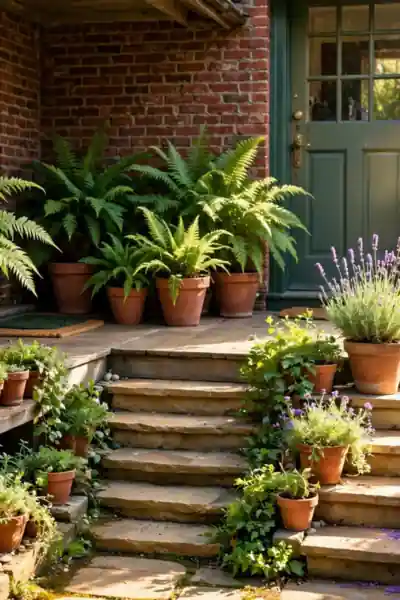
Match the plant to the light you actually have, not the light you wish you had. Ferns love shade, while lavender wants full sun and dry soil. Faux stems work in harsh spots, but add one real plant so the porch smells alive. Water in the morning, and pots hold up through heat and wind.
Window Boxes Without the Rot

Window boxes fail from the inside out. Water sits in a box with no drainage, the soil stays wet, and the wood or trim behind it starts to rot long before the flowers fade. The fix starts before planting, not after the first storm.
Line every box with a plastic tray or a cut-to-fit liner, and drill holes in the bottom so water can leave. Use light potting soil, not heavy garden soil, and leave one inch of space at the top for watering. Check the boxes after rain, and empty any tray that stays full.
A Seat and a Table for One Cup of Coffee
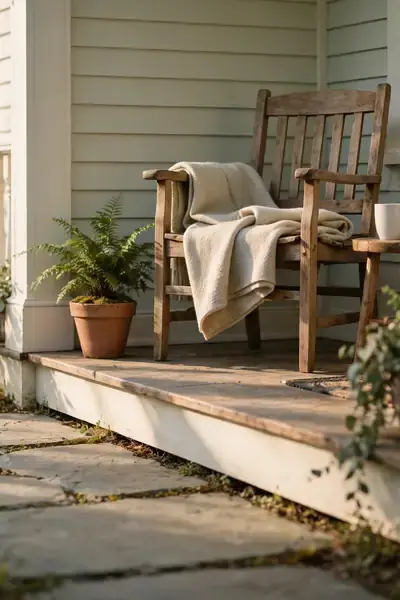
A porch seat earns its place when someone actually sits in it. One chair and one small table turn the porch from a passage into a pause, a spot for morning coffee or a chat with a neighbor. Keep the set small, or the sit zone swallows the whole porch.
- Pick one chair with a deep seat and arms, since a chair you sink into gets used daily. A stiff, upright chair mostly holds bags.
- Set the chair at a slight angle to the street, so sitting feels private without facing a wall. Leave two feet behind it for the door swing.
- Add a table no wider than the chair, at arm height, so a mug lands without a stretch. A stool or a plant stand works just as well.
- Test the set at your usual coffee hour and move it until the sun, not the glare, lands on the seat. Shade beats a view into direct sun.
A Swing or Hanging Chair, Only If the Ceiling Allows
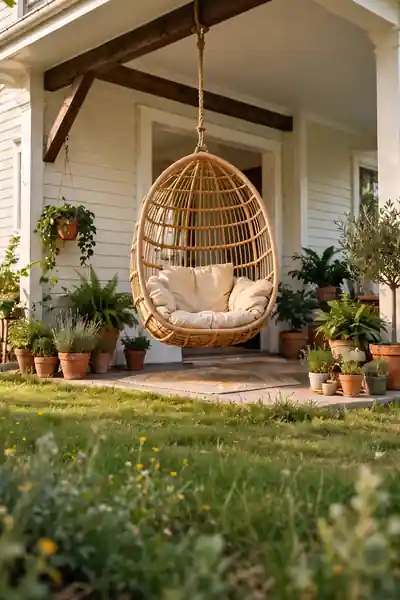
Quick Tip: Never hang a swing from ceiling boards alone. It must anchor into a joist or a beam, or it will pull free the first time two people sit down.
Find a joist with a stud finder and check what it is rated to carry, since swings pull harder than still weight. Use a heavy-duty hanging kit and hardware rated for more than the swing plus two adults. If the ceiling cannot carry it, a freestanding frame gives the same sway without touching the house.
Light It for the Evening, Not Just the Photo
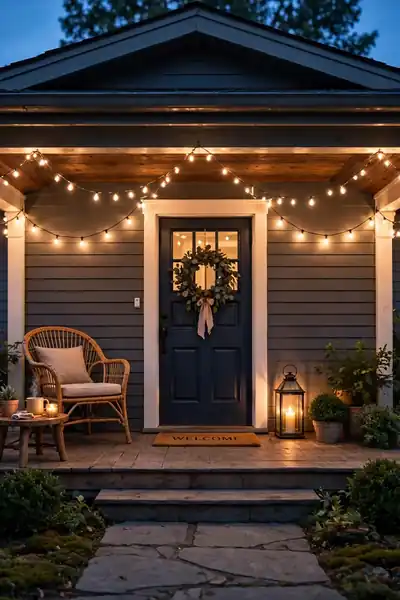
Common Mistake: Most people string lights for a photo, then live with a cord draped across the walkway. The cord trips guests, the plug sits in rain, and the lights come down after one storm.
The Fix: Plan the power before you hang a single bulb. Pick solar strings for railings and plug-in strings only where a covered outdoor outlet already exists.
Hang strings in a loose swag, not pulled tight, so wind moves them without snapping a bulb. Keep bulbs above head height along the walkway and away from the door swing. A timer or dusk sensor saves the nightly trip outside, and warm white bulbs flatter the house far better than cool blue ones.
Lanterns With a Job: Light the Steps
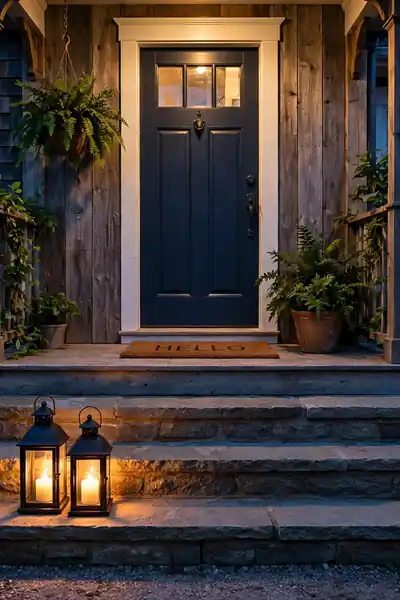
What You Need:
- Two or three lanterns: one per step group, not one per step, so the path stays clear.
- LED pillar candles or solar inserts: flame-free light that needs no match and no worry.
- Heavy lantern bases: weight keeps them standing when wind hits the porch.
- A timer or dusk sensor: turns the light on at dark without a daily trip outside.
- Clear glass panels: let the light out in every direction instead of hiding it behind tint.
Set lanterns beside the steps, never on them, so feet have the full tread. One lantern at the top and one at the bottom covers most porches. Keep the glass clean, since dusty panels dim the light fast. On the darkest nights, these small lights do more for safety than any string of bulbs.
Baskets That Hide the Clutter
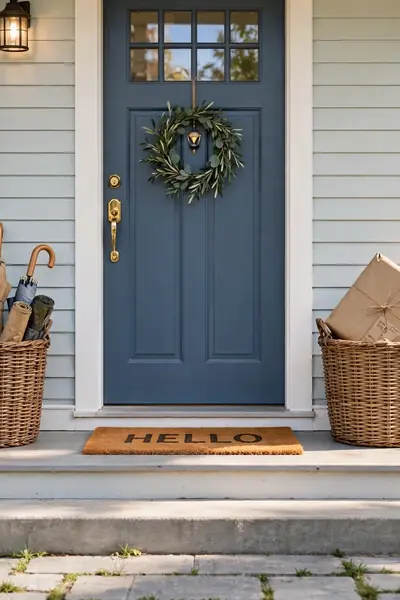
Before: Shoes pile by the door, parcels sit on the steps, and pet gear gathers in every corner. The porch looks like a hallway closet with the door left open, and nobody lingers there.
After: One basket by the door holds shoes, one holds parcels, and the porch floor stays clear. Guests see a styled entry instead of a storage pile, and you stop tripping over the same boots every morning.
Pick baskets with lids or liners so the contents stay hidden and dry. A tall basket holds umbrellas and walking sticks, while a low wide one swallows shoes. Label nothing, since lids do the hiding. Empty the parcel basket at the end of each day, or it turns into a second junk drawer.
One Wreath, Four Seasons: A Swap System

Do This:
- Start with one plain grapevine or twig base that works in every season.
- Swap only the stems, ribbon, and one small accent when the season changes.
- Store off-season pieces in a labeled bag so the swap takes ten minutes.
- Hang the wreath with a removable hook so the door finish stays clean.
Avoid This:
- Avoid gluing anything to the base, since glue makes future swaps hard.
- Avoid a wreath so heavy it strains the hook or dents the door.
- Avoid fresh flowers that wilt in a day and leave the wreath bare.
- Avoid buying a whole new wreath for every holiday.
One base, four looks, and a tiny storage bag beat four bulky wreaths in a closet. Spring gets green stems, summer gets dried blooms, fall gets wheat and berries, and winter gets pine and a red ribbon. The porch looks freshly styled each season, and the budget stays untouched.
One Fall Swap and One Christmas Swap
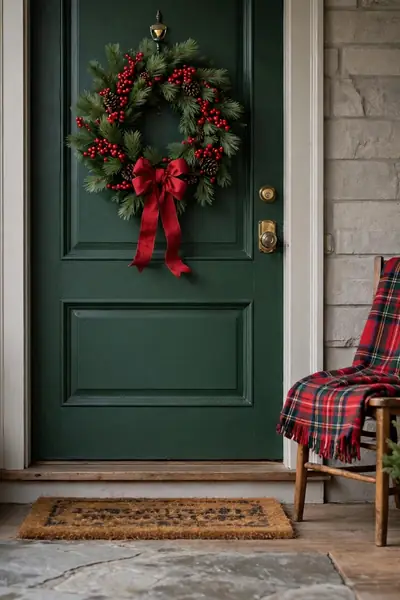
Time Needed: 20 minutes per swap | Difficulty: Easy | Cost: Low
Best For: Any porch with a wreath base and one basket | Tools Required: Stems, ribbon, one accent
Pro Tip: Store each swap’s pieces in its own labeled bag so the change takes minutes.
Fall starts with wheat, dried leaves, and a plaid ribbon on the same wreath base. When December comes, those pieces come off and pine, berries, and a red ribbon go on. Pumpkins swap for a small evergreen pot by the door. Nothing else changes, so the porch feels new twice a year without shopping.
Wall Art That Can Take the Rain
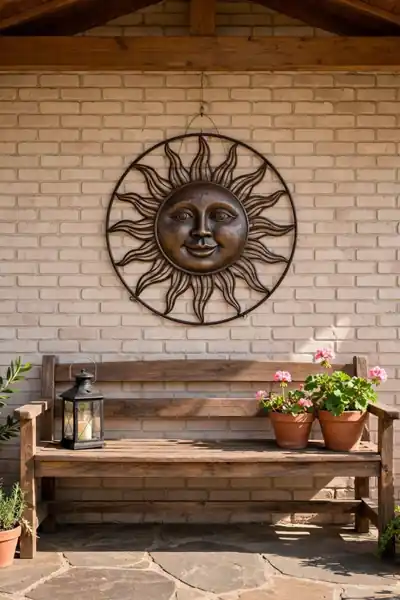
Indoor art dies fast outside. Paper warps, thin frames rust, and a single storm turns a pretty print into a soggy mess. Porch walls need pieces made for weather, or at least pieces that can dry out without damage. Metal, sealed wood, and outdoor canvas handle rain far better than anything framed under glass.
Hang art under the overhang where rain rarely reaches, and check the back after the first storm. If it stays dry, the spot is safe. One strong piece beats a crowded gallery wall, and it gives the porch the same finished feel as an indoor room.
One Thrifted Piece With a Story
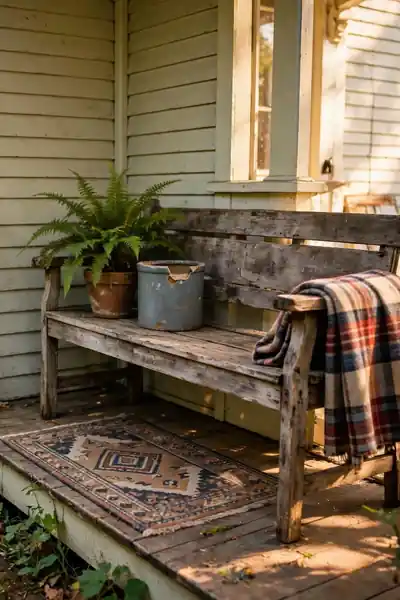
New sets look neat, but they rarely look loved. One thrifted piece, a chipped crock, a worn bench, a painted crate, gives the porch a past and a talking point. The trick is choosing one piece with character instead of a porch full of other people’s leftovers.
- Shop with one gap in mind, like a side table or a planter, so the find has a job waiting. Wandering without a gap fills the porch with clutter.
- Check the piece for solid joints and stable legs, since wobble shows more outdoors than in. Surface wear is fine, and a little patina adds charm.
- Clean it well and seal raw wood or rust spots before it goes outside. A quick sand and a coat of outdoor sealant doubles its life.
- Give it the best spot on the porch, not the leftover corner. One thrifted piece earns pride of place when it is chosen with care.
A Little Privacy Without a Wall
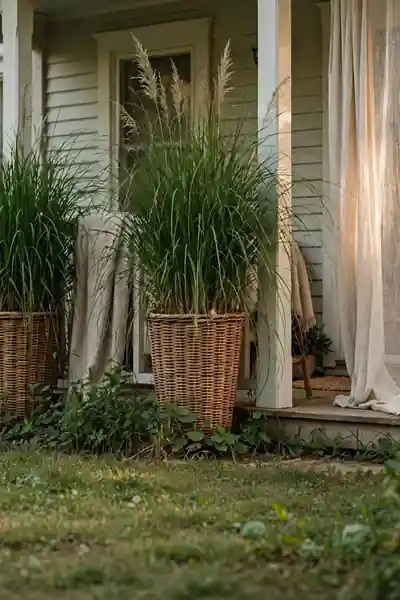
Quick Tip: Privacy on a porch is about softening the view, not blocking it. A planter at the rail breaks the sightline while the breeze and the light still come through.
Set tall planters at the rail where the street view hits hardest, and leave gaps between them so the porch still breathes. A sheer outdoor curtain on one side softens evening glare without turning the porch into a room. Keep the sitting corner behind the screen, and the porch feels private while staying open.
Renter Rules: Nothing Drilled, Nothing Damaged
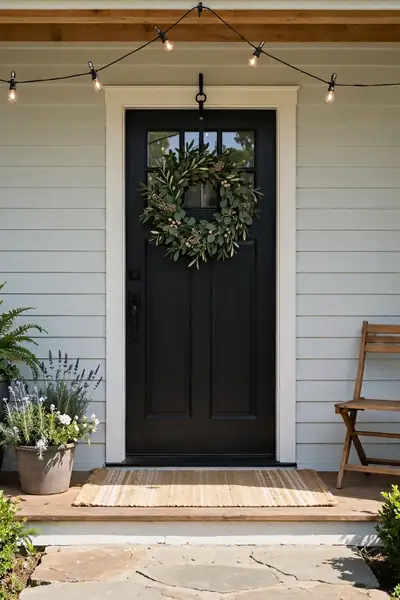
Common Mistake: Renters drill hooks into the siding or glue numbers to the door, then pay for the damage at move-out. A few small holes feel harmless until the landlord’s repair bill arrives.
The Fix: Use removable hooks, freestanding pieces, and over-the-door hangers that leave no mark. If a piece needs a screw, it does not belong on a rental porch.
Wreaths hang from an over-the-door hook, lights clip to the rail, and rugs sit flat without tape. Planters stand on their own, and the mailbox mounts with a clamp instead of screws. When move-out day comes, the whole porch packs into a car and the house looks exactly as it did before.
Mistakes That Make a Porch Look Cluttered
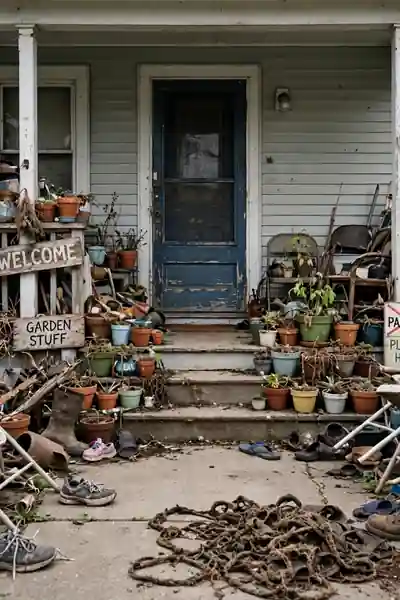
Do This:
- Give every piece a job, and remove anything that only fills space.
- Leave the walkway fully clear from the steps to the door.
- Repeat one or two colors instead of adding a new color with each piece.
- Step back to the curb after styling and judge the porch from there.
Avoid This:
- Avoid five small pots when one large planter does the same work.
- Avoid furniture sized for a deck on a porch built for one chair.
- Avoid a new theme for every season on top of last season’s leftovers.
- Avoid signs, flags, and mats that all shout different messages.
Clutter on a porch rarely comes from one big piece. It comes from ten small ones, each harmless alone, that pile up until the eye finds no rest. Remove three pieces and the porch often looks twice as styled. If a piece does not earn its spot, it belongs back inside.
Three Budget Setups: Under $50, Under $150, Under $300

Time Needed: One afternoon per setup | Difficulty: Easy | Cost: $50 to $300
Best For: First-time homeowners and renters | Tools Required: Tape measure, broom, hose
Pro Tip: Buy the rug and the plants first, since they set the size and color of everything else.
Under $50 buys a layered mat, two pots of plants, and a simple wreath. Under $150 adds a rug, a chair, and step lanterns. Under $300 adds a painted door, a table, and window boxes. Each tier looks finished on its own, so start where the budget feels easy and add the next tier later.
Pro Tips to Keep It Looking Styled
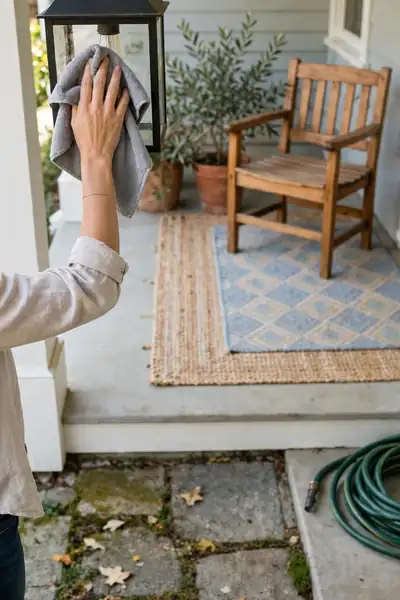
A styled porch stays styled with small habits, not big overhauls. Shake the mat when you come home, return the chair to its corner, and toss dead leaves from the pots before they pile up. Two minutes a day beats a full weekend reset.
Once a month, hose the rug, wipe the lantern glass, and check the pots for dry soil. At each season change, swap the wreath and one accent, then stand at the curb for a final look. The porch will keep looking like someone cares, because someone does.
Frequently Asked Questions

1. How much does it cost to style a front porch?
A porch can look finished for under $50 with a layered mat, two pots, and a simple wreath. A fuller setup with a rug, chair, and lanterns lands near $150, while a painted door and window boxes push it toward $300.
2. What should I buy first for a small porch?
Start with the rug and the plants, since they set the size and color of everything else. Add one chair and a small table next, then lights and a wreath once the base looks right.
3. Can renters style a front porch without damage?
Yes. Use removable hooks, freestanding planters, clip-on lights, and rugs that sit flat without tape. Skip anything that needs a screw, and the whole porch packs up at move-out.
4. How do I keep porch plants alive?
Match the plant to the light your porch actually gets, and water in the morning. Ferns suit shade, lavender wants full sun, and faux stems fill spots where real plants keep failing.
5. How do I light a porch with no outdoor outlet?
Use solar string lights and solar lantern inserts, which charge by day and glow at dusk. A timer or dusk sensor turns them on without a daily trip outside.
6. How often should I refresh my porch styling?
Do a two-minute reset daily and a quick clean once a month. Swap the wreath and one accent at each season change, and judge the result from the curb.
Conclusion
Your porch does not need a remodel to feel welcoming. It needs a rug that fits, a plant that survives your light, a door color with purpose, and light that carries into the evening. These front porch ideas work because each piece earns its place, and the whole entry starts to feel like an invitation instead of a walkway. Save this article on Pinterest so the steps are there when you are ready, try one setup this weekend, and share it with someone whose porch could use the same lift.