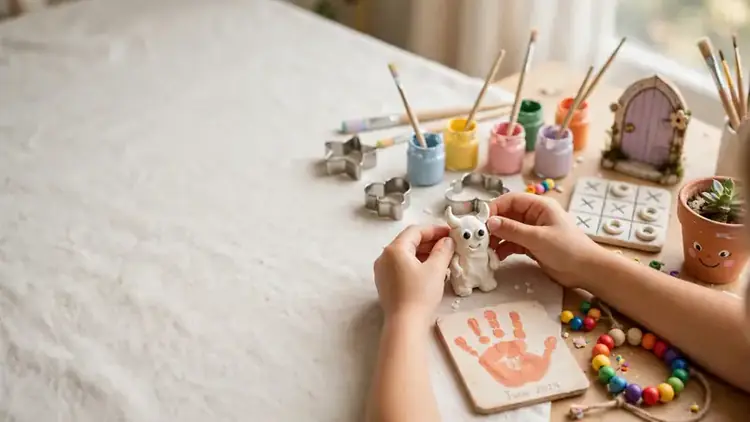
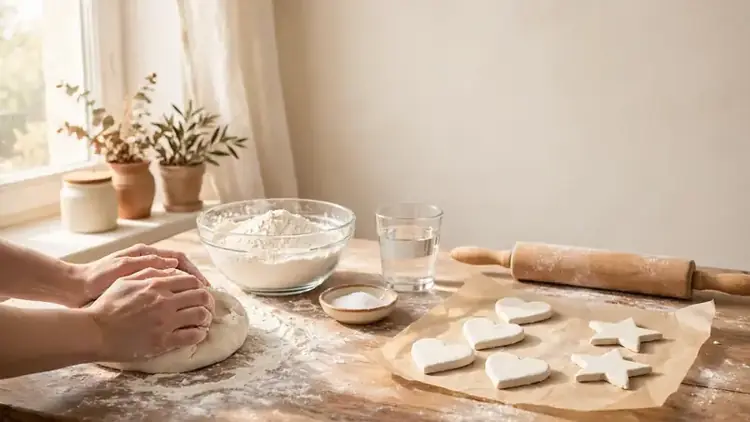
21 Quirky Air Dry Clay Fridge Magnets With Personality
Your fridge door currently holds a takeaway menu, a faded photo, and one magnet shaped like a chili. It is the most looked at wall in your home and the least loved. These 21 air dry clay fridge magnets fix that with faces, jokes, and tiny characters.
In my experience, magnets fail for two dull reasons: the magnet is weak or the design has no personality. This guide solves both, with strong flat magnets glued the right way and designs built around expressions people cannot resist photographing.
You will learn one simple base method, then meet all 21 characters, from a sleepy avocado to a grinning carrot, each with its time, its trick, and its face explained. Pick three favorites, make them this weekend, and watch your kitchen’s mood change.
Why Your Fridge Door Is the Best Gallery You Own
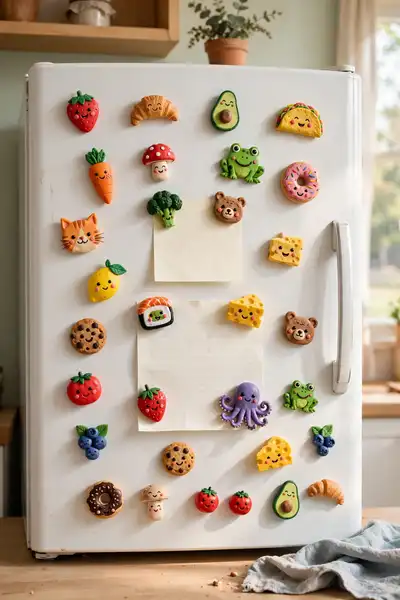
Count the surfaces in your home and one wins by a mile: the fridge door. You open it, glance at it, and lean on it a dozen times a day, and right now it holds a takeaway menu from a place that closed in March and one magnet shaped like a chili.
Homemade air dry clay fridge magnets turn that tired door into the happiest wall in the house. Each one is small, cheap, and finished in an afternoon, and each carries a face with real personality. A grumpy cat holding the shopping list makes the list funnier, every single day.
What You Need for Strong, Long Lasting Magnets
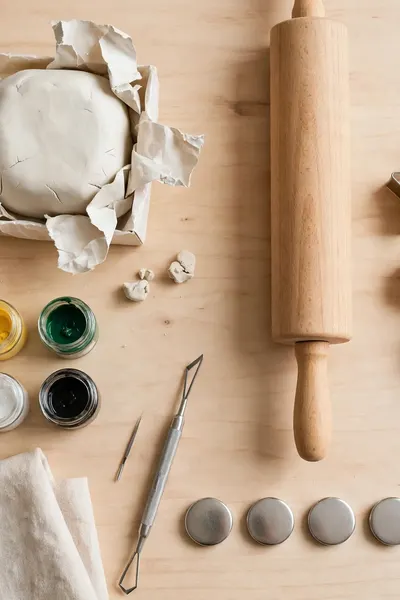
Magnets fail for boring reasons: weak magnets, clay rolled too thick, paint that chips. This short list prevents all three before they happen. Everything here is inexpensive, most of it is already in a craft drawer, and each item serves every design in this guide.
- Air dry clay, white: one standard block makes the whole set of 21 with clay to spare
- Round ceramic or neodymium magnets, 18 to 25mm: the strong flat kind, never the weak flexible strip magnets
- Rolling pin and cookie cutters: circles and ovals cover most bodies in this guide
- Acrylic paints and a fine brush: faces and tiny details need a brush with a real point
- Clear sealant and strong craft glue: sealant stops chips, glue rated for metal holds the magnet
Buy the magnets before the clay. Holding a magnet against a rolled slab teaches thickness better than any instruction: the clay body should never be thicker than the magnet is wide. That habit, learned on day one, separates magnets that grip for years from magnets that slide down the door at midnight.
Also View: 25 Sweet and Cute Air Dry Clay Ideas You’ll Want to Try
The Base Method Every Design Follows
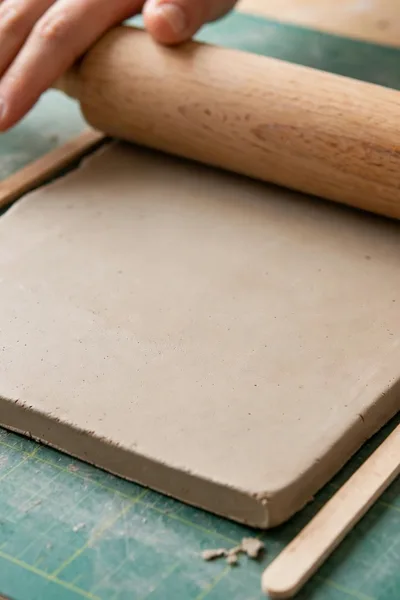
Quick Tip: Roll every slab between two wooden craft sticks of equal thickness. The sticks act as rails for the rolling pin, so every magnet body comes out the same thickness, dries evenly, and never curls at the corners.
Condition a plum sized ball until it feels like soft earlobe skin, roll it to a quarter inch, and cut or sculpt your shape. Smooth every edge with a wet fingertip, then dry pieces flat for 24 to 48 hours, flipping once. Paint, seal with a clear coat, and glue the magnet on last.
Also Explore: How to Paint Air Dry Clay for Vibrant Lasting Color
Sleepy Avocado With a Yawn
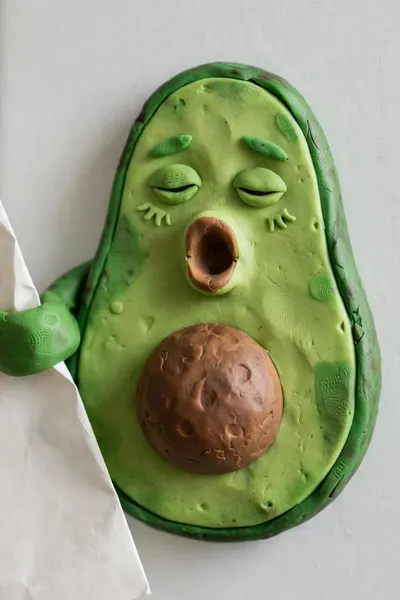
Common Mistake: Painting the pit the same green as the body. Without the brown pit, the shape reads as a plain green blob and the avocado joke never lands.
The Fix: Press a real thumbprint dent into the center before drying and paint that dent warm brown. The dent shadows itself, so the pit looks round and real with almost no skill involved.
Cut an egg shape, round the bottom wider than the top, and smooth the edge all around. Paint the outer skin deep green, the inner flesh pale yellow green, and add the tiniest closed eyes and open yawning mouth in black. Sleepy is the easiest expression there is: two curves and a circle.
Grumpy Cat Face

What You Need:
- A 2 inch circle cutter, for a face wide enough to hold real expression
- Gray or orange paint, the two cat colors that read fastest at a distance
- Pink paint, for inner ears and the tiny nose that softens the grump
- Your finest brush, because eyebrows this small forgive nothing
Flatten a circle, pinch two triangle ears from the top edge instead of gluing separate pieces, and let it dry. The grump lives in the eyebrows: two short lines angled down toward the nose, a flat straight mouth, and half closed eyes. Under a grocery list, this cat judges every item you write.
Smiling Sushi Roll
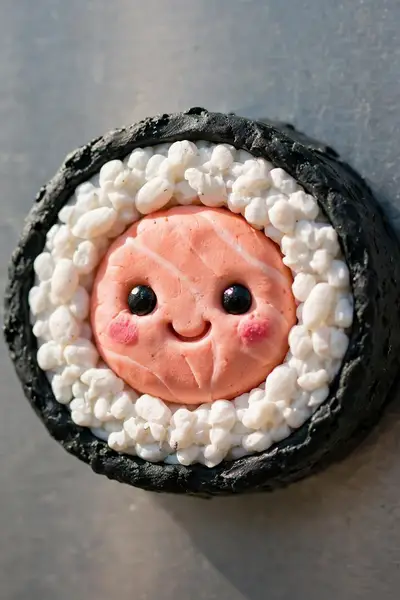
Before: A plain white oval of clay that could be anything: an egg, a pebble, a mistake. Nothing about it says sushi, and nothing about it makes anyone smile.
After: The same oval wearing a black seaweed band and a pink salmon center, with two dot eyes and a smile. Suddenly it is the magnet every guest asks about first.
Roll a short fat cylinder, wrap a thin black strip around its middle, and press a pink oval on top. Keep the face on the salmon, tiny and centered. Sushi reads through contrast, not detail, so bold simple shapes beat fussy ones at this size every time you make it.
Tiny Toast With a Wink
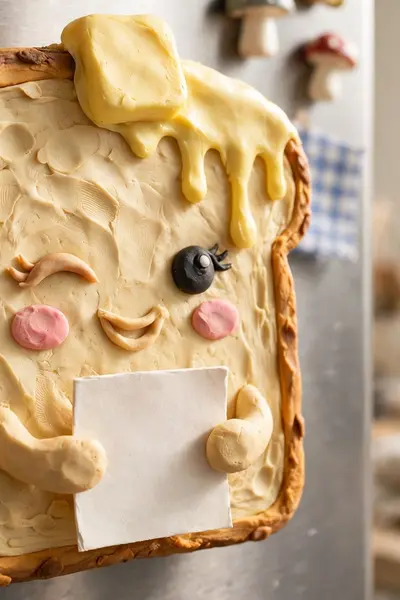
Do This:
- Cut a square, then round the two top corners into the toast arch
- Paint the crust a full shade darker than the center
- Set the butter pat slightly crooked on top
Avoid This:
- One flat shade of brown across the whole slice
- A face in the exact center, where the butter needs the room
- A thick body that slides down the door under paper
Toast is a square pretending to be fancy, which is why it charms people. The wink does the heavy lifting: one dot eye, one curved wink, and a small smile under a melting butter square. Paint the crust edge a full shade darker and the toast pops off the fridge from across the kitchen.
Happy Cactus in a Pot
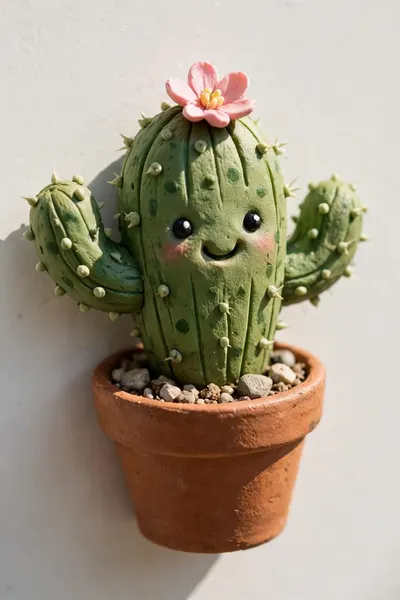
Time Needed: 40 minutes | Difficulty: Easy | Clay: one plum sized ball plus a pea for the pot | Result: a cactus that never needs watering
Shape a rounded column for the cactus and a tiny trapezoid pot under it, joined while both are soft. Add two small arm bumps, paint the pot terracotta, and dot a pink flower on top. The face goes on the cactus, wide and happy. This is the gift for friends who kill every real plant.
Cheeky Strawberry
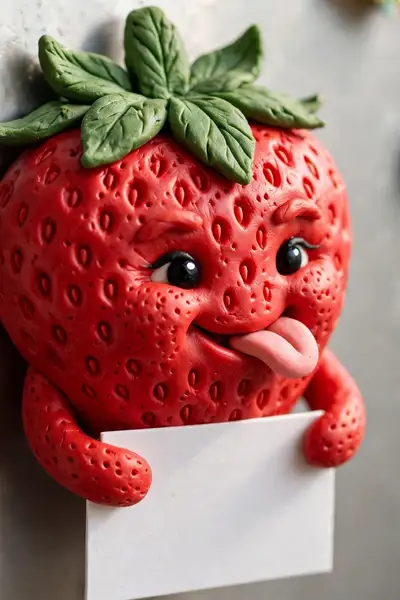
The strawberry is the fruit magnet with the most attitude per square inch. Its heart shape already looks like a cartoon, so the maker’s whole job is not ruining that gift: keep the body plump, the top leafy, and the seeds shallow.
Press seed dents with a toothpick tip before drying, never after, or the dry surface cracks around each one. Paint the body a true red, the leaf cap green, and finish with a tongue out smile painted at a tilt. Cheek lives in the tilt: straight faces look sweet, tilted faces look like they know something.
Watermelon Slice With a Smile
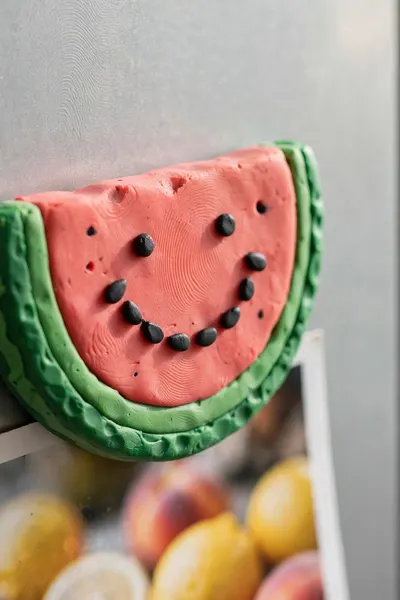
A watermelon slice is the friendliest geometry in the fruit bowl: one half circle, three colors, instant summer on the door. It is also the most forgiving design in this whole guide, because slightly wobbly rind lines read as handmade charm instead of error.
- Cut a half circle from a rolled slab and round its flat edge slightly
- Let the red flesh area dry fully before painting the rind lines
- Paint the thin white line first, then the green rind outside it
- Add teardrop seeds in a smile arc, then two dot eyes above them
Paint order matters more than drawing skill: red first, then the thin white line, then the green rind, each left to dry before the next touches it. Seeds are teardrops, not dots: press the brush and lift. Three seeds make a smile pattern guests read as a face even before you add the eyes.
Mini Donut With Sprinkles

Quick Tip: Form the hole with a drinking straw pushed straight through the soft disc, then smooth the inner edge with a wet fingertip. A punched hole stays round; a poked one closes up while drying and leaves a belly button.
Roll a ball, flatten it into a plump disc, and punch the center. The icing is a thinner disc in pink draped over the top with wavy edges, and sprinkles are painted dashes in four colors, none matching. A donut magnet at the bakery list is not decoration. It is a reminder with a job.
Sleepy Moon and Star Pair
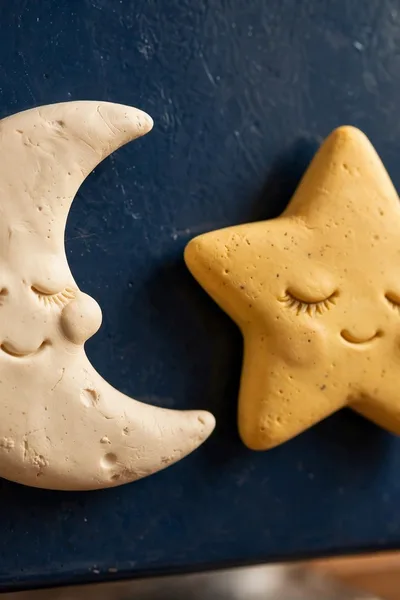
Common Mistake: Making the moon too thin and crescent shaped on the first try. Skinny crescents crack at the tips while drying and snap when the fridge door closes hard.
The Fix: Cut a fat crescent, closer to a banana than a sliver, and round both tips with a wet fingertip. It still reads as a moon, and it survives years of door slams.
Two punches of a circle cutter, one offset, leave a perfect crescent moon. The star is a cookie cutter shape with its points softened. Paint the moon pale cream, the star warm yellow, and give both the same sleepy closed eyes. Pairs look intentional on the door, like they were always a set.
Tiny House With a Red Door
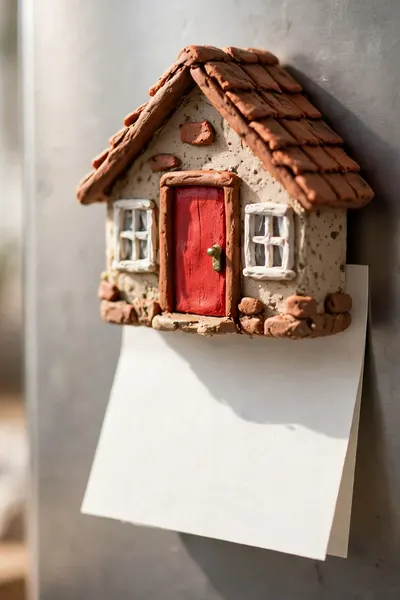
What You Need:
- A square cutter or a knife, for the house body and its straight walls
- A triangle of clay for the roof, pressed on while both pieces are soft
- Red paint, reserved for the door so it becomes the whole focal point
- White paint and a fine brush, for window frames with tiny cross panes
Build the house flat: a square body, a triangle roof pressed on top while both are soft, and a red door painted slightly off center, which somehow makes it cuter. Two white windows with cross frames, a dot doorknob, done. Houses hold the family notes, because home holding home makes quiet sense to everyone.
Mushroom House With a Fairy Door
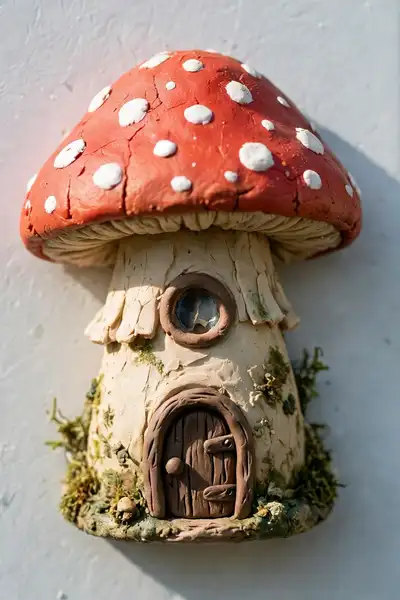
Before: A plain mushroom magnet, cute but ordinary, one of a hundred on the internet. It holds a note and says nothing.
After: The same mushroom with a tiny arched door and one round window in its stem. Now it is a house somebody lives in, and every child who visits asks who.
The cap is half the charm: a flattened dome in red with white dots pressed as shallow dents before painting. Keep the stem wide, because door and window both live there. Of all 21 designs, this one gets photographed most, so make two. Someone will talk you out of the first.
Striped Bumblebee Magnet
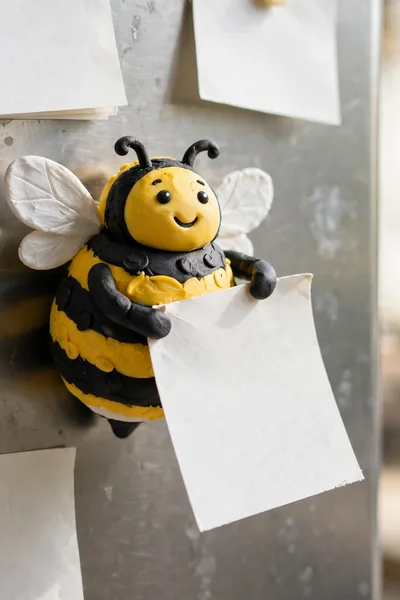
Do This:
- Build the body as one plump oval, wider than it is tall
- Paint the stripes only after the yellow fully dries
- Add wings as two flat white teardrops pressed on top
Avoid This:
- Stripes over wet yellow, which bleed into a muddy gray
- A pointed stinger, the first part to snap off
- Tiny separate legs that break within a week
Bees read at a glance because the stripes do all the talking. Keep the face minimal: two dot eyes and a smile squeezed onto the front stripe. The wings sit slightly crooked on every real bee photo you will ever check, so crooked wings here are not a flaw. They are research.
Little Ghost With Rosy Cheeks
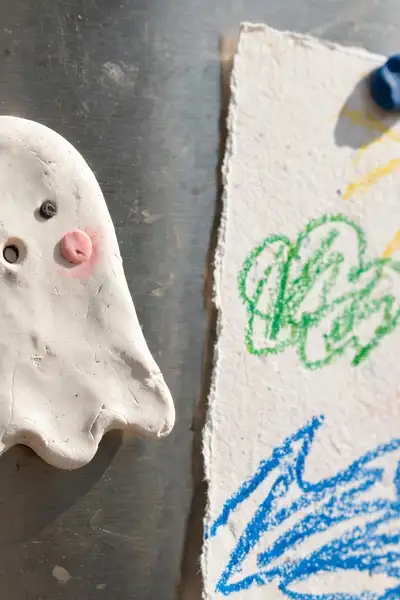
Time Needed: 30 minutes | Difficulty: Easiest in the set | Clay: one plum sized ball, white | Result: a friendly ghost that glows against steel
The ghost is a teardrop with a wavy bottom edge, nothing more. Pinch the top round, flare the base, and cut three soft waves into the hem. Paint nothing except two black oval eyes, a small o mouth, and two pink cheek circles. Restraint is the whole design: the whiter it stays, the cuter it gets.
Rainbow With a Cloud Smile
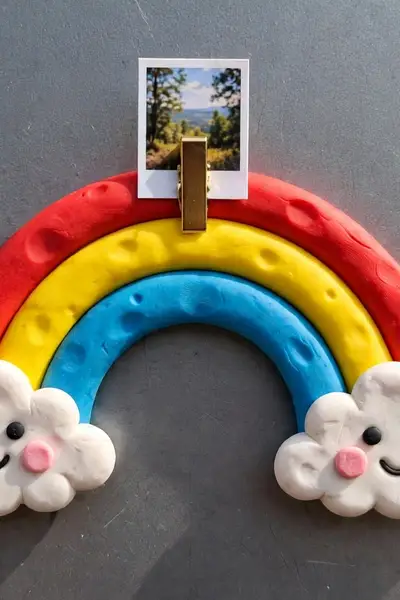
A rainbow magnet earns its place by color alone, but the cloud faces are what people photograph. Build it as three nested arcs cut from one slab, and the stripes stay even without any drawing skill at all.
Cut the full rainbow, then cut the inner arcs away with a smaller arch, or paint the three bands onto one solid arch if cutting feels fiddly. Add a white cloud blob at each end, one face per cloud, both smiling. Against a gray steel door, this little arch of color works like a window.
Tiny Book Stack With a Bookmark
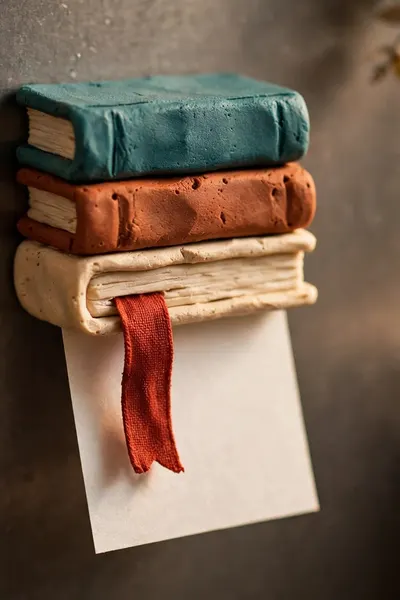
Book magnets belong on the fridge of anyone who reads while the kettle boils in the morning. Two or three tiny books stacked slightly crooked say more about a house than most decor ever does, and the bookmark gives the stack its story.
- Roll two or three small flat rectangles and round every corner slightly
- Score page lines along one long edge of each book with a knife
- Stack the books slightly crooked and press them together while soft
- Add a thin bookmark strip hanging from the top book’s pages
Keep each book a flat rectangle with rounded corners, and press page lines along one long edge with a knife before drying. Paint the covers in colors from your own shelves and the stack becomes a portrait. These hold library slips and reading lists, obviously, and nobody has ever moved one to another job.
Coffee Cup With a Sleepy Face
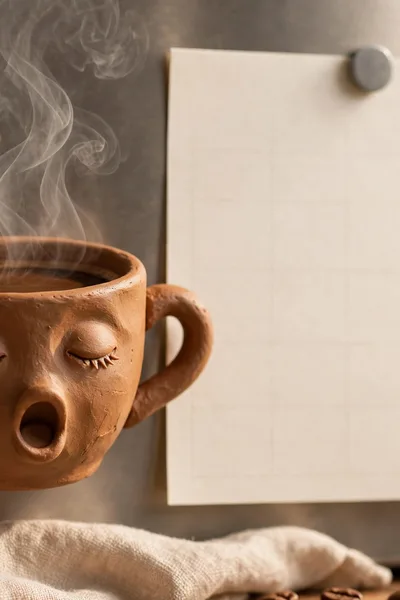
Quick Tip: Paint the steam as two thin gray waves above the cup, not white. White steam vanishes against a white fridge door; soft gray reads instantly from across the kitchen and looks like it is actually rising.
The cup is a half circle with a flat top and a small C handle pressed on while soft. Fill it with a brown coffee ellipse, and paint the sleepiest face in this whole guide on the cup’s belly: two drooping lines and a tiny yawn. Monday notes go under this magnet. It understands.
Flower Pot With a Bloom Face
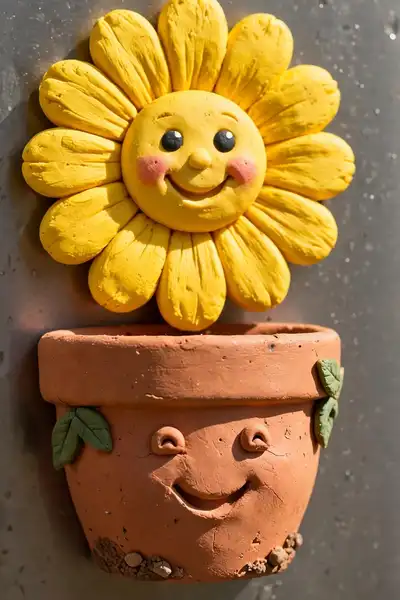
Common Mistake: Painting the flower and the pot in similar colors. Petals that match the pot vanish, and the magnet reads as one orange lump from two steps away.
The Fix: Choose opposites: a yellow or white flower over a terracotta pot, or a pink flower over a teal pot. Contrast is what makes tiny art read at fridge distance.
Build the pot as a small trapezoid, then a flower of five round petals around a button center sits on top like it grew there. The face lives on the pot, smiling up at its own flower. Gardeners claim this one instantly, so if you garden, expect to make a second for yourself.
Mini Pizza Slice With Melty Cheese
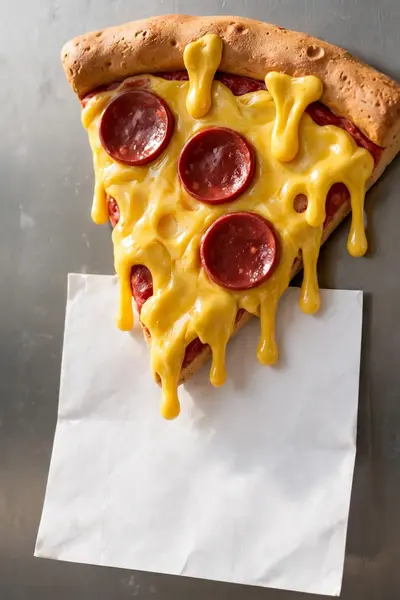
What You Need:
- A triangle cutter or a steady knife hand, for the slice shape
- Yellow paint, the cheese, mixed with a drop of orange for depth
- Red brown paint, for three pepperoni circles with darker rims
- A thin clay rope, rolled for the crust ridge along the wide edge
Cut a triangle, add a crust ridge along the wide edge with a thin clay rope, and let a painted cheese drip escape over one side. Pepperoni circles sit slightly overlapping, three is the magic number. Pizza magnets hold the Friday takeaway menu, and somehow the menu gets used more under a pizza.
Owl With Big Knowing Eyes
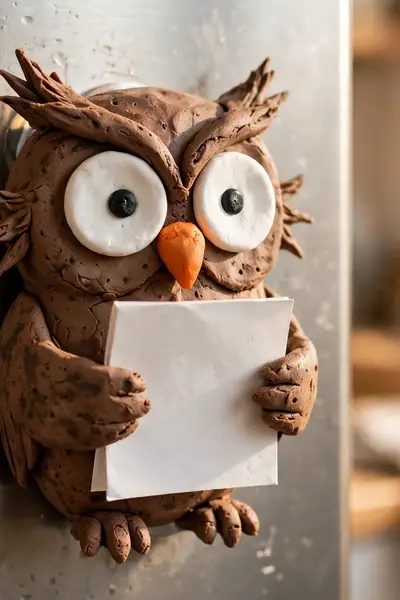
Before: A brown oval with two eyes can read as a potato with ambitions. The owl only appears when the eye rings and ear tufts join in.
After: The same oval wearing two big white eye discs, tiny orange beak, and two pointed tufts. Suddenly it is unmistakably an owl, and a wise one.
Press the eye discs on while the body is soft so they fuse without glue. Pupils look slightly inward for wisdom or straight ahead for surprise; both work, mixed does not. A few chest feather arcs scored with a toothpick finish it. Owls hold the school notes. The owl is watching homework get done.
Carrot With a Silly Grin
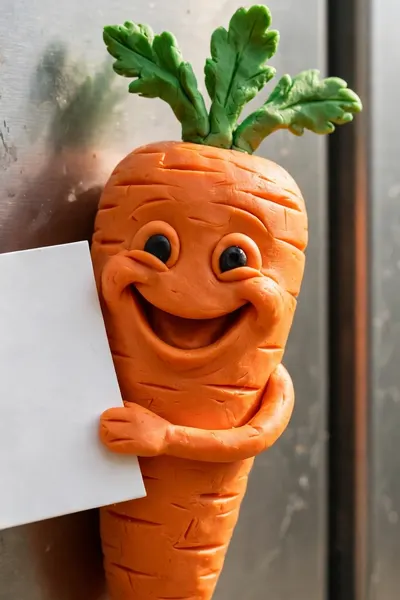
Do This:
- Taper the body long and slim, never short and round
- Score two or three short lines across the body
- Give it three green top leaves, pressed in while soft
Avoid This:
- A fat carrot body, which reads as an orange blob
- Painting the grin before the orange fully dries
- Gluing dry leaves on top, where they snap off
The grin makes this carrot: wide, toothy, slightly lopsided, painted after the orange fully dries. Press the leaves into the soft top so they dry as one piece. Carrots hold the grocery list in every house that makes one, standing guard over the vegetable section like they own the place, because they do.
Letter Magnets With Your Initials
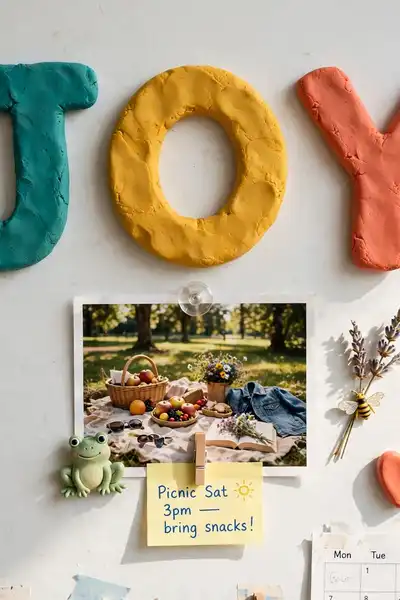
Time Needed: 20 minutes per letter | Difficulty: Easy | Tools: letter cutters or a knife | Result: initials and whole words on the door
Letters are the only design here that becomes a system: spell names, label each family member’s note zone, or leave one word messages that change with the week. Cut them thick, paint each a different color, and use one magnet per letter on longer words. Start with your initials; the set grows on its own.
Attaching Magnets So They Never Slide or Fall
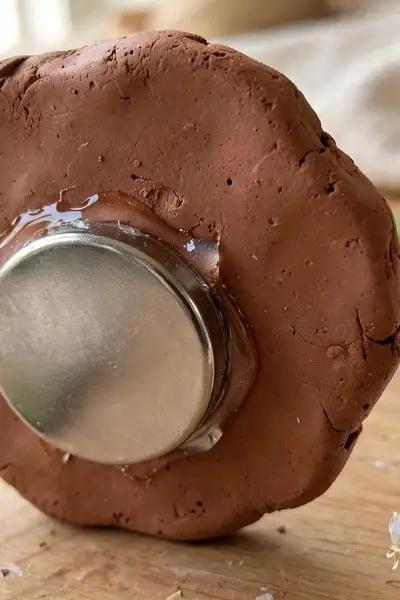
Every heartbreak in this craft is the same sound: a magnet sliding down the door at 2 a.m. because the magnet was weak or the glue gave up. The clay work gets the compliments, but this step decides whether the piece lives on the fridge for years.
Use a flat ceramic or neodymium magnet wide enough to cover the middle of the back, rough the clay lightly with sandpaper, and glue with a strong craft adhesive. Press for a full minute, then leave it untouched for 24 hours before the first door test. Patience here is the whole secret.
Frequently Asked Questions
1. How long do clay magnets take to dry before painting?
A quarter inch thick piece needs 24 to 48 hours at room temperature, flipped once halfway so the back dries too. Thick pieces like the donut can need a third day. Paint too early and moisture trapped inside lifts the paint from below within a week.
2. Which magnets are strong enough to hold notes and photos?
Flat round ceramic magnets, 18 to 25mm wide, hold several sheets happily. Neodymium discs of the same size hold even more and sit flatter. Avoid the thin flexible strip magnets sold for crafts; they are the number one reason homemade magnets slide down the door overnight.
3. Can these magnets hold a heavy photo or a thick card?
One magnet holds a standard photo or a few sheets of paper with ease. For thick card stock or a child’s heavy artwork, use a bigger design with a wider magnet, like the house or the book stack, or place two magnets behind one wide piece.
4. How do I clean a clay magnet without ruining the paint?
Wipe it with a barely damp cloth and dry it at once. Sealed pieces shrug off kitchen splashes, but soaking softens air dry clay under the paint, so never wash them in the sink or the dishwasher. A clear sealant coat is what makes gentle wiping safe.
5. Can kids make these magnets safely?
Yes, with an adult handling the strong glue and any knife work. Kids from about age 6 can roll, cut with cookie cutters, and paint faces happily. The ghost, donut, and strawberry are the best first three: simple shapes, bold colors, and faces that forgive wobbly brush lines.
6. Can I sell magnets like these at craft fairs?
Yes. These are classic shapes and traditional techniques, and pieces you make by hand are yours to sell. Faces and small details are where your own style shows, so develop two or three signature characters. Sets of five or six themed magnets usually sell better than singles.
Conclusion
A fridge door is a gallery you visit a dozen times a day, and now yours can make you smile every visit. One base method, honest drying times, strong magnets, and faces with real character turn simple air dry clay fridge magnets into the most loved decor in the kitchen. I’ve seen how small changes like these can completely shift a room’s mood. Save this guide on Pinterest for your next craft weekend, start with the ghost or the donut this Saturday, and share it with a friend whose fridge is still holding a takeaway menu. Your happiest wall starts with one magnet.