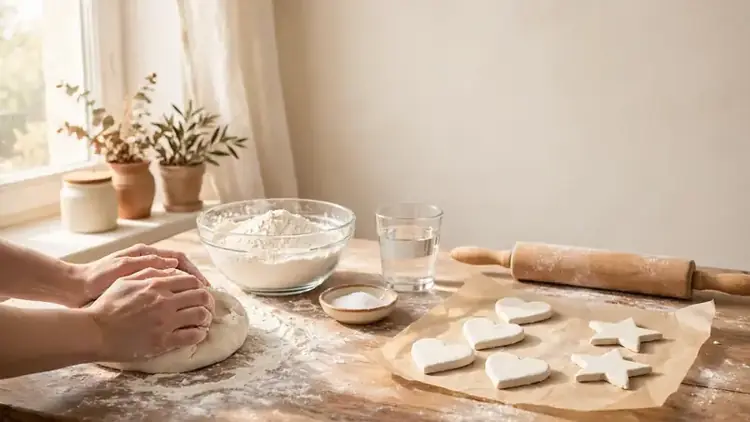
How to Dry Air Dry Clay Faster Without Cracking It
Your piece is shaped, you love it, and now it just sits there, damp, while your deadline walks closer. Every crafter knows that specific impatience. The good news is that learning how to dry air dry clay faster is mostly about evenness, not brute heat.
I’ve tried the impatient shortcuts, and the cracked ornaments taught me more than the successes did. This guide gives you the safe fast methods, fan, low oven, dehydrator, and silica gel, with real drying times by thickness and three simple tests that tell you when the core is truly dry.
Set up the rack today, and your next piece can be painted days sooner than you expect.
Why Fast Drying Cracks Clay: The Surface and Core Problem
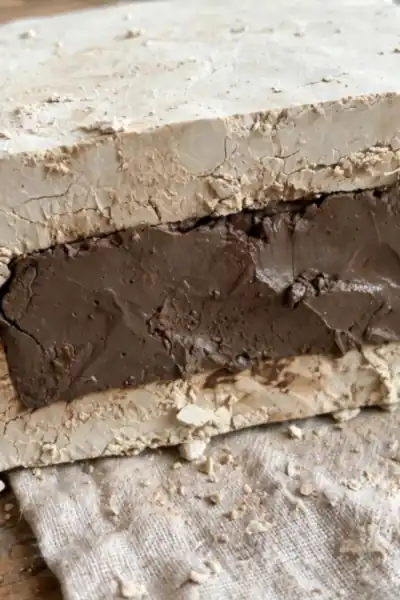
Air dry clay is mostly water held in a binder, and drying is that water escaping, layer by layer, from the outside in. The surface gives up its moisture first and starts shrinking almost at once, while the middle of the piece stays damp and full sized for hours longer.
Speed widens that gap. Learn how to dry air dry clay faster without feeding the gap, and most pieces survive happily. The real enemy is uneven drying, not fast drying, and every method in this guide works by moving air or gentle warmth evenly around the whole piece.
The One Rule That Makes Speed Safe: Even Thickness
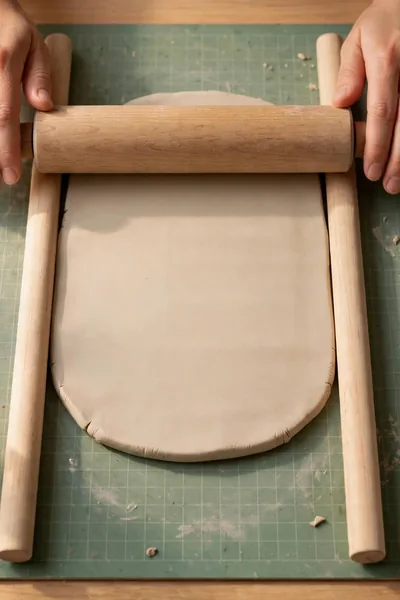
Thickness is the whole ballgame. A piece that measures the same everywhere shrinks as one unit, so it can handle a fan or a low oven. A piece with a thick base and thin walls is two drying clocks in one object, and no method can save it.
- Roll slabs with two guide sticks or stacked rulers under the rolling pin so the thickness stays even.
- Aim for a quarter inch on most pieces; go thinner for ornaments and dishes you want dry by tomorrow.
- Hollow out thick shapes or build them over a light foil core so no hidden lump stays wet.
- Press joins firmly and blend extra clay across seams so edges and centers dry together.
Also View: How to Keep Air Dry Clay From Ever Cracking It Again
Set Up a Drying Rack With Real Airflow
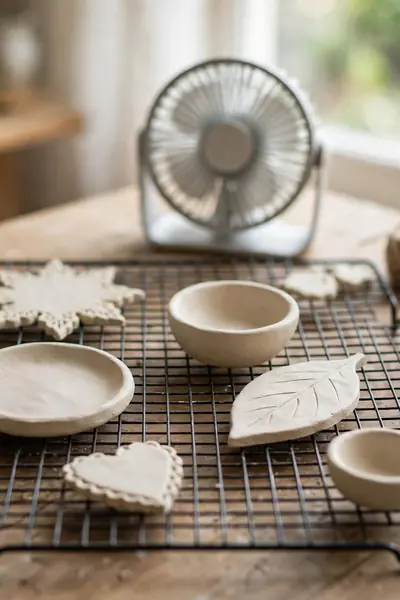
Quick Tip: Raise every piece off the table surface. A cooling rack, a mesh tray, or even two pencils under a flat piece lets air reach the underside, and that hidden side is where most slow drying and warping quietly begins.
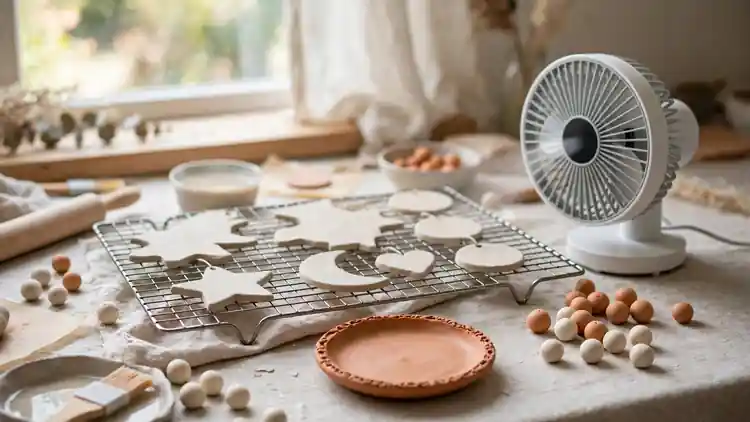
Build the rack before you shape anything, because wet clay cannot wait while you hunt for supplies. In my experience, a simple wire rack near a gentle air source cuts a full day off most pieces without any extra risk. Set pieces with space between them, never touching, and let the air do the work.
Use a Fan on Low: Distance, Speed, and Turning
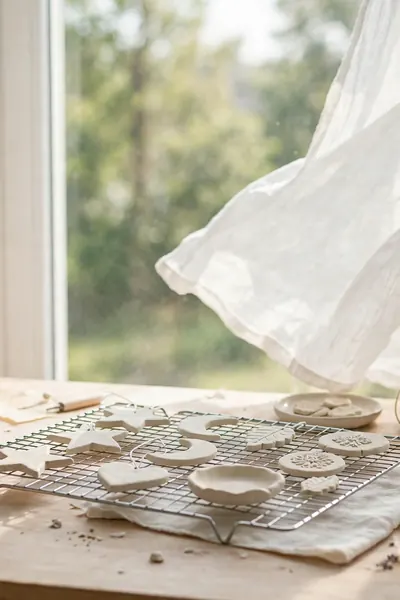
Common Mistake: Aiming a fan on its highest setting at one side of a piece from a few inches away. That side skins over and starts shrinking while the back stays wet, so edges curl and seams split.
The Fix: Set the fan on low, place it two to three feet away, and let it oscillate or angle across the whole rack. Turn each piece every few hours so every side shares the moving air equally.
A fan is the cheapest accelerator you own, because room temperature air simply carries surface moisture away so the core can follow at its own pace. Most quarter inch pieces dry overnight this way instead of taking two full days on a still table at home.
Dry Thin Pieces Flat and Flip Them on a Schedule

What You Need:
- A mesh sheet or parchment under every flat piece, so the underside is never sealed against the table.
- A phone timer, because flipping works on a schedule, not on remembering.
- Clean, dry hands or a wide flat spatula for lifting soft edges safely.
- A second tray ready, so each flipped piece has a dry landing spot.
A flat piece forgotten on a solid table dries from the top only, and the trapped moisture underneath is what curls the edges upward. Flip thin pieces every three to four hours on the first day and they dry flat, even, and ready to paint without any sanding rescue later.
Use the Oven on Its Lowest Heat, Door Ajar
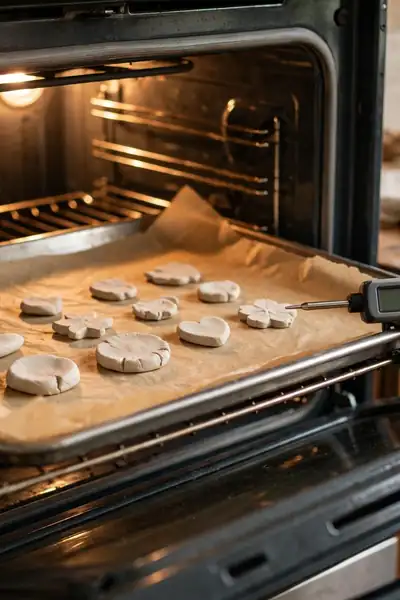
Before: Your piece needs three days on the counter, the gift deadline is tomorrow, and panic starts suggesting a hot oven and a prayer. That road ends with a cracked, scorched piece and a story you tell other crafters as a warning.
After: The same piece sits in gentle, even warmth with the door cracked open, moisture leaving steadily from every side at once. By evening it is dry through, uncracked, and cool enough to test before painting.
Let the pieces cool inside the oven with the door open, because moving a warm piece into cool room air shocks the surface. Use the lowest setting your oven offers, around 200°F (95°C) or lower, keep the door ajar the whole time, and never leave pieces in a hot oven unattended.
Use a Food Dehydrator for Small Pieces
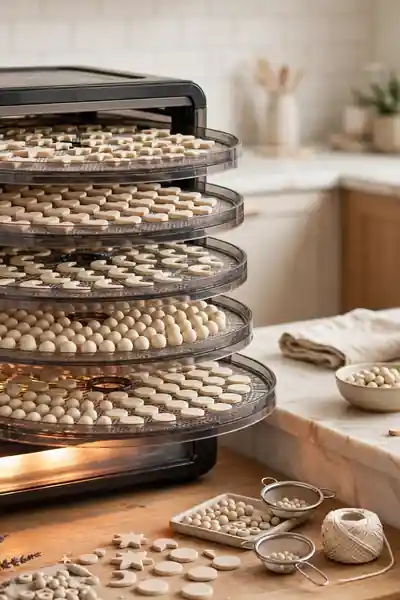
Do This:
- Run it on the lowest heat setting, around 95 to 115°F.
- Lay pieces in a single layer with space between them.
- Rotate the trays once halfway so top and bottom dry evenly.
- Save it for small, flat, or thin pieces that fit the trays.
Avoid This:
- Do not stack pieces on top of each other to fit more in.
- Do not use high heat settings meant for fruit leather or jerky.
- Do not put thick pieces in and expect the core to keep up.
- Do not use the same trays for food afterward without liners.
A dehydrator is really a warm fan in a box, which makes it the most controlled method on this list. Ornaments, beads, and small dishes often finish in three to six hours, and the enclosed trays keep dust and curious pets off your wet clay pieces.
Bury Small Pieces in Silica Gel or Dry Rice

Time Needed: 24 to 48 hours sealed | Skill Level: Beginner | Cost: Medium, and reusable | Best For: Beads, flowers, tiny detailed pieces
Silica gel pulls moisture out from every side, with no heat and no airflow to manage. Bury each piece fully in an airtight box, seal it, and leave it for a day or two. The gel can be dried out in a low oven and reused for years, which makes the purchase an easy one.
Use Sunlight Safely: Short Bursts, Never Midday Heat
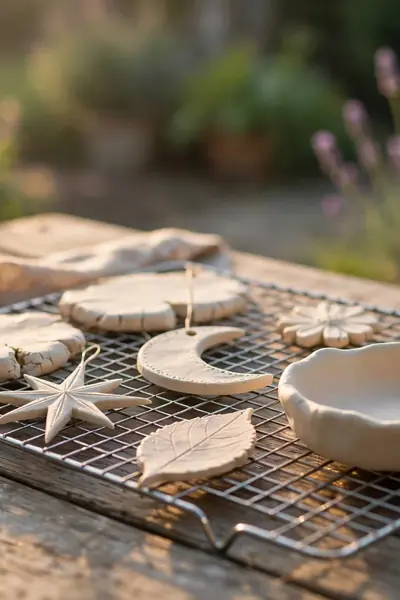
Sunlight is honest speed: gentle warmth plus moving outdoor air, and thin pieces can dry in a couple of hours on a bright morning. The danger is not the sun itself but the midday blast, which skins the surface and leaves the core wet, shrinking against a hard shell.
Set the rack out in morning or late afternoon light, keep pieces in bright shade or soft sun, and flip them every hour so both sides share the warmth. Bring thick pieces back inside before the heat peaks; the sun is a sprinter for thin work, not a marathon runner.
Match the Method to the Piece: Thick, Thin, Flat, and Joined
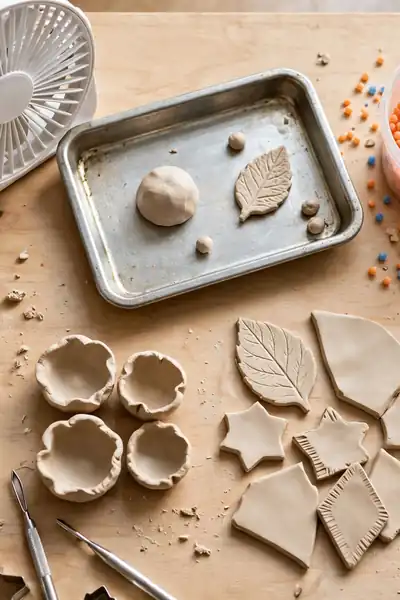
There is no single fastest method, only the fastest method for the piece in front of you. Thickness, joins, and your deadline decide it, and choosing on purpose takes ten seconds. Use this quick matching routine before you set anything up.
- Measure or honestly judge the thickest point of the piece first.
- Send thin, flat pieces to the fan or gentle sun, the two quickest safe routes.
- Send small, detailed pieces to silica gel or the dehydrator for even, gentle drying.
- Give thick or joined pieces a fan first, then a low oven finish once the surface firms.
- Work backward from any painting deadline, leaving a full cool down before paint.
Drying Times by Thickness: A Realistic Chart
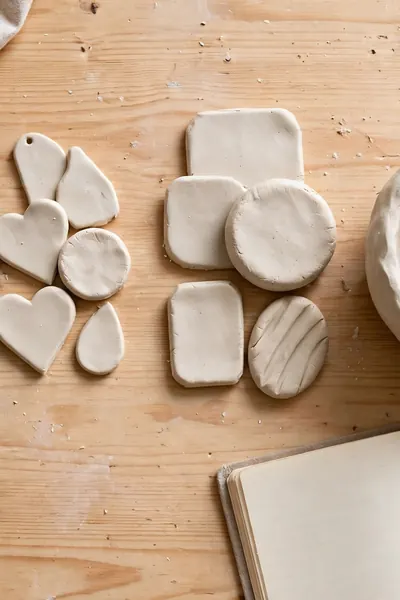
Under 1/8 Inch: Fan 4 to 6 hours | Gentle sun 2 to 3 hours | Dehydrator 2 to 4 hours
Quarter Inch: Fan 10 to 14 hours | Low oven 3 to 5 hours | Dehydrator 5 to 8 hours
Half Inch: Fan 24 to 36 hours | Low oven 6 to 9 hours in stages | Silica gel about 48 hours
One Inch and Over: Fan and air 3 to 5 days | Heat in stages only | Never rush the core
These times assume an ordinary room, around 70°F with moderate humidity, and a humid day can add a third again. Treat the chart as a planning guide, not a promise. Always confirm with the three tests in the next section before painting, because a damp core sealed under paint blisters the finish later.
How to Tell the Core Is Truly Dry: Three Tests
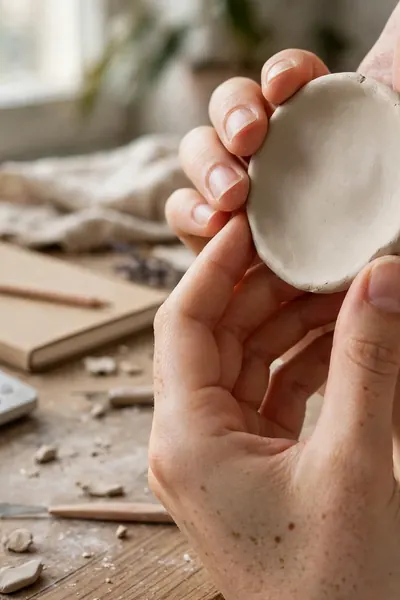
The surface lies. A piece can look and feel dry hours before its center is ready, and painting over a damp core is how good work blisters a week later. Run all three of these tests before you call any piece finished.
- Press the piece against your cheek or inner wrist; cool means moisture is still evaporating inside.
- Weigh the piece on a kitchen scale today and again tomorrow; the same weight twice means it is dry.
- Check the color all over; a uniform pale tone with no darker damp patch means the core has caught up.
- When any test disagrees with the others, give the piece twelve more hours and test again.
Speed Tricks That Backfire: Hair Dryer, Microwave, and Radiators
Do This:
- Use a hair dryer only on its cool setting, from a distance, as a spare fan.
- Warm the room a little instead of blasting the piece itself.
- Give thick cores the staged plan: air first, gentle heat second.
Avoid This:
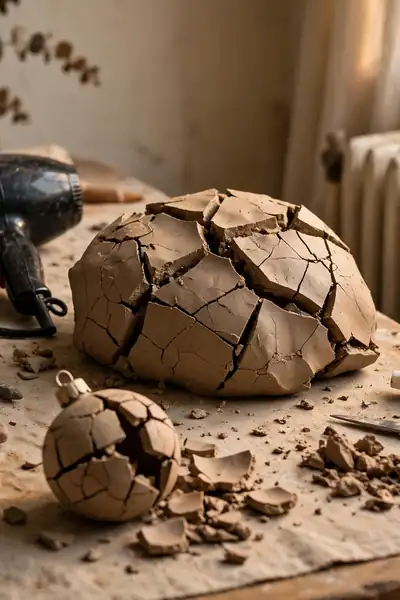
- Do not microwave clay; steam pockets form inside and pieces warp or split.
- Do not aim a hot hair dryer at one spot from close range.
- Do not rest pieces on or beside a radiator or space heater.
- Do not leave pieces baking in harsh midday sun to hurry them.
Every trick on the avoid list fails in the same way: it races the surface while the core lags behind, which is the exact gap that cracks clay. Speed is safe only when it stays even from start to finish, and these shortcuts are never even for long.
Mistakes That Waste the Time You Saved
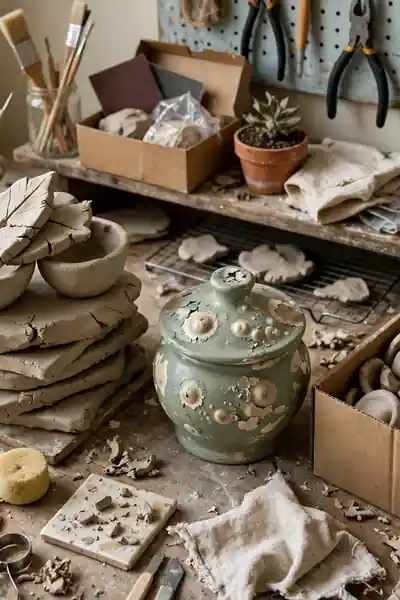
Most lost time is not slow drying; it is redoing work. Painting and sealing a piece that felt dry is the classic one, because trapped moisture lifts paint into blisters days later. Stacking pieces to save space and parking them in a steamy bathroom do the same damage quietly.
The other half is impatience at the finish line. I have seen makers skip the flipping schedule, judge dryness by a quick look, then rescue warped ornaments at midnight. Twelve honest hours with a fan beats three hours of repairs, every time, and the scale and cheek tests take one minute.
If a Crack Appears Anyway: The First Aid Step
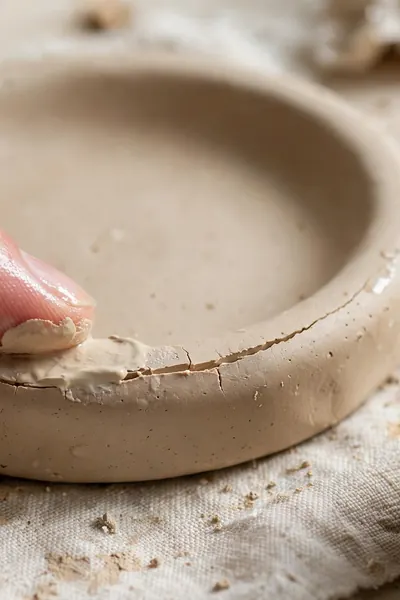
Quick Tip: A hairline crack caught while the piece is still slightly damp is a two minute save. Lightly dampen the crack edges, press in a little clay slip made from clay and water, smooth it level, then let that spot re-dry slowly under the fan.
Once a piece is fully dry, a deep crack becomes a repair job of filling, blending, and sometimes rejoining, which has its own guide on this site. Whatever you do, never rush-dry a repaired crack with heat. The patch shrinks faster than the body around it and the crack simply opens again.
Also Explore: How to Fix Cracked Air Dry Clay Like a Pro Potter Would
Working to a Deadline: A Same Day and Next Day Plan
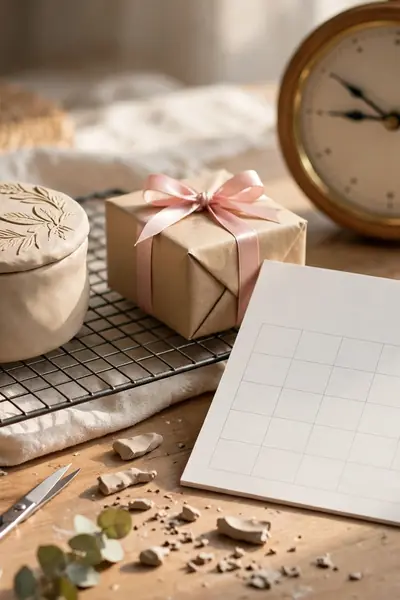
A gift needed tomorrow is completely doable, as long as the piece is planned thin and the day is scheduled backward from the wrapping, not forward from the making. Here is the plan that gets a small piece from wet clay to gift box in about thirty hours.
- Morning, day one: shape the piece at an eighth to a quarter inch thick and set it on the rack with the fan on low.
- Midday: flip and rotate every piece, check the edges, and move the rack if the room has cooled.
- Evening: finish in the low oven or dehydrator, then let everything cool completely where it sits.
- Next morning: run the three dryness tests, and only then paint, leaving real drying time between coats.
- Wrap only after the sealer has cured; a rushed wrap sticks to fresh finishes.
Frequently Asked Questions
1. Can I dry air dry clay in the microwave?
No. Microwaving builds steam pockets inside the clay, so pieces warp, blister, or split unevenly. A fan on a rack or a low oven gives you real speed without gambling the whole piece.
2. What is the fastest safe method for a thin ornament?
A fan on low over a wire rack, with one flip halfway through. Most thin ornaments dry fully in four to six hours this way, and gentle morning sun can shave that a little further.
3. Why did my piece crack even though I used a fan?
Usually the fan sat too close or ran on high, so one side dried far ahead of the other. Move it two to three feet back, keep it on low, and turn the pieces every few hours.
4. Can I paint a piece that feels dry on top?
Not yet. Run the three tests first: the cheek test, the scale test, and the color check. A cool feel or a darker patch means the core is still damp, and paint over it will blister later.
5. Does putting clay in the fridge help it dry faster?
No, cold air slows evaporation down. A cool, dry room with moving air dries pieces far better. Save the fridge for storing wrapped, unused clay so it stays soft for next time.
Conclusion
Drying is no longer the anxious part of clay work. You now know the one rule that makes speed safe, five ways to move moisture out evenly, and the tests that prove a core is dry. That is the secret behind how to dry air dry clay faster: evenness first, heat second.
I’ve seen how making this one change, drying evenly instead of quickly at any cost, can completely shift the result. Save this guide on Pinterest, try the fan plan on a small piece this week, and share it with a crafter friend who is waiting three days for every ornament. Your next piece is hours away, not days.