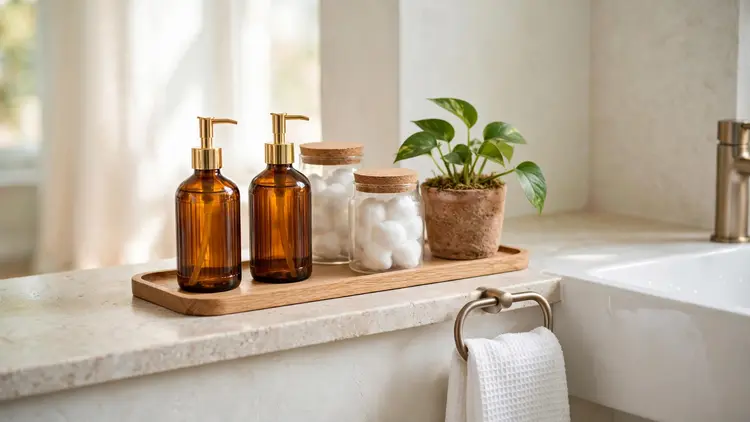
22 Sleek Small Bathroom Countertop Decor Ideas to Try
Your bathroom counter is not too small. It is just holding everything at the same height, in the same row, with no plan. I’ve noticed that most small bathroom countertop decor fails for that one reason, not because the space is hopeless.
This guide fixes the layout first, then styles it: simple zones, one slim tray, smart vertical storage, and 22 ideas you can copy one at a time. Most cost nothing, and the whole counter can be done for under $25.
Start with the clear out, pick three ideas for this weekend, and watch the smallest room in your home start to feel like the calmest.
Why a Small Counter Needs Zones, Not More Stuff
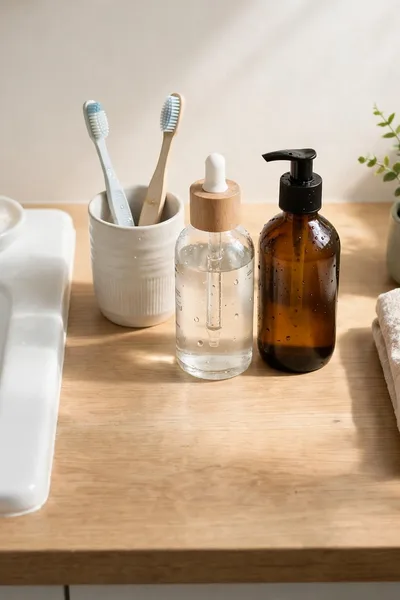
A small bathroom counter holds six things before it starts looking like a storage shelf. Toothbrush, soap, two bottles, a cup, and there is no clear space left to set anything down. That crowding is the problem with small bathroom countertop decor: every piece fights for the same few inches.
Think of the counter in three zones instead. The wet zone hugs the sink and holds only soap and the toothbrush cup. The daily zone holds the bottles you reach for every morning. The last corner is the display zone, the only place decor belongs.
Clear It First: What Stays and What Moves Off
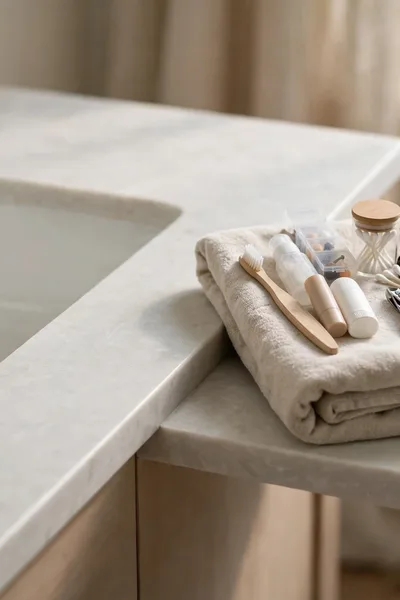
In my experience, styling never fixes a counter that is holding three weeks of extras. Clear first, style second, and the styling suddenly takes ten minutes instead of an hour. Everything comes off, the surface gets wiped, and only what you truly use every day earns its way back on.
- Take every single item off the counter and set it on a bath towel.
- Sort the items into three piles: daily use, weekly use, and rarely used or empty.
- Put the weekly pile into a drawer or cabinet, and recycle empties and expired products.
- Wipe the whole counter dry, including behind the faucet where grime collects.
- Set back only the daily pile, grouped loosely where each item gets used.
Also View: 22 Elegant Bathroom Tray Decor Ideas for a Spa Feel
Corral Daily Essentials on One Slim Tray
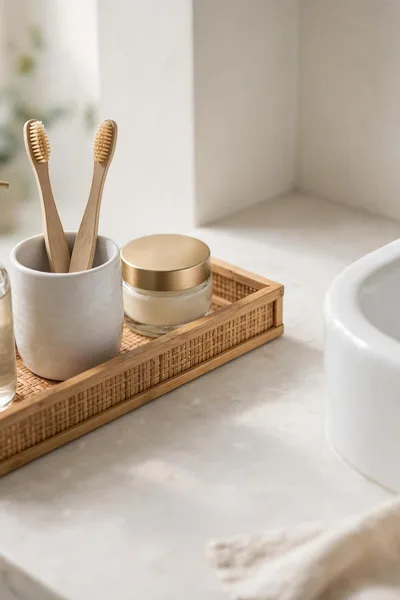
Quick Tip: Measure before you buy. A tray for a small counter should be no deeper than a third of the counter depth, with a low rim that keeps bottles upright without hiding their labels. Leave a hand width of clear space in front of it.
The tray works because your eye reads grouped items as one object instead of five separate ones. Soap, toothbrush cup, and daily cream stop looking scattered and start looking placed. Cleaning gets easier too, since you lift one tray and wipe under it in seconds. Pick a washable material, because this spot gets splashed daily.
Swap Pump Bottles for a Matched Dispenser Set
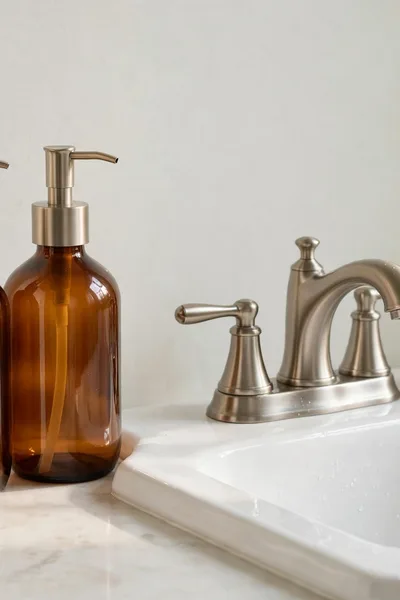
Common Mistake: Keeping the original plastic bottles because each one is almost empty. A tall blue shampoo shaped bottle beside a short pink lotion and a supermarket soap pump gives the counter three clashing colors and three heights, and no styling survives that.
The Fix: Decant soap and lotion into a matched pair of dispensers with the same finish as your faucet. Refill them from the big bottles stored under the sink, so the counter only ever shows the pair.
A matched set is the fastest single upgrade on this whole list, because the sink area is where every eye lands first. In my experience, guests read a coordinated pair as a styled bathroom even when nothing else has changed yet. Choose glass or sturdy plastic in one finish and stop there.
Decant Cotton and Swabs Into Clear Glass Jars
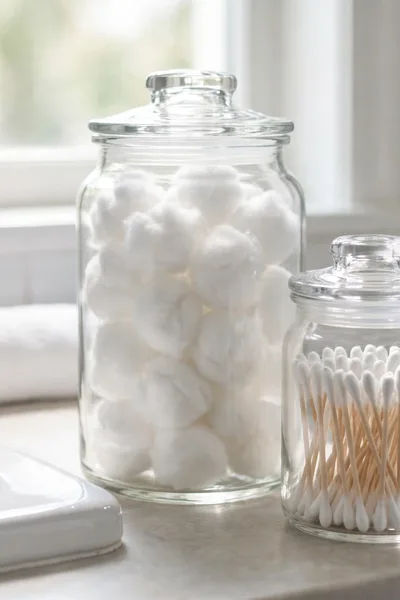
What You Need:
- Two clear glass jars with lids, one tall and one short.
- Cotton balls for the tall jar, the classic bathroom staple.
- Cotton swabs for the short jar, stood upright for easy grabbing.
- A small spot in the daily zone where both jars sit together.
Glass works because you can see the level at a glance and the contents themselves look tidy, like a hotel counter. Keep the jars small, since oversized jars invite you to store extras on the counter again. Wash them during the weekly clean so the glass stays clear.
Hide the Mess in a Lidded Box
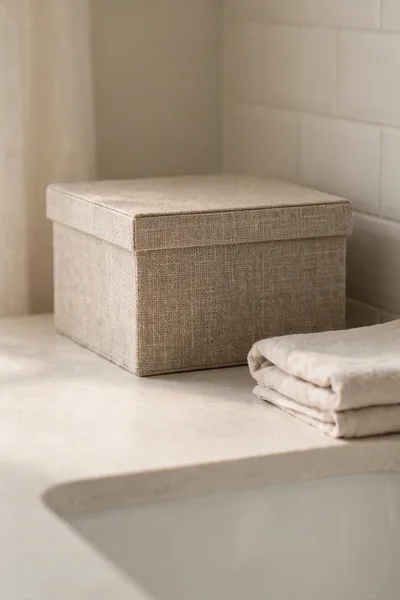
Before: Loose bits cover the daily zone: spare razor heads, hair ties, a nail clipper, and a half used tube, none of it ugly alone and all of it messy together.
After: One lidded box in a soft neutral holds every bit out of sight. The lid closes, the counter reads calm, and the box itself looks like a decor piece.
Size the box to its contents, not to the counter, because a too big box becomes the new junk drawer. A washable finish matters here, since boxes near sinks collect splashes and toothpaste spots. Keep only this week’s bits inside and move the overflow to a cabinet.
Also Explore: 23 Clutter-Free Bathroom Organization Ideas That Work
Tuck Hair Tools Into a Narrow Basket
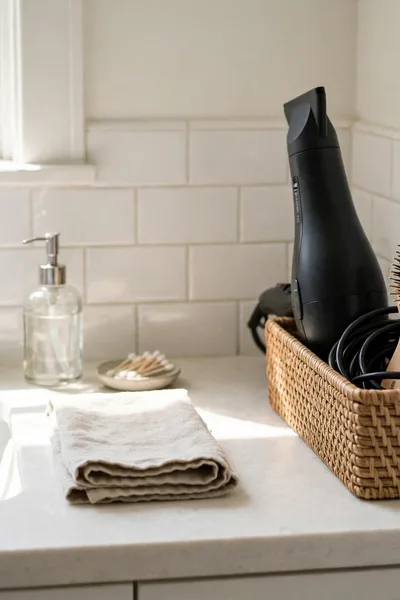
Do This:
- Stand the dryer upright in the basket so its cord coils beside it.
- Keep the basket at the far end of the counter, away from sink splashes.
- Let heat tools cool fully before they go back in.
- Give the basket a washable liner or choose woven plastic for steam rooms.
Avoid This:
- Do not drape the cord across the sink or into the basin.
- Do not store tools while they are still warm.
- Do not overfill the basket until it tips when you pull one item.
- Do not park the basket where the door swing knocks it.
A narrow basket turns the bulkiest items in the bathroom into one contained shape, and contained shapes are what make small counters feel styled. Match its color to your towels and it reads as decor instead of storage. Empty it once a month and shake out the dust and hair.
Keep Makeup in One Pretty Container
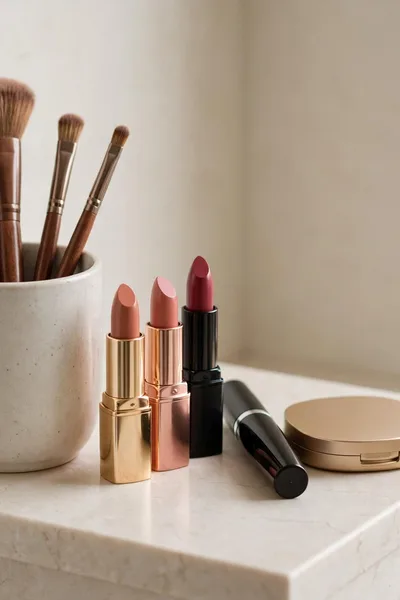
Time Needed: 5 minutes | Difficulty: Easy | Cost: Low | Best For: Daily makeup basics
One container sets a hard limit, and the limit is the point: when the cup is full, something moves back to the drawer. Keep only what you wear on a normal weekday here. Brushes stand upright, lids stay on, and a weekly rinse keeps powder dust from building up inside.
Lift Bottles Up Onto a Two Tier Stand
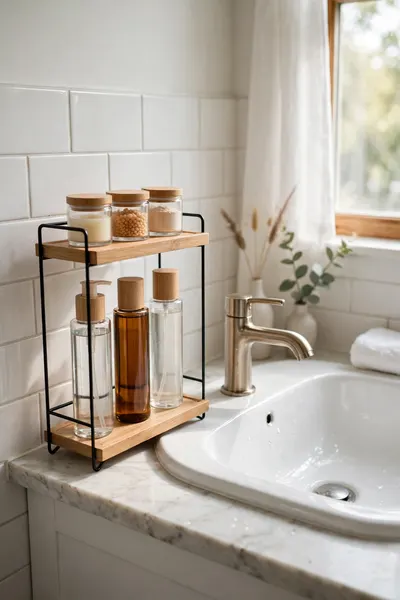
Counters run out of width long before they run out of height. A two tier stand uses the empty air above your bottles, holding six or eight items on the footprint of one. It is the single best answer when the daily pile will not shrink any further.
Put tall and heavy bottles on the bottom tier where the stand is steadiest, and small daily pieces on top within easy reach. Leave the front edge of each tier clear so labels stay visible and nothing hides. A quick wipe catches drips before they reach the counter.
Add a Floating Shelf Above the Counter
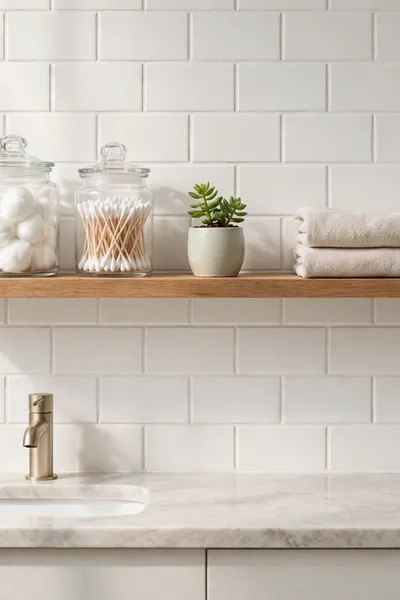
The wall above a small counter is free storage that most people never use. A slim floating shelf takes jars, the plant, and spare towels off the surface, and the counter below suddenly has room to breathe. It is also the best renter friendly upgrade when you choose adhesive strips.
- Measure the wall space and choose a shelf no deeper than five inches.
- Mark a level line at a height you can reach without stretching.
- Fix the shelf into studs, or use heavy duty adhesive strips if you rent.
- Load light items only: jars, a small plant, folded spare towels.
- Leave the shelf front edge clear so nothing can be knocked into the sink.
Use the Slim Ledge Behind the Faucet
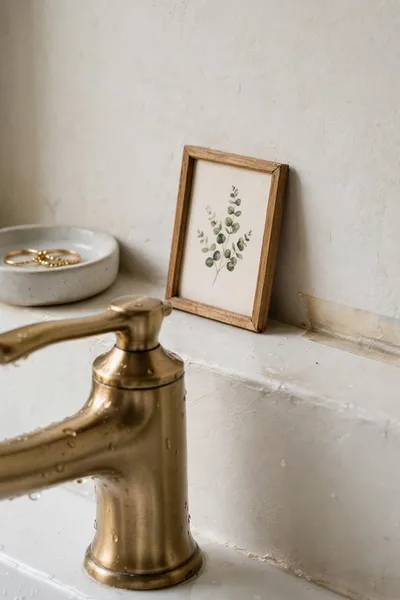
Quick Tip: The ledge behind most faucets is two to four inches deep, enough for flat backed pieces only. Test any item there for a day before trusting it, because one knocked bottle lands straight in the sink.
Style the ledge with things that forgive splashes: a small ring dish, the soap dish, or a tiny framed print in a sealed frame. Keep the middle behind the faucet empty so the tap still turns freely. Wipe the ledge weekly, since it collects more water than any other spot.
Hang a Towel Ring Beside the Sink

Common Mistake: Draping the hand towel over the faucet or the counter edge. It stays damp, slides off twice a day, and reads as mess no matter how nice the towel is.
The Fix: Mount a towel ring on the wall or cabinet side at hand height beside the sink. Fold the towel in thirds lengthways and thread it through, and it hangs neat, dries between uses, and stays put.
A ring also gives the towel a designed place, which quietly raises the whole counter’s look. Match the ring finish to your faucet so the two read as a pair. Swap in a fresh towel twice a week, because a styled ring cannot rescue a tired towel.
Move Towels Onto Wall Hooks

What You Need:
- Two or three sturdy hooks, adhesive backed if you rent.
- A tape measure and pencil for even spacing.
- Guest towels that match your color theme.
- Wall space beside the mirror or behind the door.
Hooks move towels off the counter and onto the wall, where they dry faster and look like part of the styling. Space them a towel’s width apart so fabric hangs without bunching. Keep one hook free for a robe or a guest, and the wall starts working as hard as the counter.
Set One Small Plant Where Steam Helps It

Before: The corner farthest from the sink sits empty and a bit stark, all hard surfaces and shiny fixtures, and the counter feels more like a wash station than a styled space.
After: A small pothos in a plain pot softens the corner, its leaves spilling toward the light, and the whole counter feels calmer and more finished.
Choose plants that enjoy steam: pothos, small ferns, and air plants all forgive bathroom humidity and low light. Keep the pot small enough to lift with one hand for cleaning days. Water over the sink, let it drain fully, and no ring marks will ever reach the counter.
Prop a Small Framed Mirror by the Sink
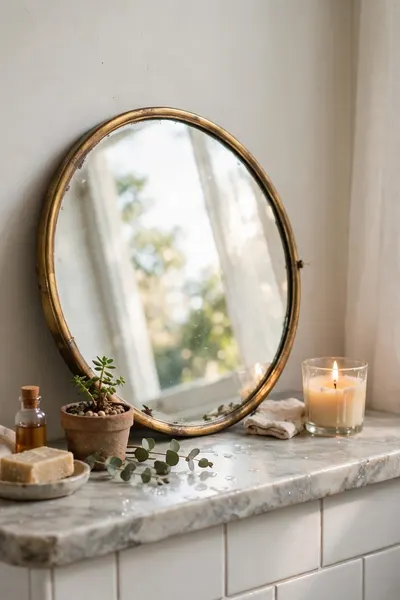
Do This:
- Lean a small round or arched mirror against the wall in the display corner.
- Anchor it with museum putty so a bump cannot slide it.
- Angle it to catch window light and bounce it across the counter.
- Keep the glass in your weekly wipe round so it stays clear.
Avoid This:
- Do not block the outlet or the faucet swing with the frame.
- Do not lean anything tall where elbows fly during rushed mornings.
- Do not pick a mirror so large it crowds out the daily zone.
A small mirror earns its inches twice over: it bounces light into a room that often has none, and it makes the counter feel deeper than it is. Choose a frame finish that repeats your metal or your theme color. It is styling and function in one piece.
Group Perfume Bottles on a Tiny Dish
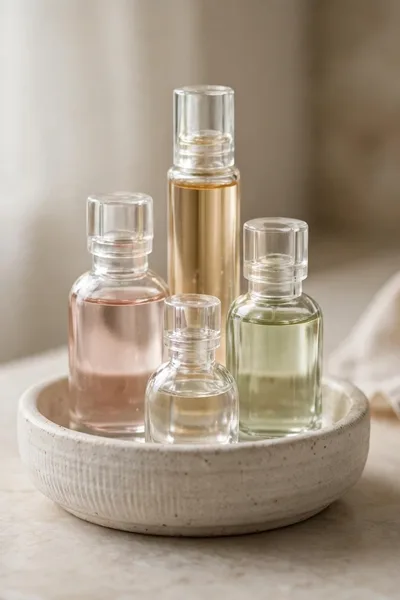
Time Needed: 5 minutes | Difficulty: Easy | Cost: Low | Best For: Bottles too pretty to hide
Grouping is what turns products into decor: three to five bottles on one tiny dish read as a display, while the same bottles spread loose read as clutter. Stand the tallest at the back and keep everyday scents in front. Keep the dish out of direct sun, which fades fragrance fast.
Place a Candle on a Heat Safe Dish
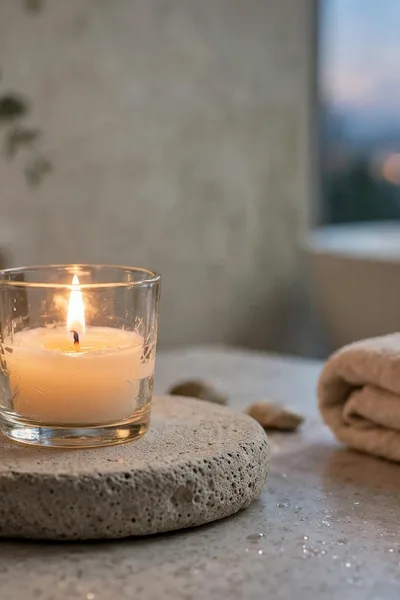
A candle is the hardest working decor piece a small counter can hold, because it adds scent, warm light, and a styled shape in about three inches of space. Set it on a small heat safe dish and it also protects the surface from wax and heat marks.
Keep the wick trimmed and the candle away from towels, curtains, and anything that flutters. Never leave it burning while you are out of the room, and blow it out before the wax pool reaches the dish edge. A small votive suits a small counter better than a tall pillar.
Choose a Draining Stone Soap Dish

Bar soap sitting in its own puddle makes the wet zone look dirty and wears the bar down to a soft mess. A draining dish fixes both problems at once, and it is one of the cheapest upgrades on this list. Here is how to pick and place one.
- Choose stone, ceramic, or bamboo with raised ridges or slots for drainage.
- Place it on the faucet side of the sink, inside the wet zone.
- Tip the bar dry side up so the ridges keep it out of pooled water.
- Rinse the dish once a week so soap film never builds up.
- Keep a spare bar in the lidded box, not beside the dish.
Match the Toothbrush Holder to the Set
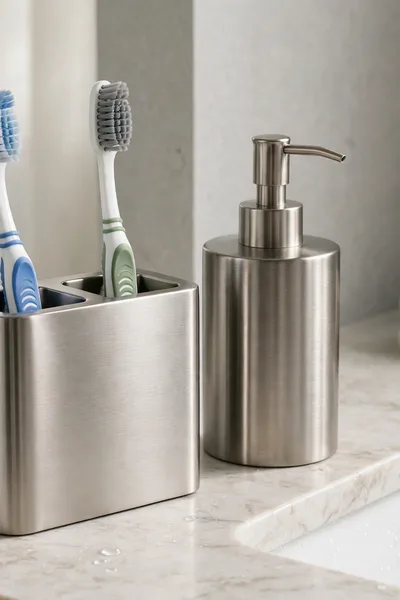
Quick Tip: Buy the holder in the same finish and material as your dispenser set, and the sink area instantly reads as one planned set. A wide mouth matters more than looks, because narrow holders are hard to clean.
The toothbrush holder is the most touched item on the counter, so it should be the easiest to wash, not the prettiest to photograph. Slots that keep brushes apart dry faster and stay cleaner. Give it a hot soapy wash every week, and swap it the moment cracks appear.
Raise One Piece on a Small Stool or Riser

Common Mistake: Lining every item up in one flat row at the same height. The row reads like a shop shelf, and the eye slides straight off it without seeing anything styled.
The Fix: Raise one piece, usually the plant or the candle, on a small wooden stool or riser. The height change breaks the row into a display with a high point and a low point.
Stylists call this the skyline trick, and it works at any budget because the riser can be a thrifted stool or a small upturned crate. Keep the footprint tiny and the base stable, since tall pieces near sinks get bumped. One raised piece is enough; two start to crowd.
Stick to One Metal Finish Everywhere

What You Need:
- Your faucet finish as the starting point, chrome, black, or brushed metal.
- Dispenser pumps that match that finish.
- A towel ring and hooks in the same finish family.
- Container lids and jar tops in one matching tone.
- A mirror frame that repeats the finish once more.
One finish repeated three or more times stops looking like an accident and starts looking like a plan. In my experience this is the detail that separates styled counters from collected ones in photos. If replacing everything is too much, start with the pumps and the ring, the two spots nearest the faucet.
Build One Simple Theme and Repeat It
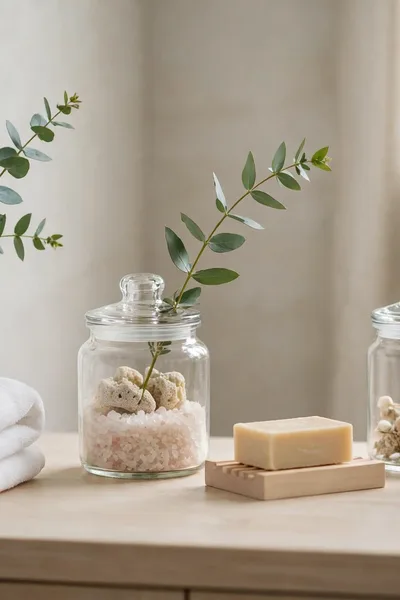
Before: The counter holds a beach shell from one trip, a black modern jar, a floral towel, and a brass candle, each nice alone and all of them arguing with each other.
After: One spa theme runs through white towels, pale wood, clear glass, and a green stem, repeated in three spots, and the counter finally looks like one idea.
Pick the theme from things you already own, so the counter costs little to pull together. Repeat the theme’s main color or texture three times, no more, and hold every new purchase against it before it earns a spot. Off theme pieces move to another room, not the drawer of shame.
Edit Down to Three Display Objects
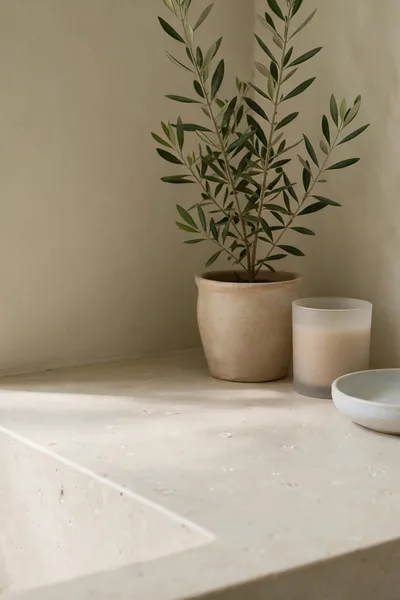
Do This:
- Choose three display objects for the display zone, and only three.
- Pick them by size: one tall, one medium, one low.
- Store the spare decor pieces and rotate them monthly.
- Photograph the counter to check how the trio reads.
Avoid This:
- Do not count daily essentials as part of the three.
- Do not refill every cleared inch the same week.
- Do not keep a piece just because it was a gift.
Empty space is not wasted space on a small counter; it is what lets the three chosen pieces be seen at all. I have noticed readers relax about styling once they accept that the clear part is doing a job too. Trust the gaps, and the counter stays calm.
Swap One Seasonal Accent Each Season

Time Needed: 5 minutes | Difficulty: Easy | Cost: Low | Best For: A fresh feel each season
One small swap, a rust colored towel in autumn or a pale stem in spring, makes the whole counter feel newly styled for almost no money. Keep off season pieces inside the lidded box so the swap takes a minute. Resist adding a second seasonal piece; one accent carries the season alone.
Tips From Styling Many Small Counters
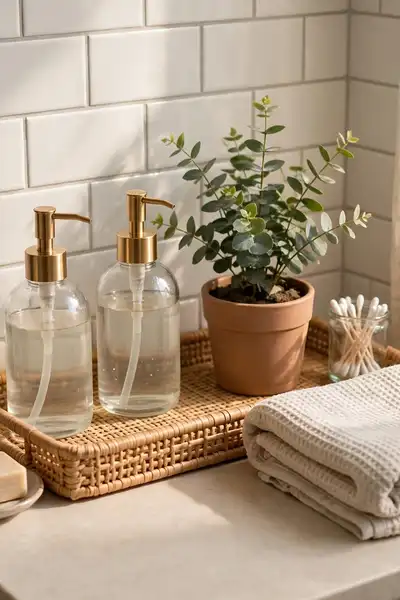
Styled counters stay styled because of small habits, not big cleanouts. Wipe the surface every night while the kettle boils, put each item back in its zone, and the morning starts with a clear counter. Thirty seconds daily beats an hour of weekend rescuing.
Shop your own home before you buy anything, since a spare dish or jar from the kitchen often fits the counter perfectly. When you do buy, replace a piece instead of adding one, so the count on the counter never grows. That single rule keeps small counters styled for good.
Mistakes That Make a Small Counter Look Smaller

Most small counters look smaller than they are because of the same five traps, and every one of them is easy to reverse. I have seen each of these in real bathrooms and in reader photos. Work through the list and check your own counter against it.
- Too many pieces: if the display zone holds more than three objects, remove one today.
- Wrong scale: swap any decor piece wider than a third of the counter for a slimmer one.
- Wet surfaces: dry the counter after the morning rush, because water spots read as dirt in photos.
- Mixed finishes: pick one metal finish and retire the odd one out to another room.
- No light: add the small mirror or move the candle where its glow shows in the evening.
Style the Whole Counter for Under $25
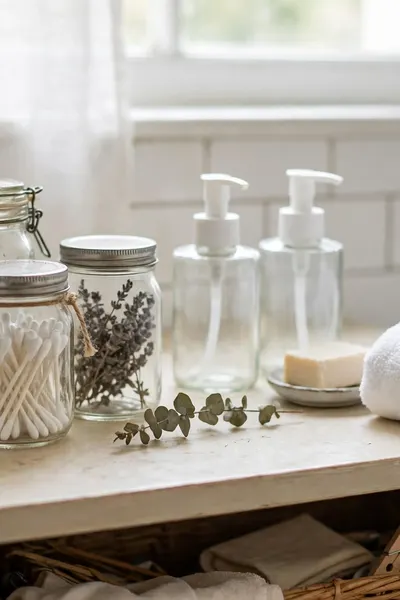
Quick Tip: Spend the budget on the two things eyes land on first, the dispenser set and the hand towel, and thrift everything else. Jars, dishes, and small trays turn up in charity shops every week for coins.
A real under $25 split looks like this: five on thrifted jars and a tray, ten on a simple matching dispenser set, five on a fresh towel, and a plant cutting from a friend for free. Nothing needs to be new except the towel. The counter will not look cheap; it will look chosen.
Frequently Asked Questions
1. How much clear space should a small bathroom counter keep?
Leave at least the area around the sink completely clear, roughly a hand width on each side, plus one landing spot for a phone or a glass. If you cannot set a cup down without moving decor, the counter is overfilled.
2. What if I rent and cannot drill into the walls?
Use heavy duty adhesive hooks and shelves, suction pieces on tile, and lean instead of mounting wherever you can. Every idea in this list has a no drill version, and adhesive strips remove cleanly when you move out.
3. How do I style a pedestal sink with almost no counter at all?
Go vertical: the ledge behind the faucet, a slim wall shelf, and hooks carry the whole look. Keep the sink rim itself nearly empty, with just the soap dish and one tiny plant or candle on the ledge.
4. How often should I refresh the styling?
Wipe and reset daily in under a minute, review the zones once a month, and make one seasonal swap four times a year. Small counters rarely need a redo; they need the reset habit.
5. Can a styled counter still work for a busy family morning?
Yes, if the daily zone stays honest: tray, dispenser, and toothbrush holder are the whole routine for most people. Decor lives only in the display corner, so nothing pretty ever blocks toothpaste at 7 a.m.
Conclusion
A small counter was never the problem. The problem was everything fighting for the same few inches with no zones and no limits. Now you have 22 ways to style small bathroom countertop decor so it looks calm on a busy morning, not just in a photo.
I’ve seen how small changes like these can completely shift the result, especially the tray and the one finish rule. Save this guide on Pinterest so it is there on styling day, try two or three ideas this weekend, and share it with a friend whose tiny bathroom deserves the same calm. Your counter is small, and now it is styled on purpose.





One Comment