
Moisturizing Oatmeal Honey Soap for Dry Winter Skin
By January, your hands are tight, itchy, and cracking at the knuckles, and every wash with a harsh bar makes it worse. This gentle oatmeal honey soap is the bar I reach for instead: soft, creamy, and kind to skin that winter has already worn thin.
I’ve noticed that most people assume a bar this gentle needs lye, gloves, and weeks of curing. It does not. With a ready melt and pour base, you will melt, stir in honey and oats, and pour bars that are ready to use the same day, plus learn the grinding, storage, and variation tricks that keep every batch soft and sweet.
Why Oatmeal and Honey Belong in a Winter Bar
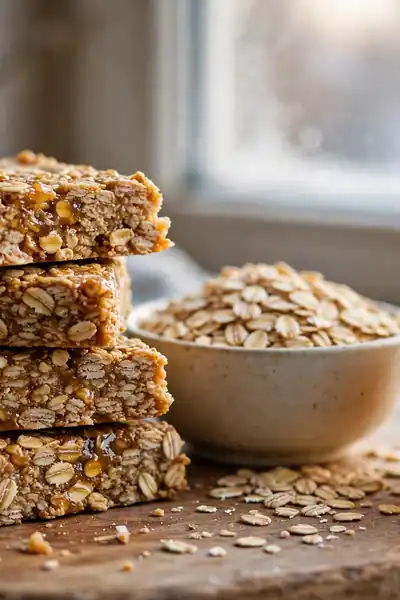
A good oatmeal honey soap does two jobs in one bar: it cleans without stripping, and it leaves skin feeling calm instead of tight. Winter is exactly when that balance matters, because cold air outside and heated air inside pull moisture from skin all day long.
Oatmeal brings the texture: finely ground oats give a soft, cushiony lather and a very gentle polish, while tiny oat particles rest on the skin’s surface and help it feel soothed. Honey works differently. It is a natural humectant, which means it attracts water and helps hold it against the skin while you wash.
Why Melt and Pour Is the Smart First Soap
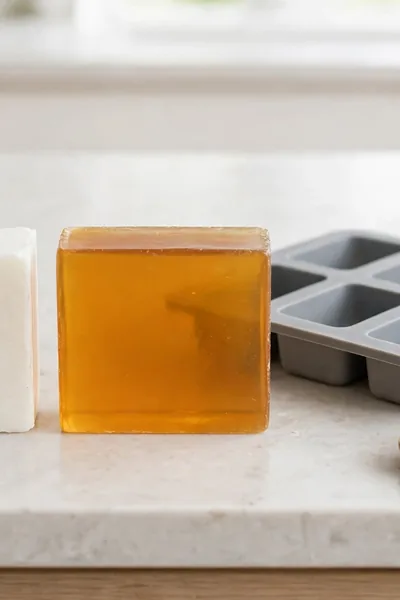
Traditional cold process soap making starts with lye, a caustic chemical that demands goggles, precise math, and a 4 to 6 week cure. Melt and pour skips all of that, because the lye step is already finished inside the base you buy, safely and correctly, before it reaches your kitchen.
- Buy a ready soap base that has already been made with lye under controlled conditions.
- Melt it gently, stir in your oatmeal and honey, and pour it into a mold, no protective gear beyond normal kitchen care.
- Let the bars set for a few hours, then unmold and use them the same day, with no curing shelf and no waiting weeks.
- Graduate to cold process later if the hobby takes hold, bringing your confidence, your molds, and your feel for scents with you.
Also View: DIY Coffee Sugar Scrub for Silky Smooth Glowing Skin
What You Need: Base, Oats, Honey, and a Mold

Quick Tip: Buy the base and the honey for the skin, not for the label. A goat milk or shea butter base already brings creaminess, and raw honey keeps its gentle character better than the ultra clear processed kind. Everything else on this list is basic kitchen gear, so check your drawers before you spend anything.
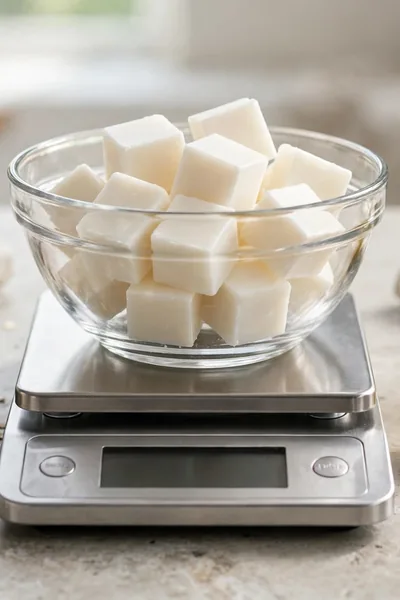
You need one pound of melt and pour soap base, two tablespoons of rolled oats to grind, one tablespoon of raw honey, a four cavity silicone loaf or bar mold, a heat safe jug, a kitchen scale, a spoon for stirring, and a fine toothpick for bubble popping later.
The Recipe Card: Exact Amounts for One Pound of Base
What You Need:
- 1 pound (16 oz) melt and pour soap base: goat milk for a creamier lather, or shea butter for a richer, softer feel.
- 2 tablespoons rolled oats, ground fine as the next section explains, and measured after grinding so the amount is true.
- 1 tablespoon raw honey, level rather than heaped, because extra honey softens the finished bar.
- Up to 1 teaspoon skin safe fragrance oil or essential oil, optional, only if you want more scent than the honey gives.
- 1 teaspoon sweet almond oil or vitamin E oil, optional, for an extra soft feel on very dry skin.
Weigh everything before you melt a single cube, because melted base waits for no one and starts setting within minutes. Once the jug is on the heat, there is no calm moment to hunt for the honey or guess at a tablespoon. A prepared counter is the real first step of this recipe.
Grinding the Oats: Fine, Coarse, or Colloidal
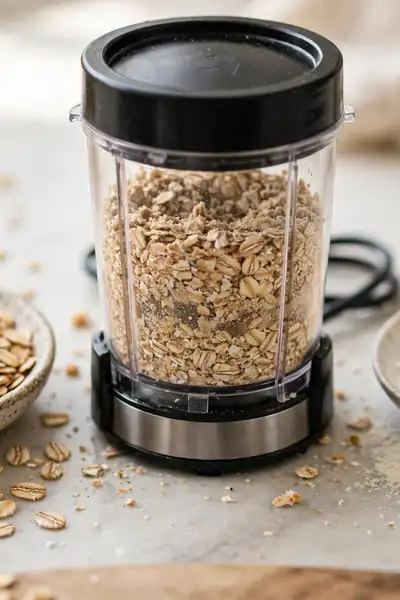
Common Mistake: Tipping oats straight from the packet into the base. Whole and half flakes stay rough in the finished bar, and what should feel like a gentle polish ends up scratching winter skin that is already sore, especially across the backs of hands and around cracked knuckles.
The Fix: Grind the oats first. A blender, spice grinder, or food processor turns rolled oats into a soft powder in under a minute, and that powder stirs through the base smoothly, giving gentle texture without a single sharp edge in the bar.
Choose your grind by the skin using the bar. Powder fine oats suit faces, children, and anyone whose winter skin cracks easily. A slightly coarser grind, like coarse sand, suits working hands that want a gentle scrub. One batch can even split both ways, poured into separate molds.
Step by Step: Melt, Cool, Stir, Pour

The whole make takes about twenty minutes of calm, simple moves: melt, cool, stir, pour. Nothing here needs special skill, only patience at two moments, letting the base cool before the honey goes in, and letting it thicken slightly before the oats, so both stay exactly where they belong.
- Cut the base into small cubes, melt in a heat safe jug in the microwave in 30 second bursts, stirring between each, until fully liquid with no lumps.
- Let the melted base cool for 3 to 5 minutes, until it reaches about 120 to 130°F, warm and pourable but no longer steaming.
- Stir in the honey and the optional oil and fragrance, mixing slowly so you do not whip air bubbles into the base.
- Wait until the base thickens slightly and coats the spoon, then stir in the ground oats so they stay suspended through the bar.
- Pour into the mold, tap the mold gently on the counter, and run a toothpick across the surface to pop any bubbles.
Keeping the Oats Suspended, Not Sunk
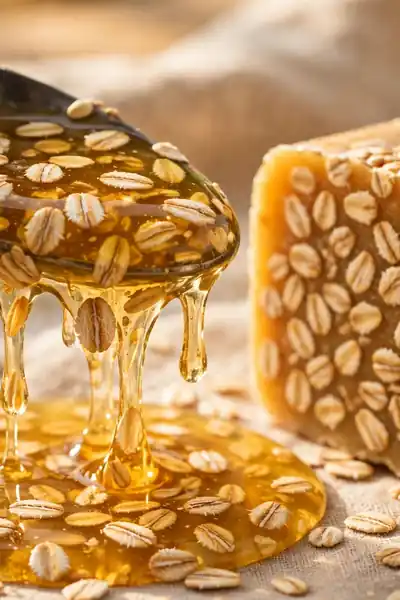
Do This:
- Add the oats only when the base has cooled enough to coat the back of a spoon.
- Stir slowly and steadily for a full minute, scraping the bottom of the jug where oats gather.
- Pour in one smooth go, so the oats stay mixed evenly from the first cavity to the last.
Avoid This:
- Pour the oats into piping hot, watery base, where every flake sinks straight to the mold floor.
- Keep reheating the base to make it thinner, since each reheat pushes more oats down.
- Rush the pour and top up cavities later, which leaves one oat heavy layer at the bottom.
In my experience, temperature is the whole trick here, not timing tricks or extra ingredients. A base that feels like warm honey itself holds oats beautifully; a base like water cannot hold anything. Trust the spoon coating test over the clock, because every kitchen and every base cools at its own pace.
Unmolding, Cutting, and the First Wash

Setting Time: 2 to 4 hours at room temperature, or about 1 hour in the fridge | Hands-On Time: 20 minutes | Cure Needed: None | Ready to Use: The same day
Set the mold on a level surface and leave it completely alone while it firms; moving it early wrinkles the tops. A loaf slices cleanest with a smooth, non serrated knife warmed under hot water and wiped dry, giving straight edges and flat faces that look shop bought on the shelf.
Tips From Many Winter Batches
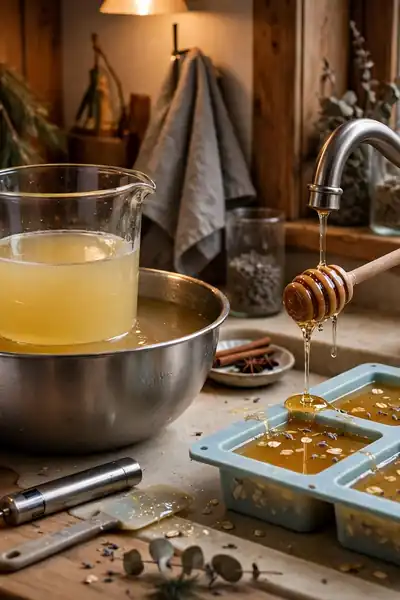
Cold base is the enemy of this recipe. If the jug sits too long while you answer the door, the surface skins over and the pour turns lumpy, so work in a warm kitchen and keep everything within reach. A jug of hot water nearby rescues a thickening base fast.
Warm the honey spoon under the tap before measuring, and the honey slides off cleanly instead of half staying on the metal. I’ve noticed the bars also smell better when the fragrance rests a day before the first wash, so make gift batches at least two days ahead of giving.
Mistakes That Make Soap Soft, Dark, or Soggy
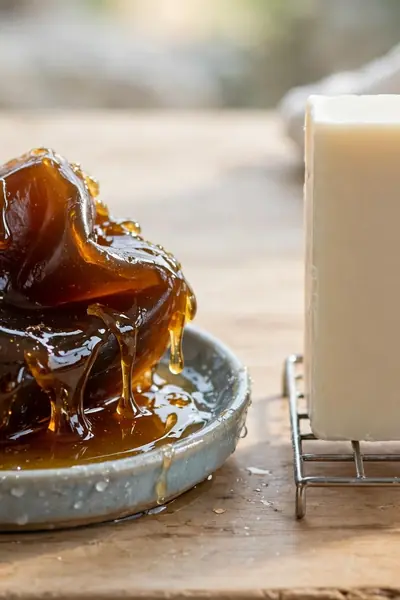
Common Mistake: Doubling the honey because more sounds more moisturizing. Extra honey does not stay kind for long; it keeps drawing moisture from the air into the bar, so within days the surface turns sticky, soft, and damp, and the bar slumps in the dish.
The Fix: Keep honey at one level tablespoon per pound of base, measured exactly. That amount gives the humectant benefit and the warm smell without upsetting the base, and drying the bars on a rack for a day before wrapping settles the surface completely.
Heat causes the other two failures. Honey stirred into steaming base darkens the whole batch toward deep amber and can turn the scent slightly scorched, while bars unmolded before they fully firm stay soft at the corners and pick up every fingerprint you press into them.
Troubleshooting: Sweating Bars, Sunk Oats, Weak Scent

Quick Tip: Most melt and pour problems trace back to water where it does not belong. A damp mold, a wet spoon, or steam from a boiling kettle nearby all end up inside the bar, so dry every tool before you start and keep the jug away from the stove’s steam.
Sweating bars, called glycerin dew, are the classic complaint: tiny beads appear because the base pulls moisture from humid air. Wrap bars tightly within a day and the dew never starts. If beads already formed, blot them dry, let the bar air for an hour, then wrap it properly.
Variations: Milk and Honey, Spiced, and Extra Gentle
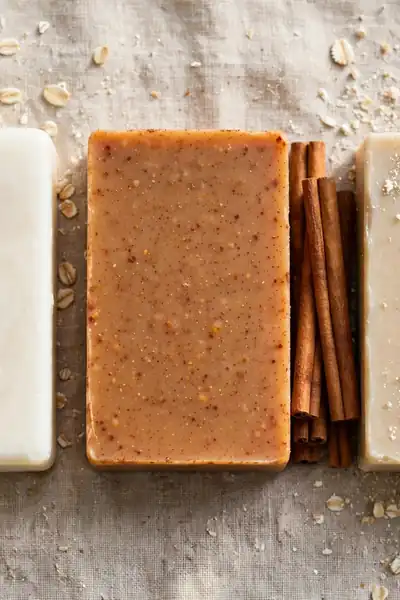
The base recipe is a template once you trust it. Oats and honey stay the heart of every version below, while the liquid character, the scent, and the gentleness shift around them, so one afternoon of melting can fill a whole basket of different bars for different people.
- Milk and Honey: Use a goat milk base and add one teaspoon of powdered milk stirred into the oats for the creamiest, richest lather of the three.
- Spiced Winter Bar: Add a quarter teaspoon of ground cinnamon and a drop of vanilla fragrance for a warm bakery scent, and patch test first, since cinnamon can bother sensitive skin.
- Extra Gentle Unscented: Skip fragrance and cinnamon entirely, grind the oats to the finest powder, and keep the honey, for babies’ caregivers and very reactive skin.
Also Explore: DIY Shower Melts for a Spa Day Without Leaving Home
Storing Bars So They Last All Winter

What You Need:
- Plastic wrap or shrink wrap bands: one per bar, sealed within 24 hours of unmolding to keep humid air off the surface.
- An airtight box or tin with a lid: for wrapped bars waiting to be used or gifted, kept away from bathroom steam.
- Baking parchment sheets: to layer between bars in the box so wrapped bars never stick together in warm rooms.
- A cool, dry cupboard or drawer: the storage spot itself, away from radiators and sunny windowsills that soften soap.
- Paper labels with the make date: so the oldest bars get used first and nothing sits forgotten for a year.
Stored this way, bars keep well for about a year, though the honey scent is loveliest in the first six months. Always unwrap and check a long stored bar before gifting; a dry surface and a gentle smell mean it is still the bar you made.
Frequently Asked Questions
1. Can I make this soap if I have never made soap before?
Yes, this is the beginner route on purpose: the base is ready made, there is no lye to handle, and the bars are usable the same day you pour them.
2. Can I leave the honey out or swap it?
You can leave it out and still get a gentle oat bar; agave syrup is the closest swap at the same amount, though the bar will be a little less softening and the scent plainer.
3. Can I use this bar on my face?
Many people do, with the finest ground oats and no fragrance; test on a small patch of skin first and keep the coarser scrub version for hands and body only.
4. How long does one bar last in the shower?
About 3 to 4 weeks of daily use if it dries between washes on a draining dish; a bar left sitting in water melts away far faster.
5. Why did my bars sweat in storage?
That is glycerin dew from humid air, not spoilage; blot the beads off, let the bar dry for an hour, and wrap it tightly this time.
Conclusion
You now hold the whole recipe: a ready base, finely ground oats, one honest tablespoon of honey, and the patience to add each thing at the right temperature. That is all a good oatmeal honey soap ever asks for, and your winter skin will feel the difference from the very first wash.
Save this recipe on Pinterest before your next grocery run, melt your first batch this weekend, and share it with the friend whose hands suffer every winter too. I’ve seen how small changes like these can completely shift the way a whole season feels on your skin.


3 Comments